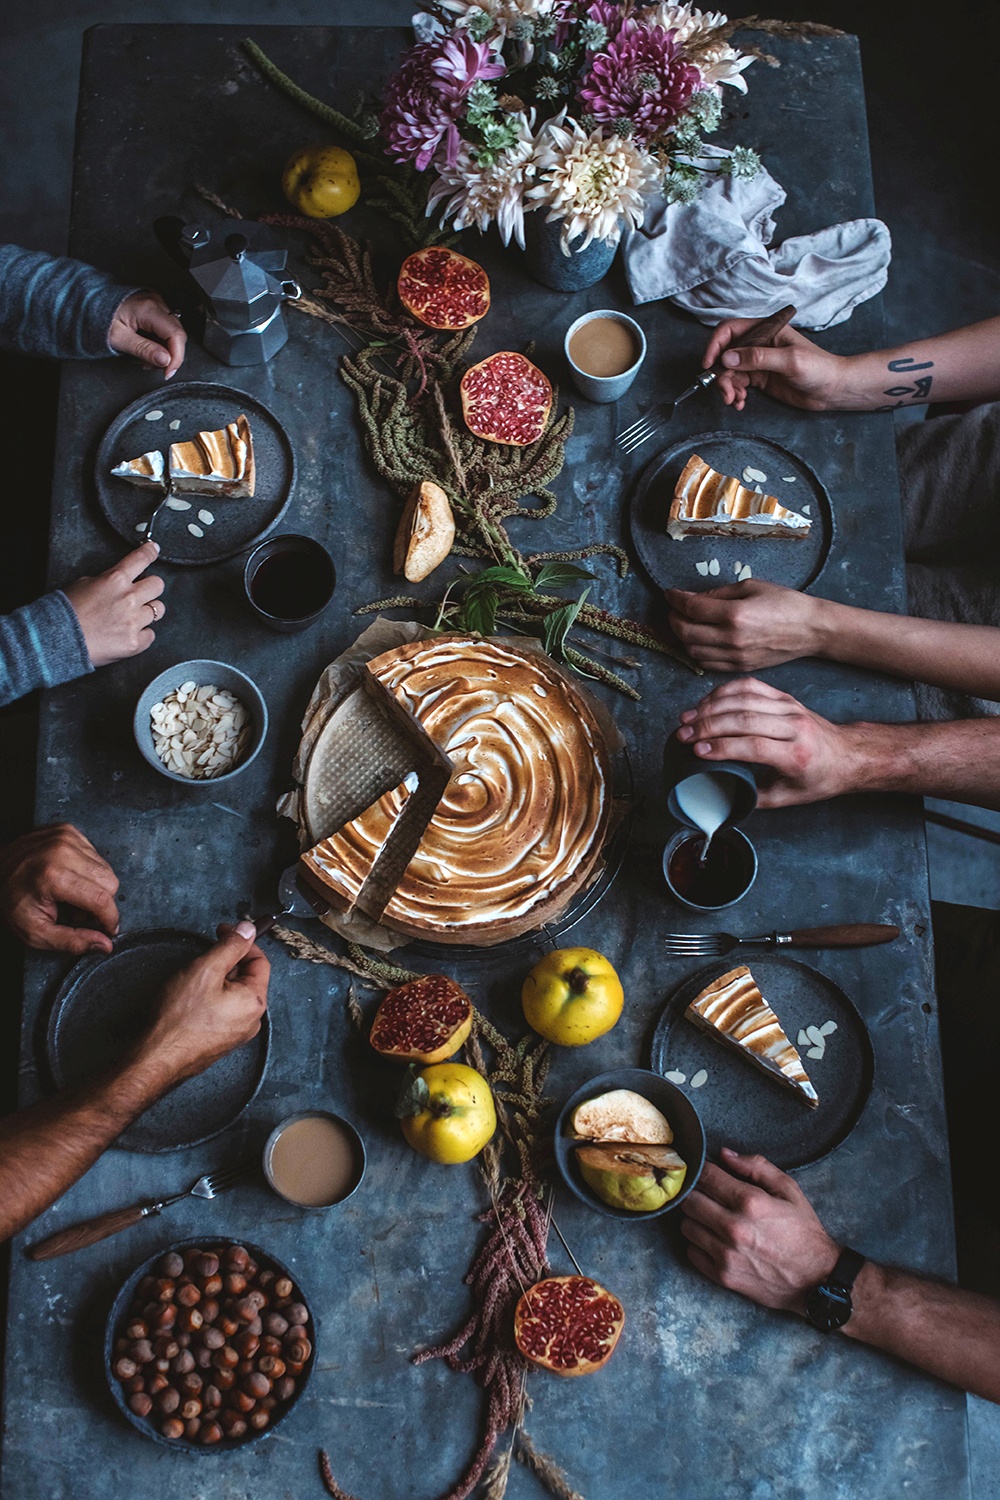
Gluten-free Quince Cheesecake with Meringue and a shooting for Canon
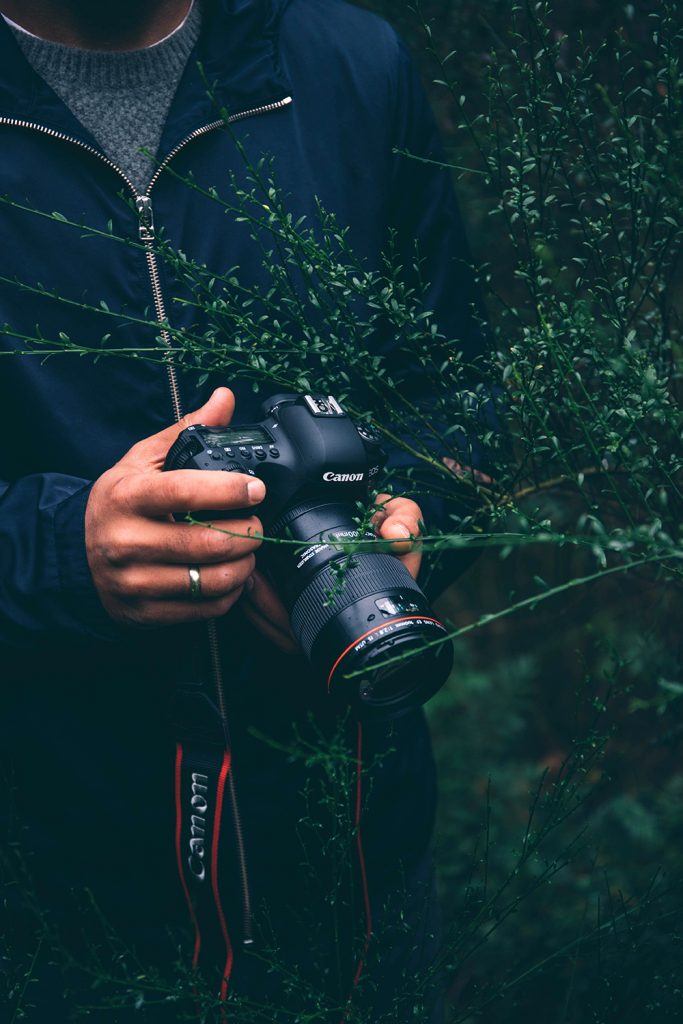
A few weeks ago we had the the pleasure to test the new Canon EOS 6D Mark II for two wonderful days.
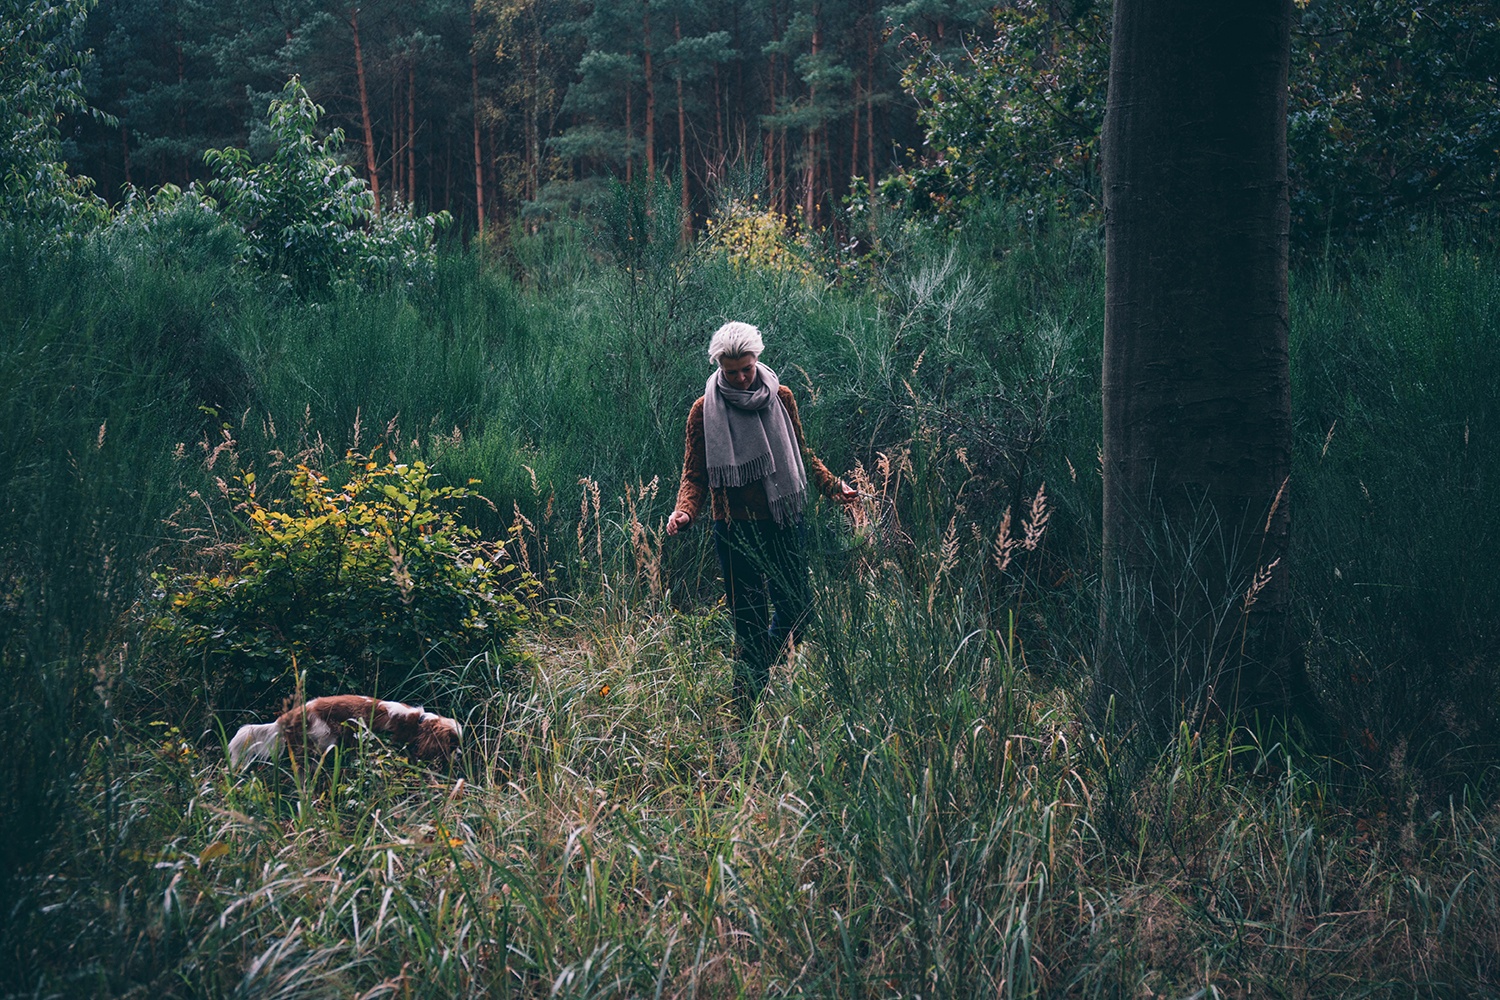
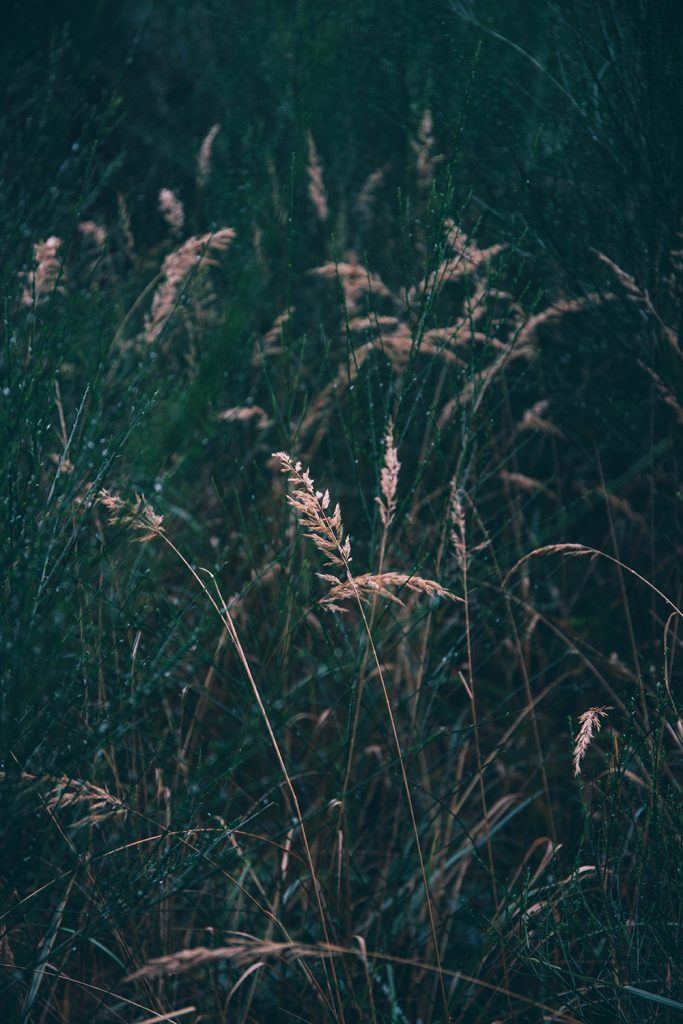
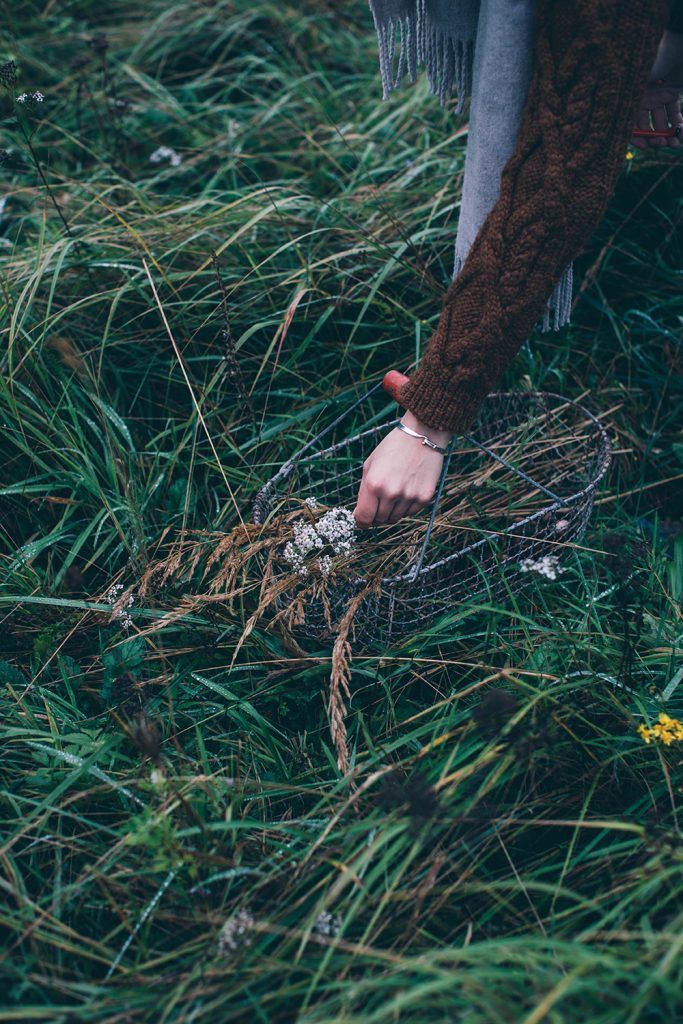
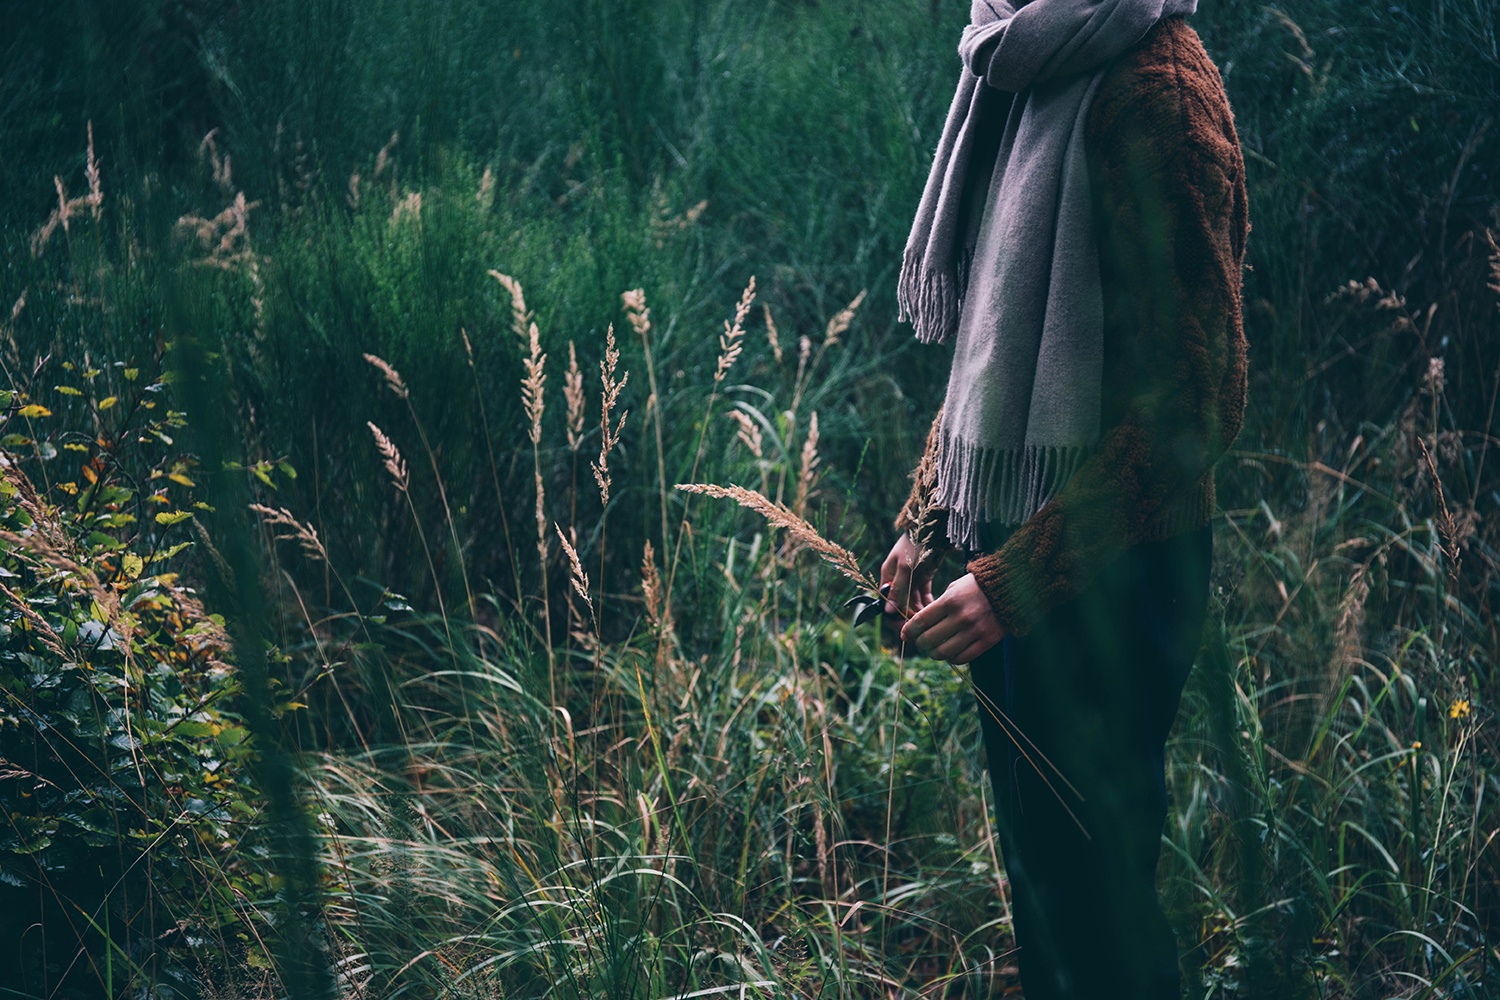
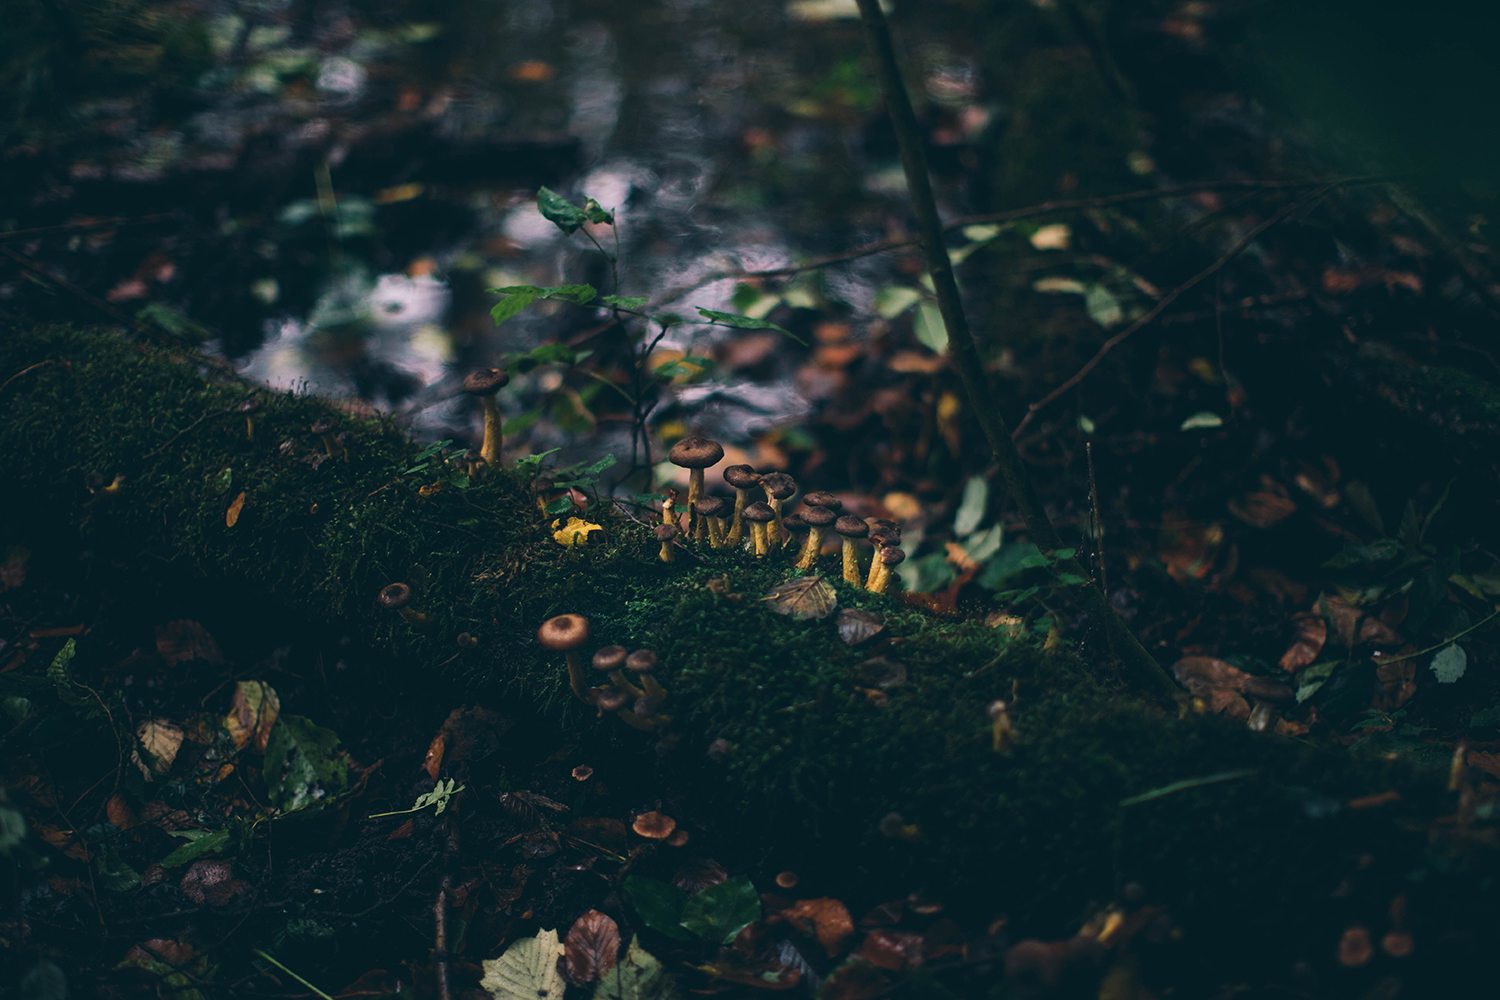
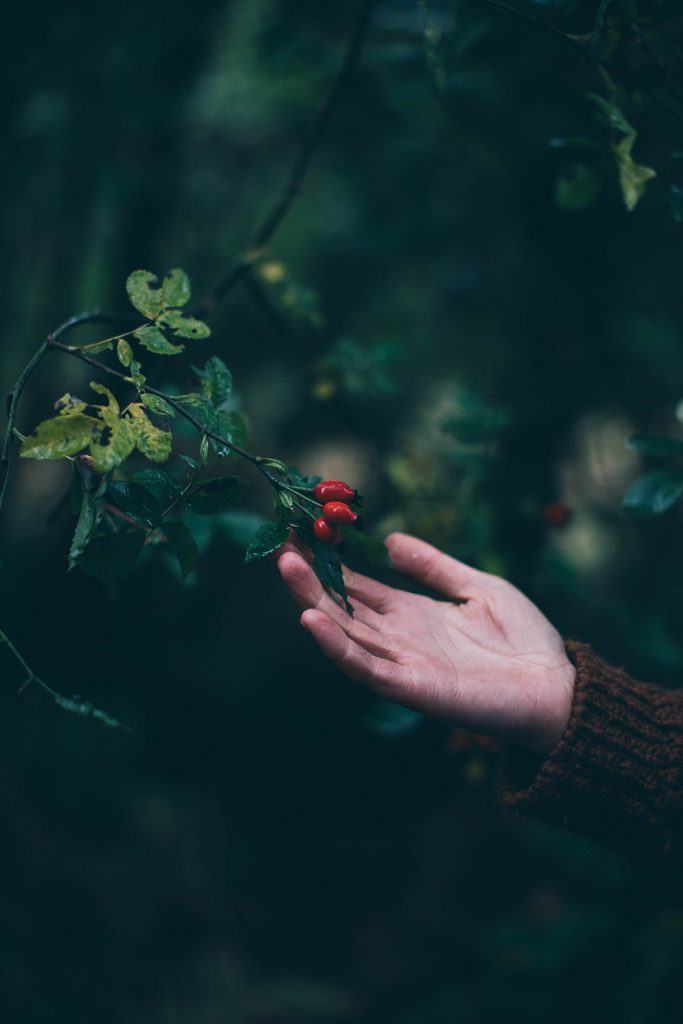
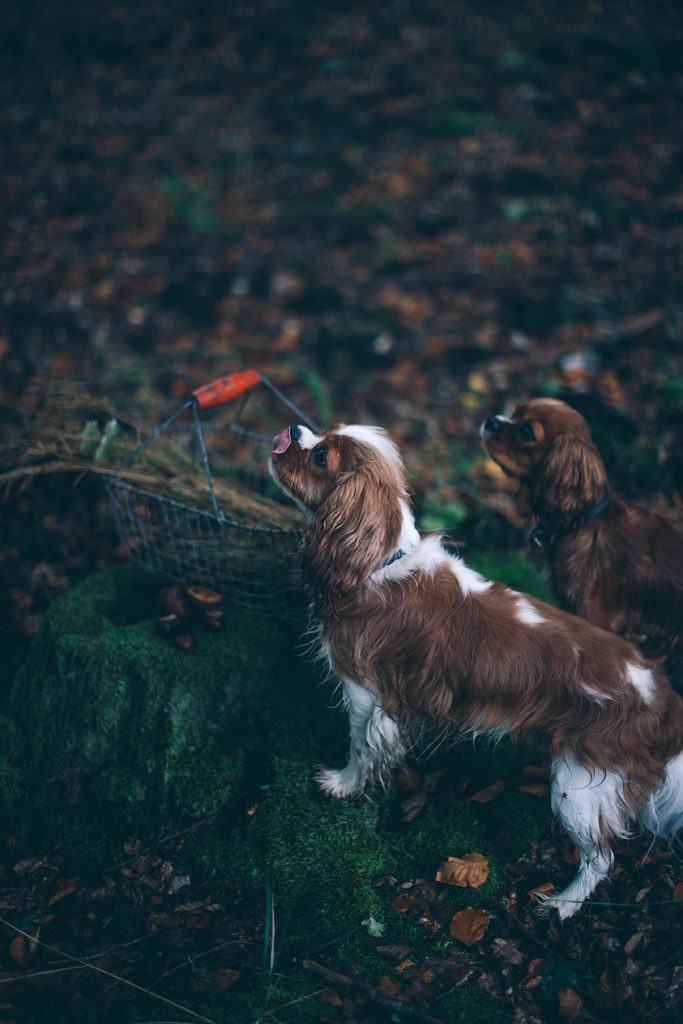
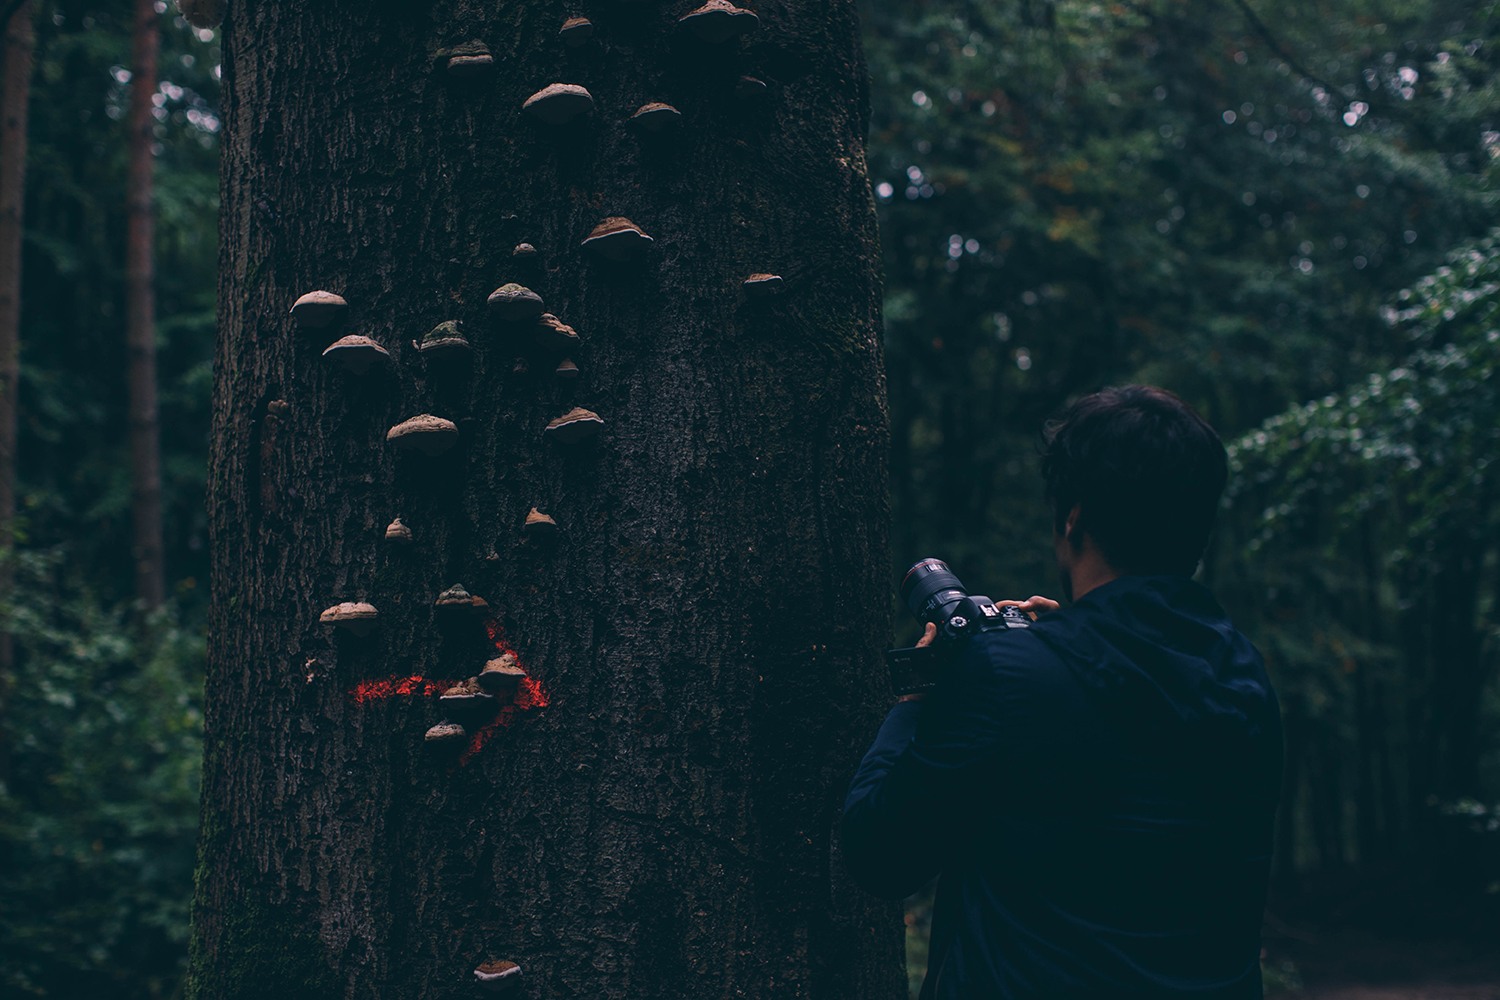
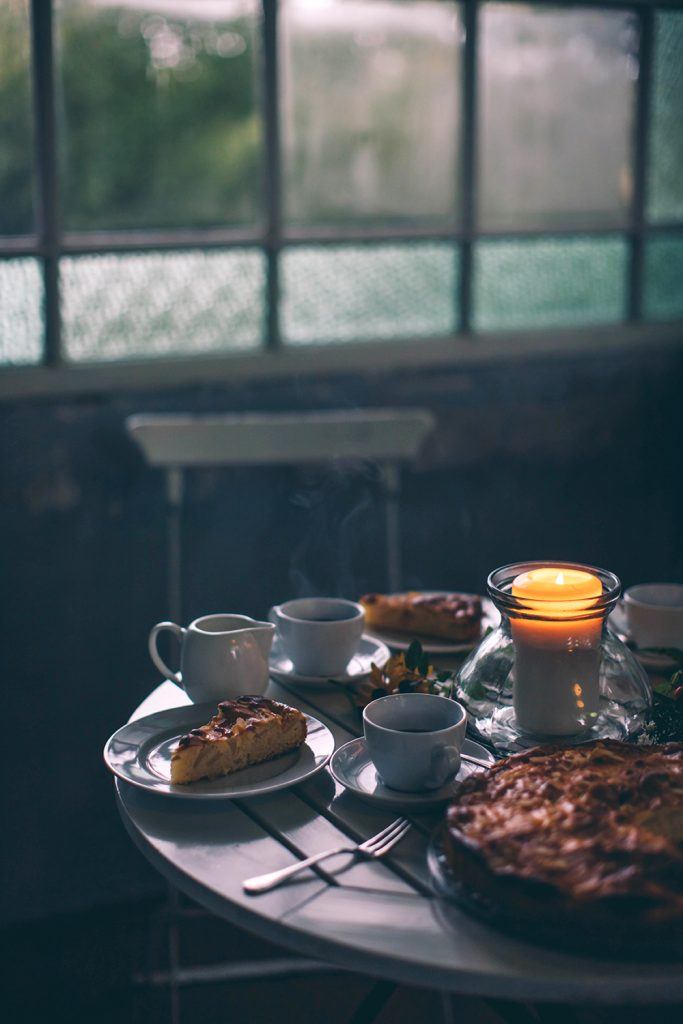
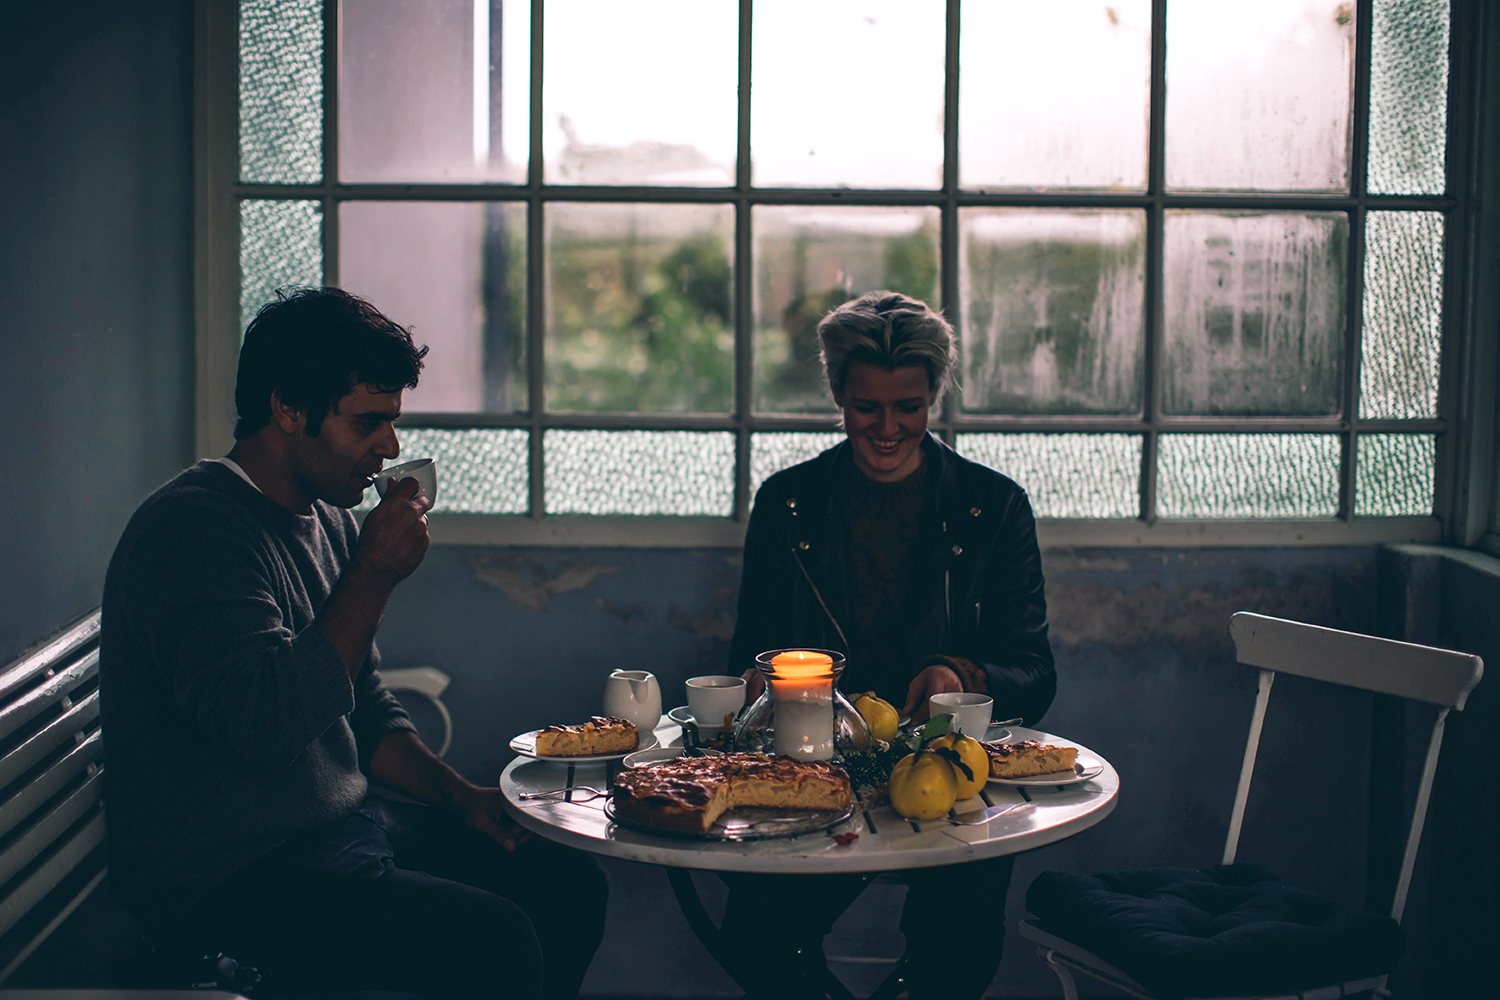
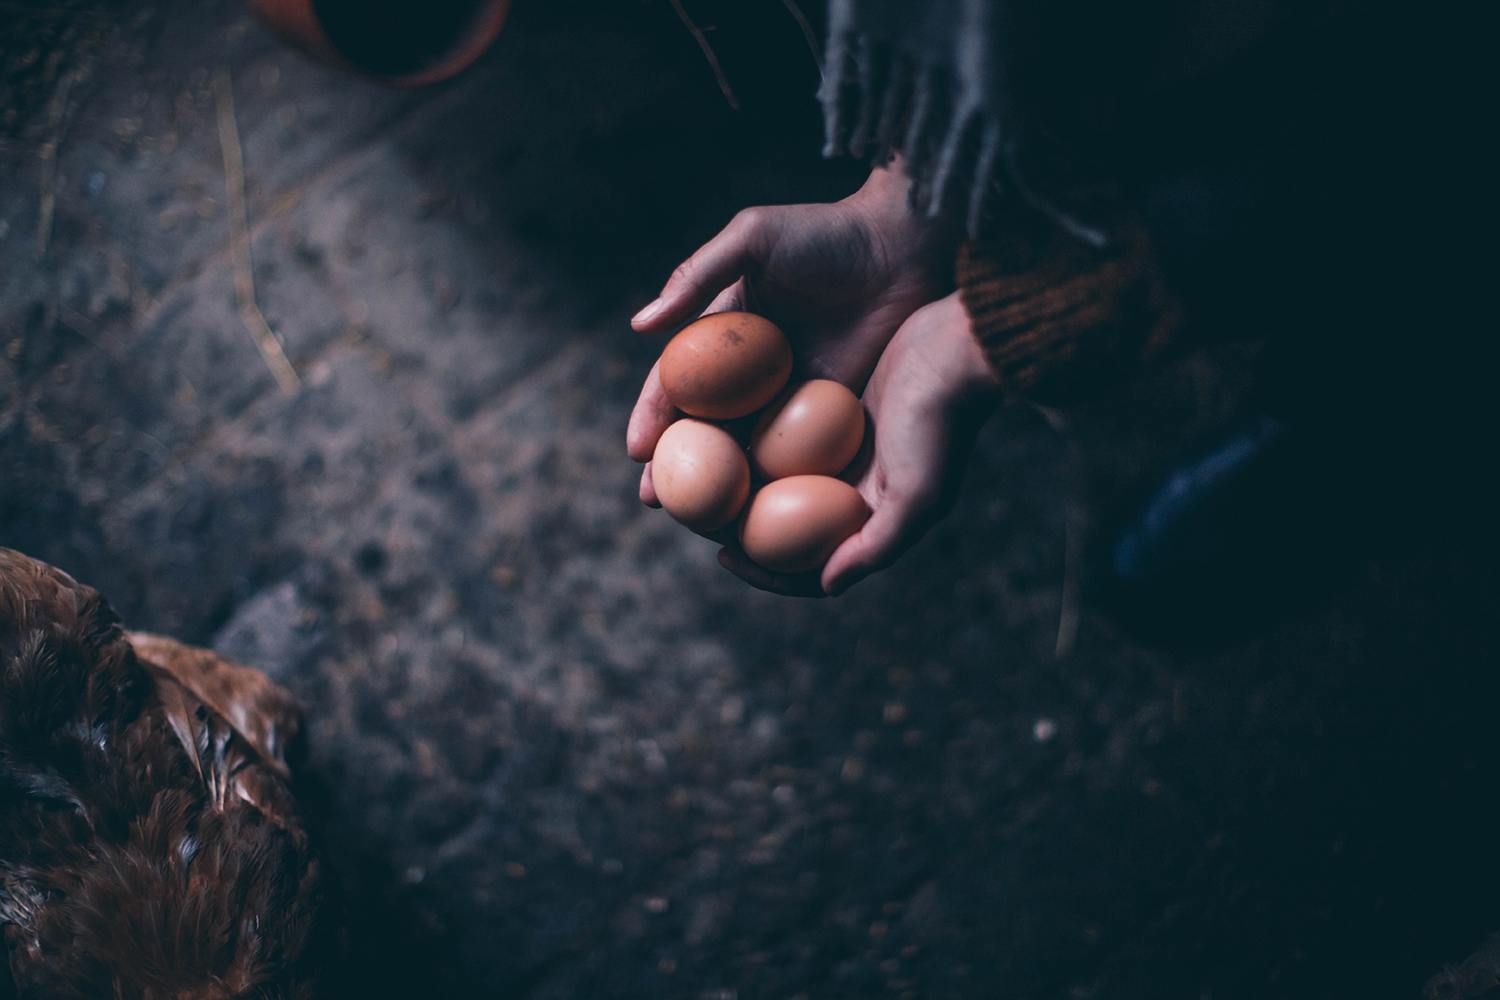
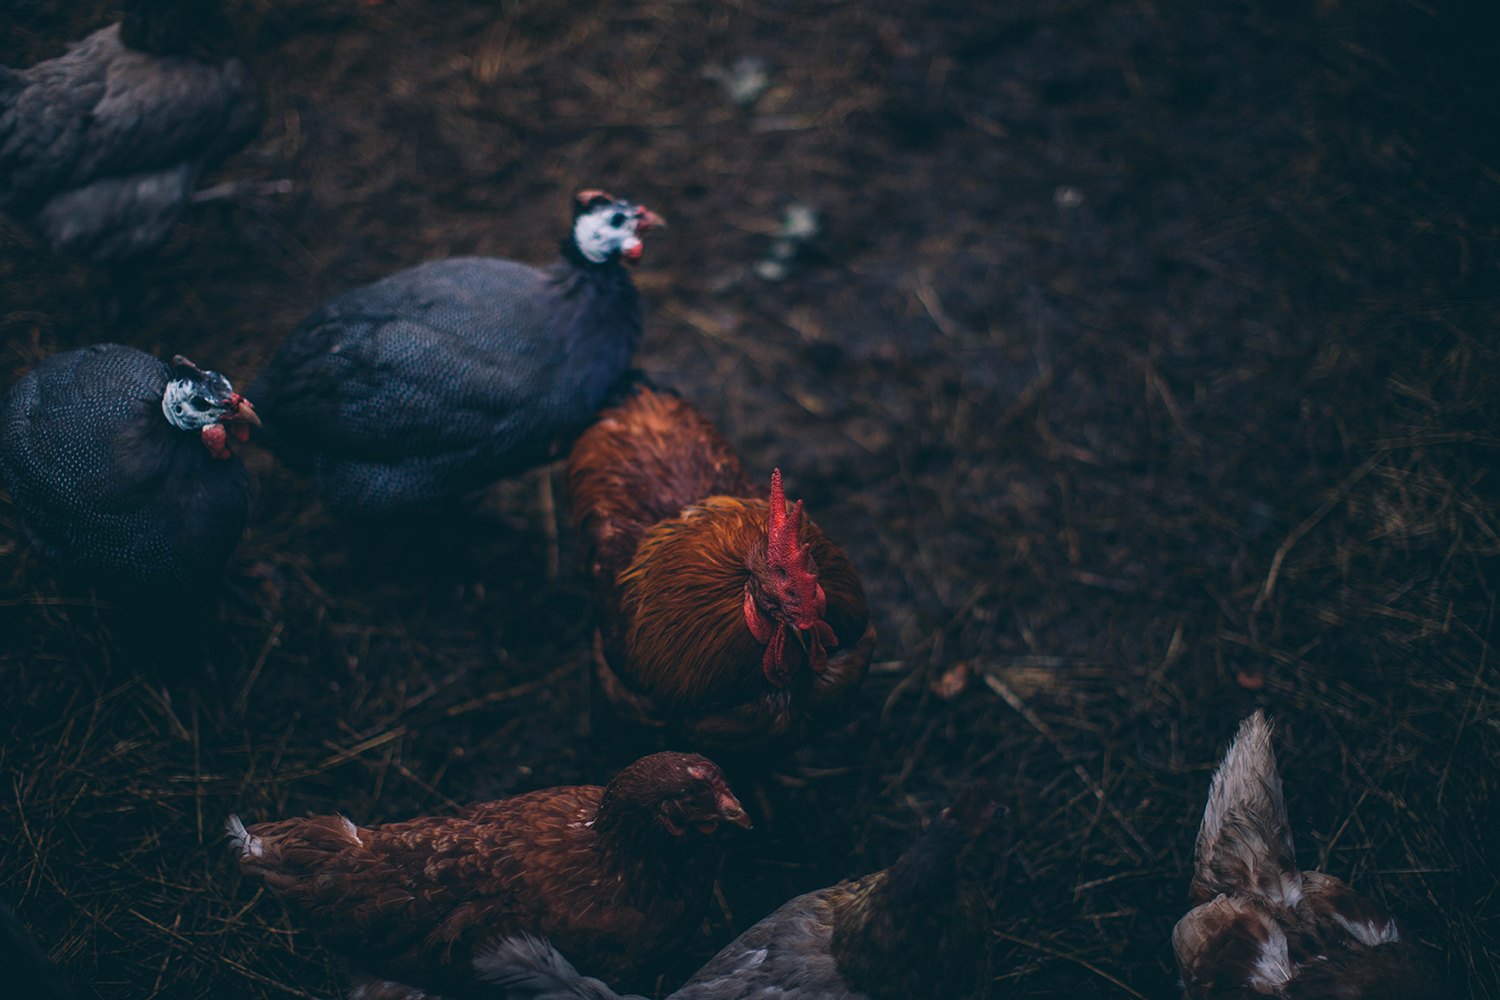
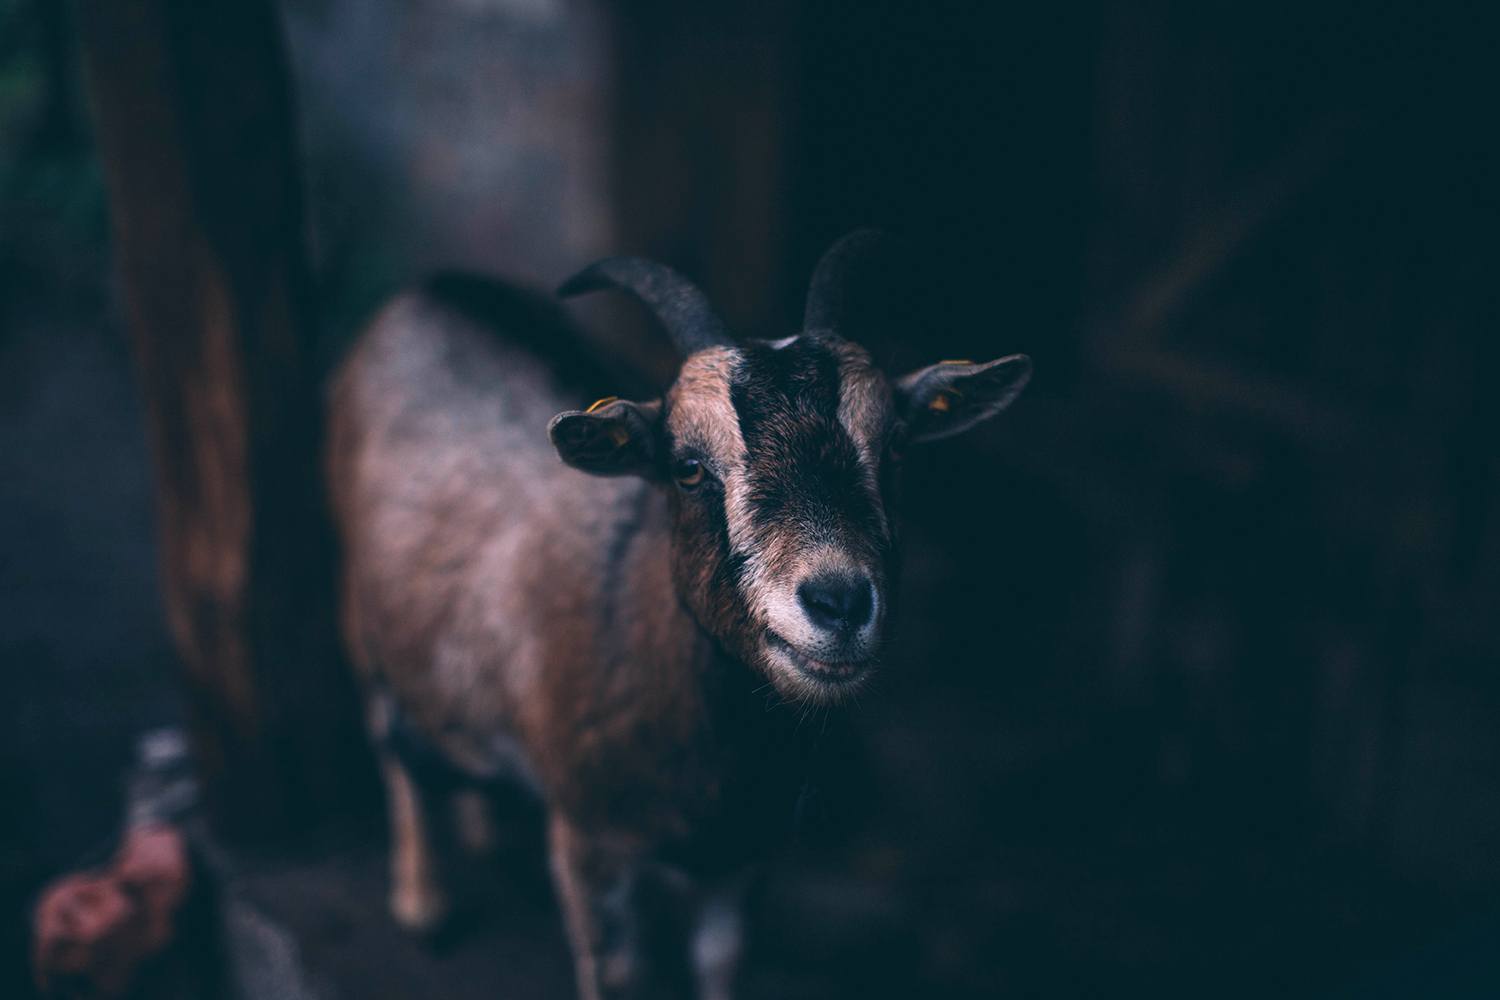
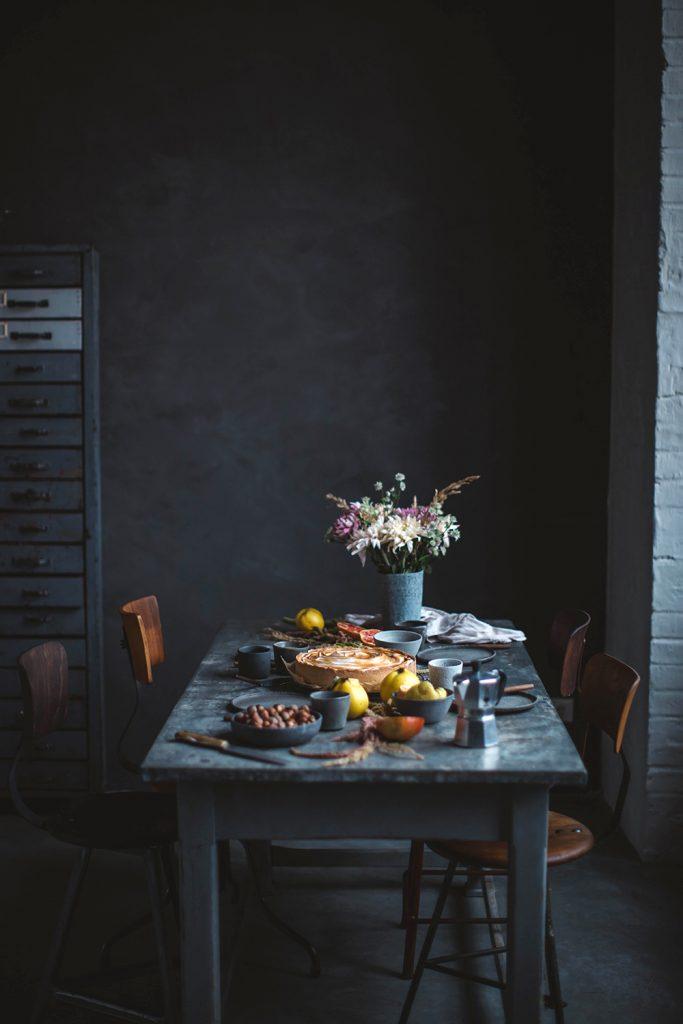
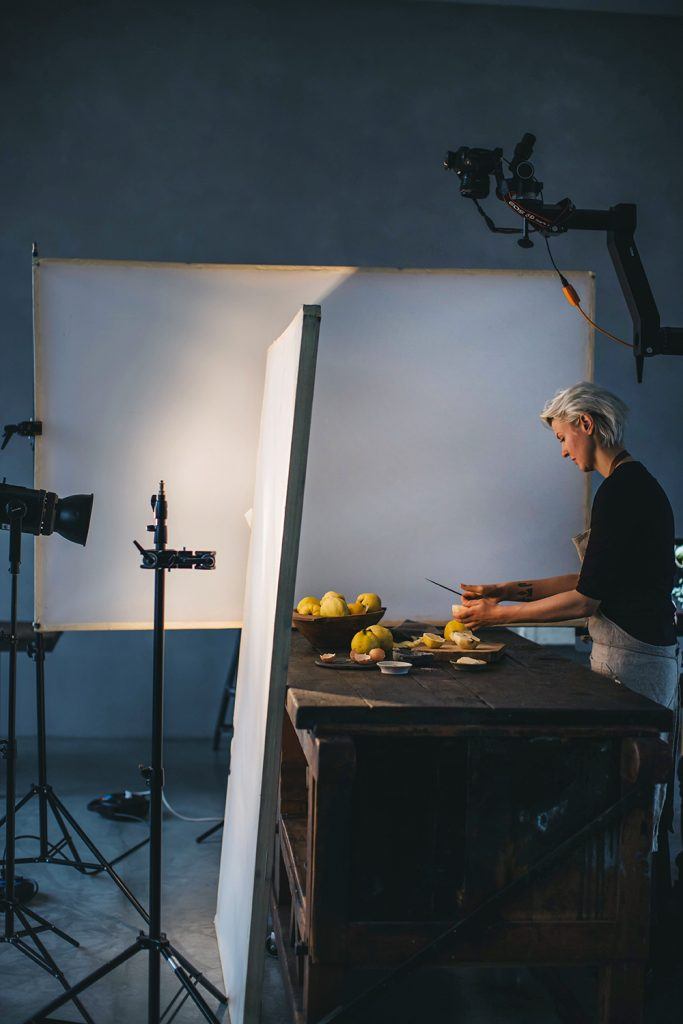
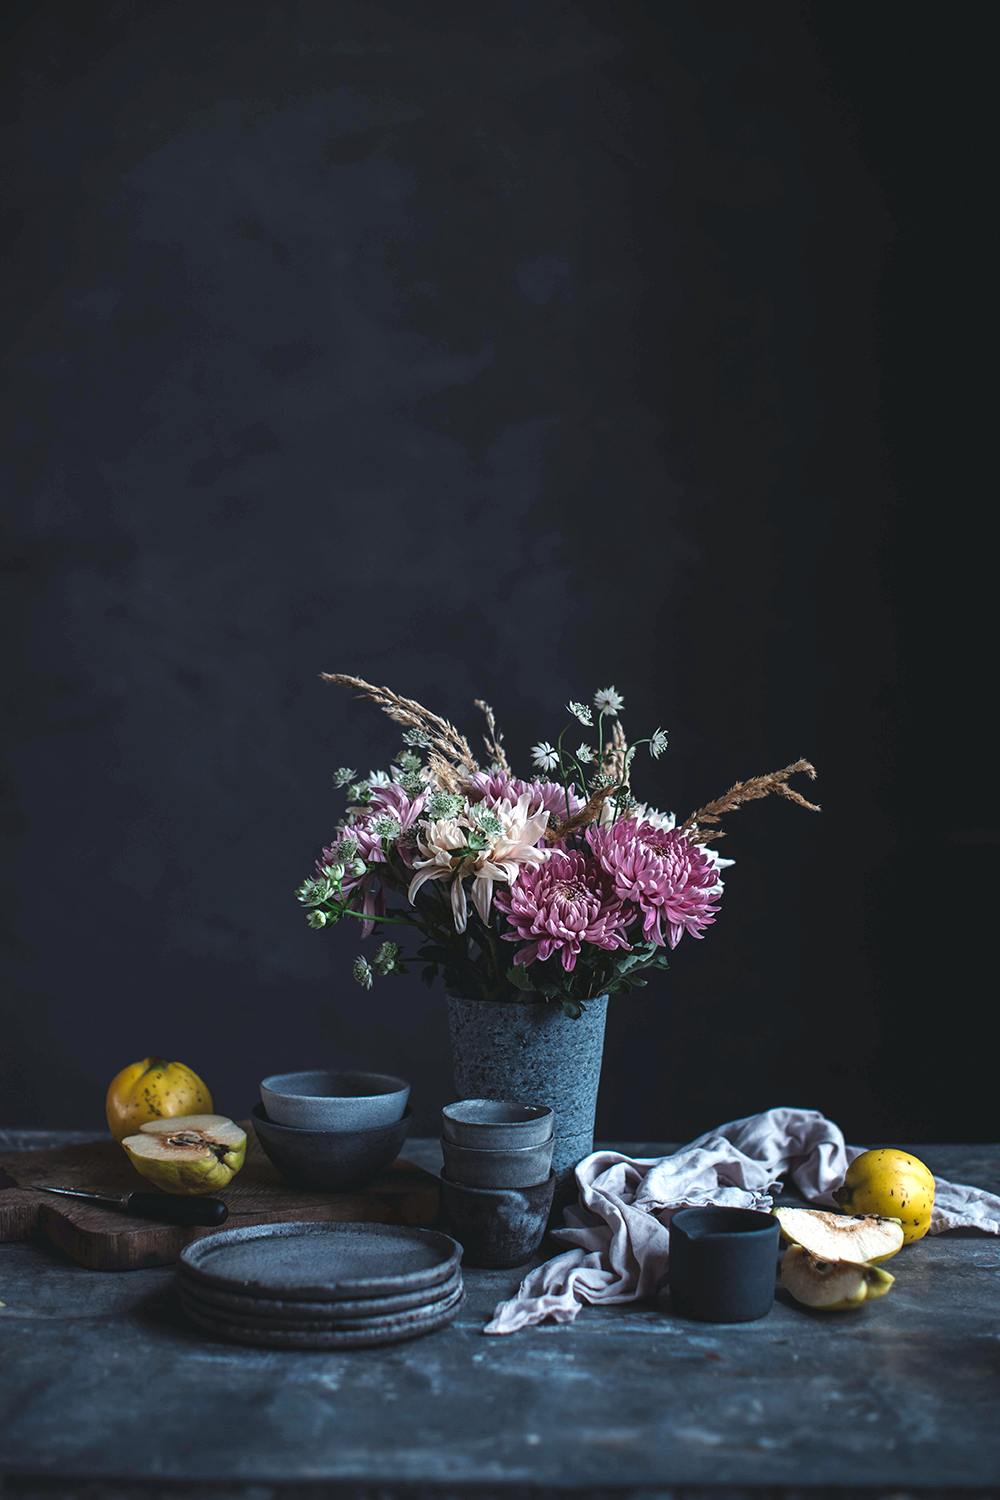
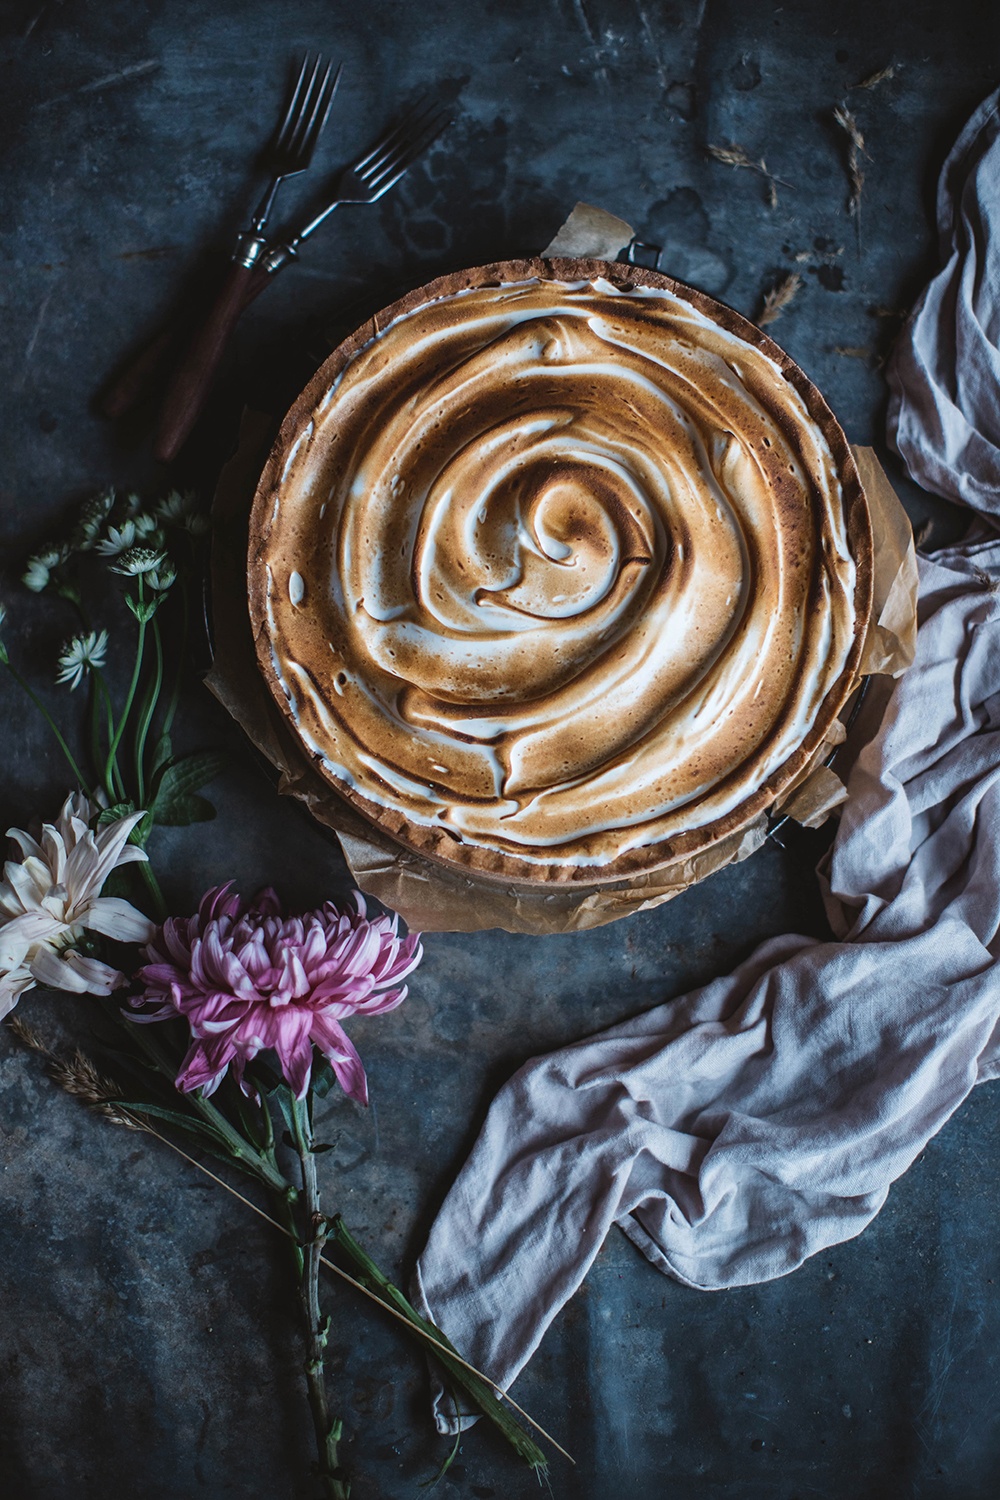
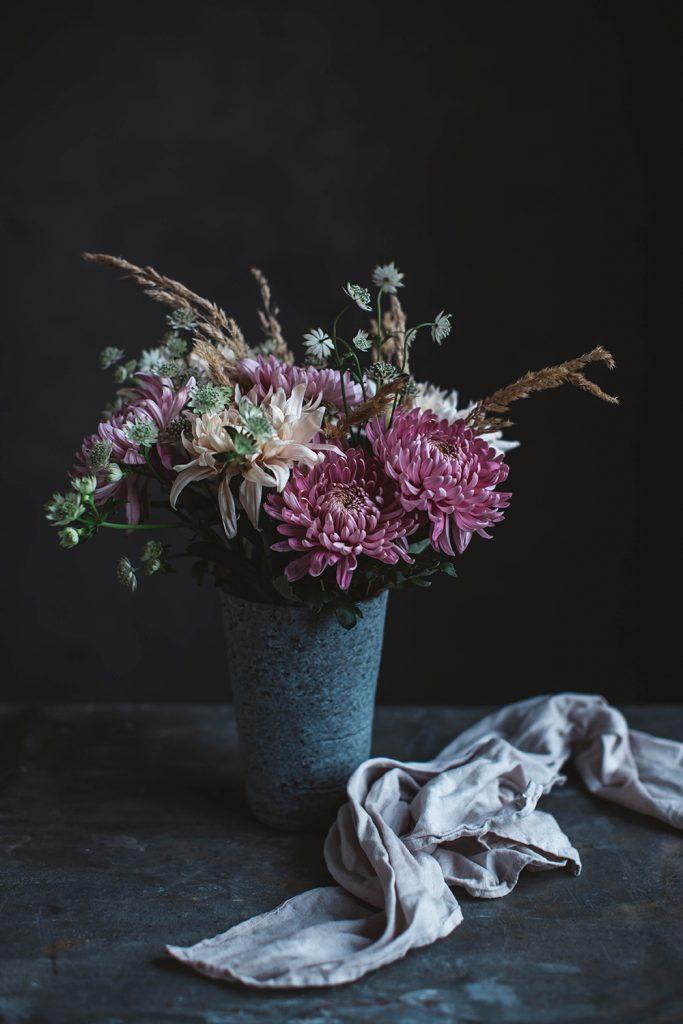
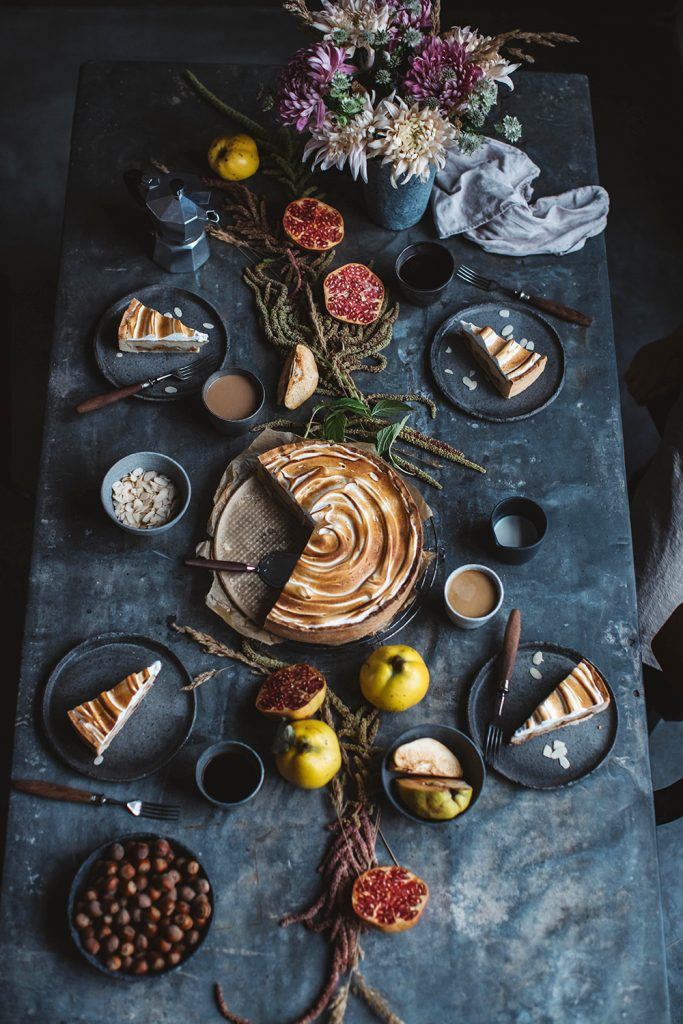
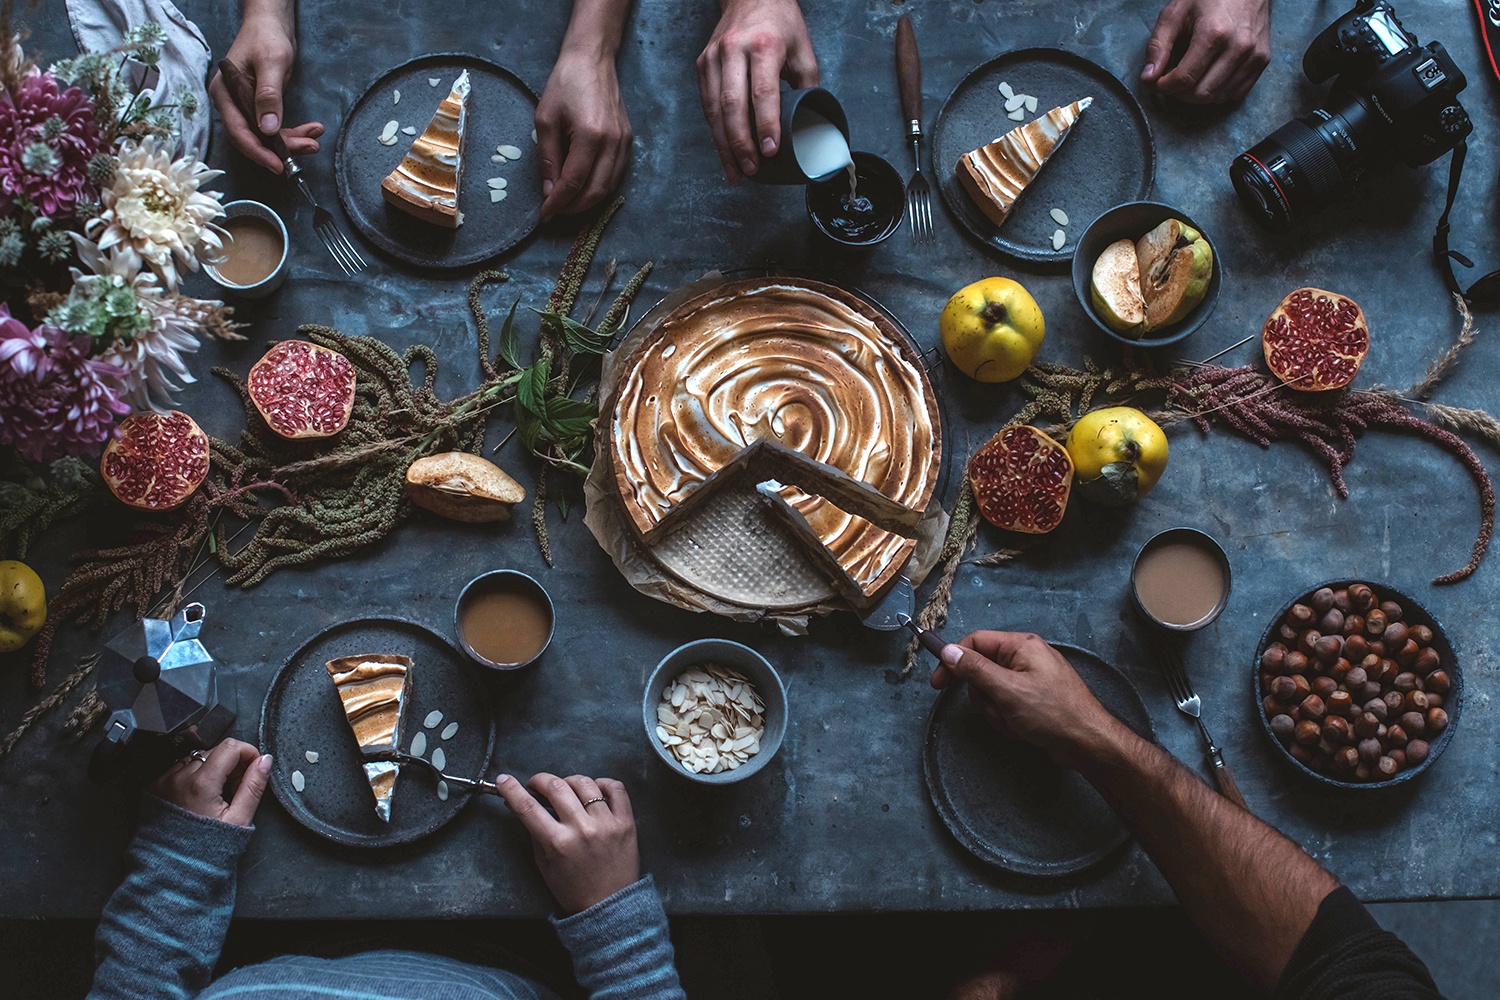
We spent those two days with a film team which was following us and the talented photographer Antonios Mitsopoulos. Stay tuned for a facebook live event soon! Antonios is a food photographer as well, so it was nice to inspire each other and play around with the new Canon EOS Mark II camera together. During the first day we drove to Gut Boltenhof, a organic farm in Brandenburg. We walked through the woods to gather some inspiration and decoration for our shooting and picked some quinces for our gluten-free quince cheesecake. The camera was the perfect companion for our long walk, as it’s quite light and good to carry around even though it’s a full frame camera. We really enjoyed the smell of autumn in the air and all the mushrooms that we saw on our way. After the walk we explored the farm and all it’s adorable animals, collected some eggs in the hen house (with the most gorgeous light!) and had some cake and coffee in the charming little winter garden. The next morning we all met up at our studio, were Nora baked a gluten-free quince-cheesecake with meringue and Antonios and us worked on two different settings. It was really interesting for us to watch him during his work process as it’s so different from the way that we work, as we only shoot with natural light and Antonios works with artificial light. So it was really nice to exchange experiences with each other. What we all absolutely loved about the camera is that you can connect it to the Wlan and therefore share pictures on Instagram very easy and fast after you’ve been shooting them. Also you don’t have to work with a cable during your shoot when you want to see the pictures on your computer, which is such a great feature! And I really liked the big viewfinder of the EOS Mark II – it felt so comfortable during the whole shoot. When the cake was done and after we all photographed and filmed the whole baking process, Nora and I styled a table, where we photographed the finished cake. We also tested the new movable display of the camera and it was so helpful especially for shots from above. During the two shooting days we used a 50 mm/ 1:1.2L and a 35mm f/1.4L lens. If you want to know more details about the camera have a look here and stay tuned for a facebook live event soon.

Gluten-free Quince Cheesecake with Meringue
Gluten-free Pastry
- 350g rice flour
- 125g butter
- 125g sugar
- 1 tsp organic baking powder
- 2 eggs
- 1 pinch of salt
Quince Compote
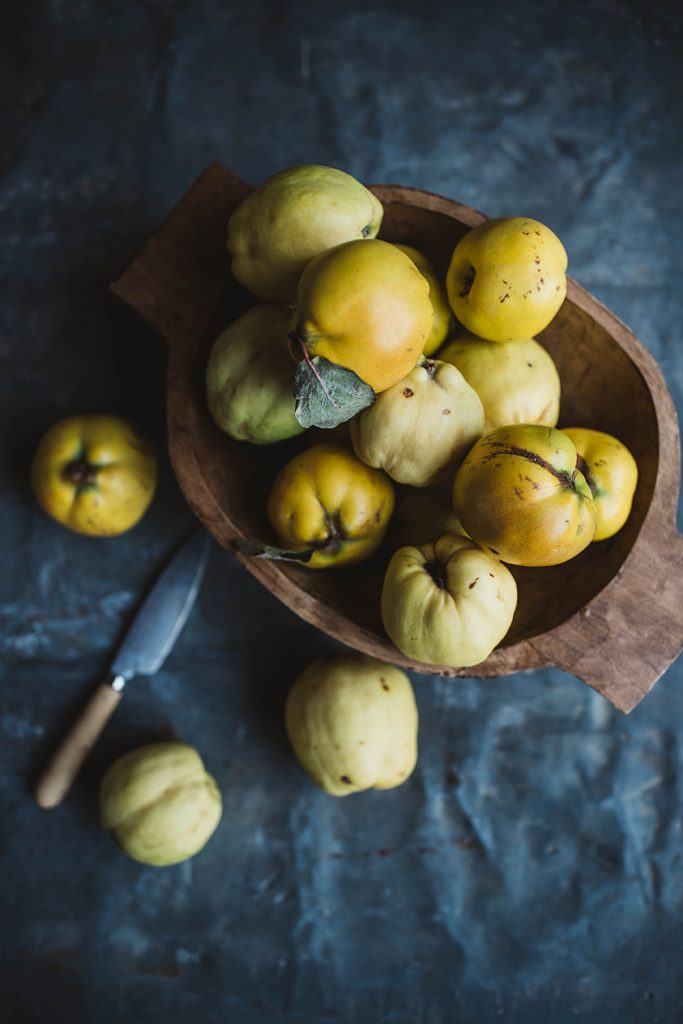
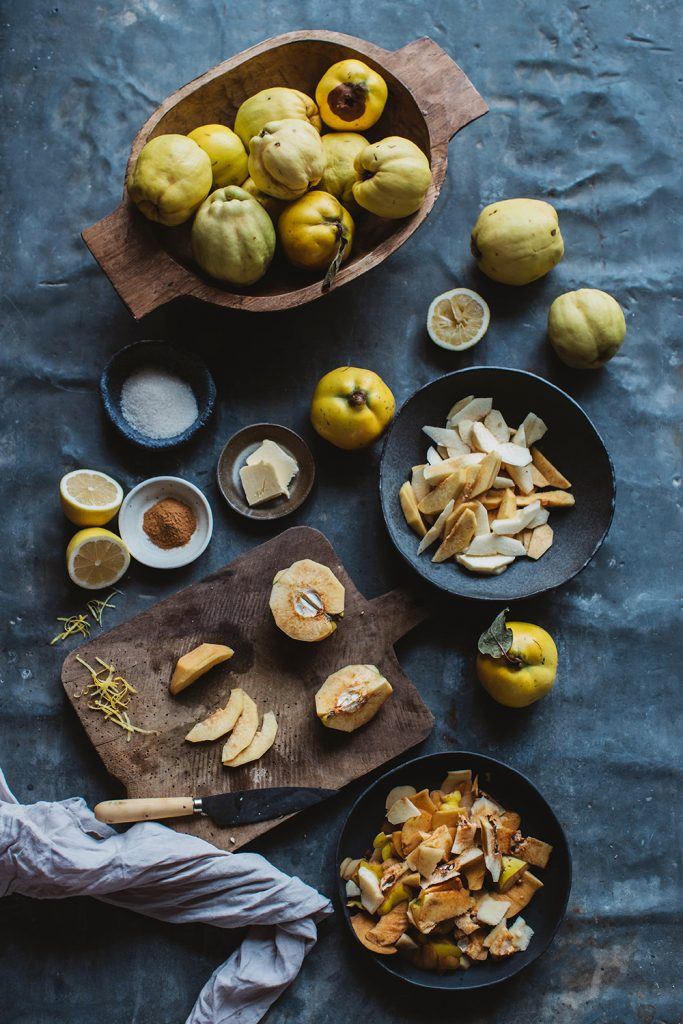
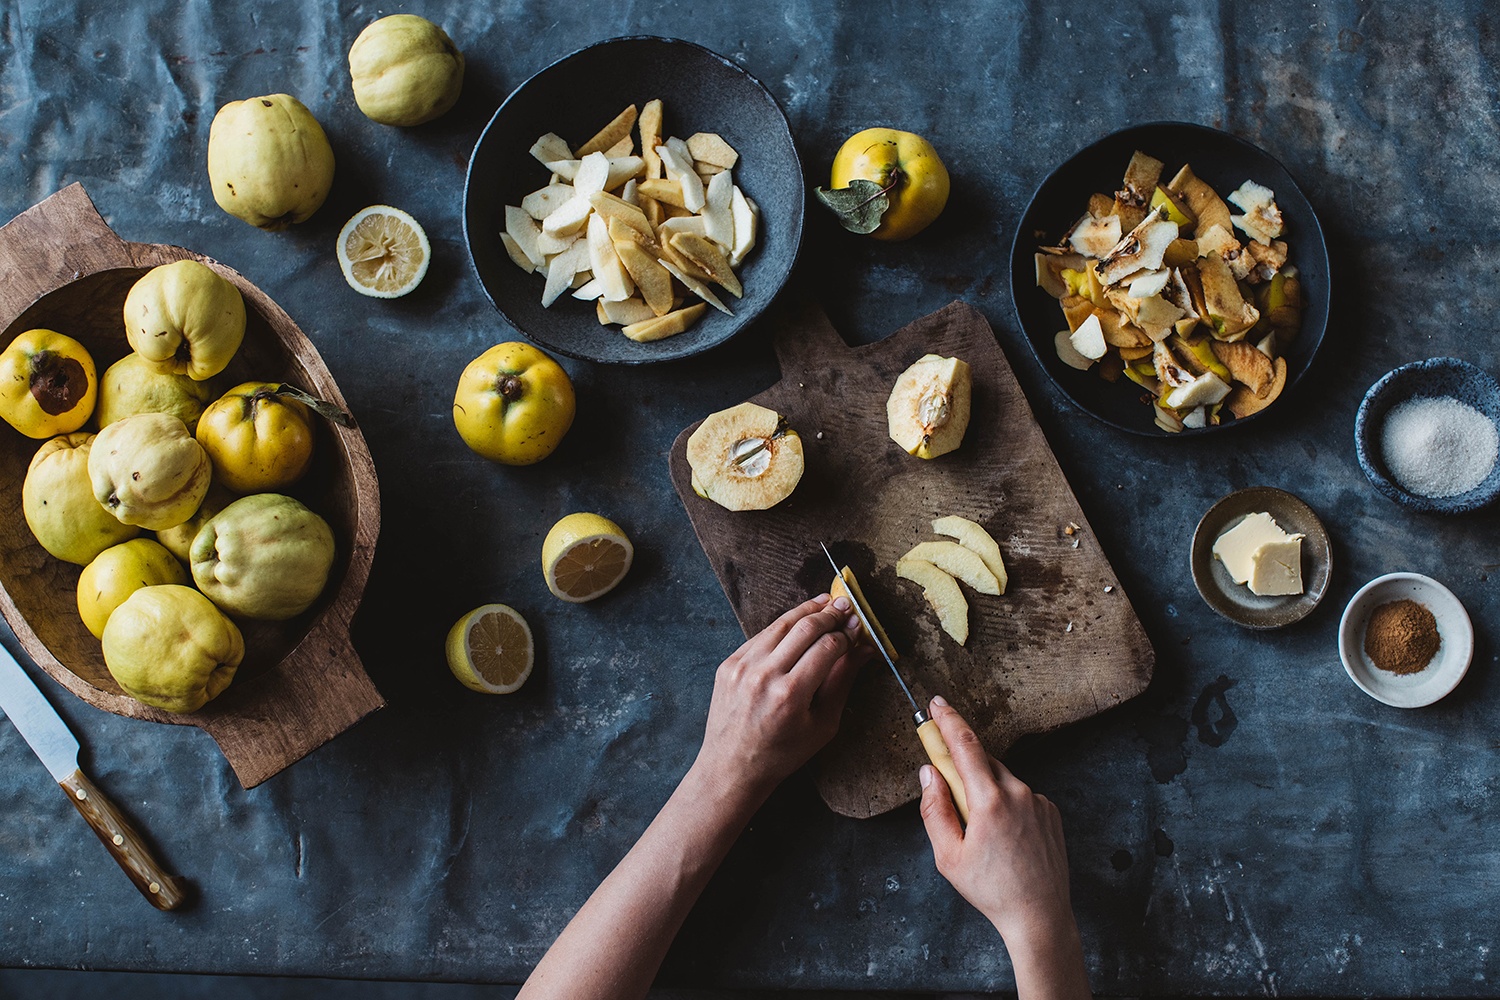
- 400-500g quinces, peeled and decored (about 4 quinces)
- 2 tbsp cane sugar
- 1 lemon (we will need the zests of the lemon and the juice of a half lemon)
- 1 tsp cinnamon
- 1 tbsp butter
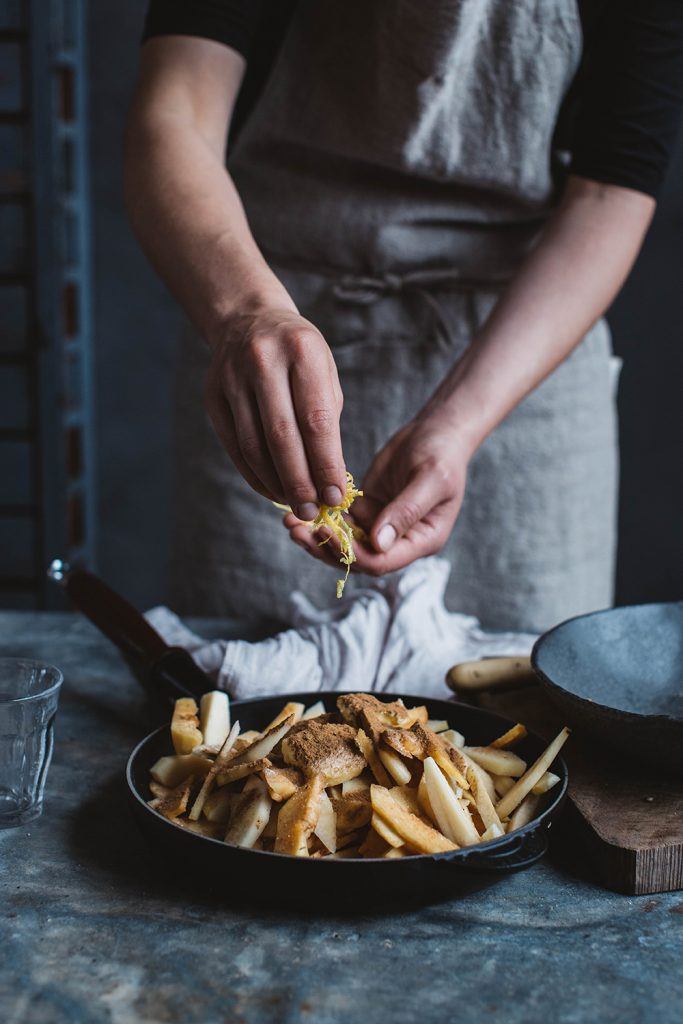
- 1 piece of ginger, finely grated
Vanilla-Cheesecake Filling
- 300g cow quark (or curd; you can do cream cheese too)
- 200g cream cheese
- 200g heavy cream
- 120g cane sugar
- 1 egg
- 2 egg yolkes (size L – the eggwhites you will need for the meringue)
- 40g custard powder (or cornstarch)
- 1 large pinch of ground vanilla
Meringue
- 2 eggwhites
- 100g superfine sugar
- 1 pinch of salt
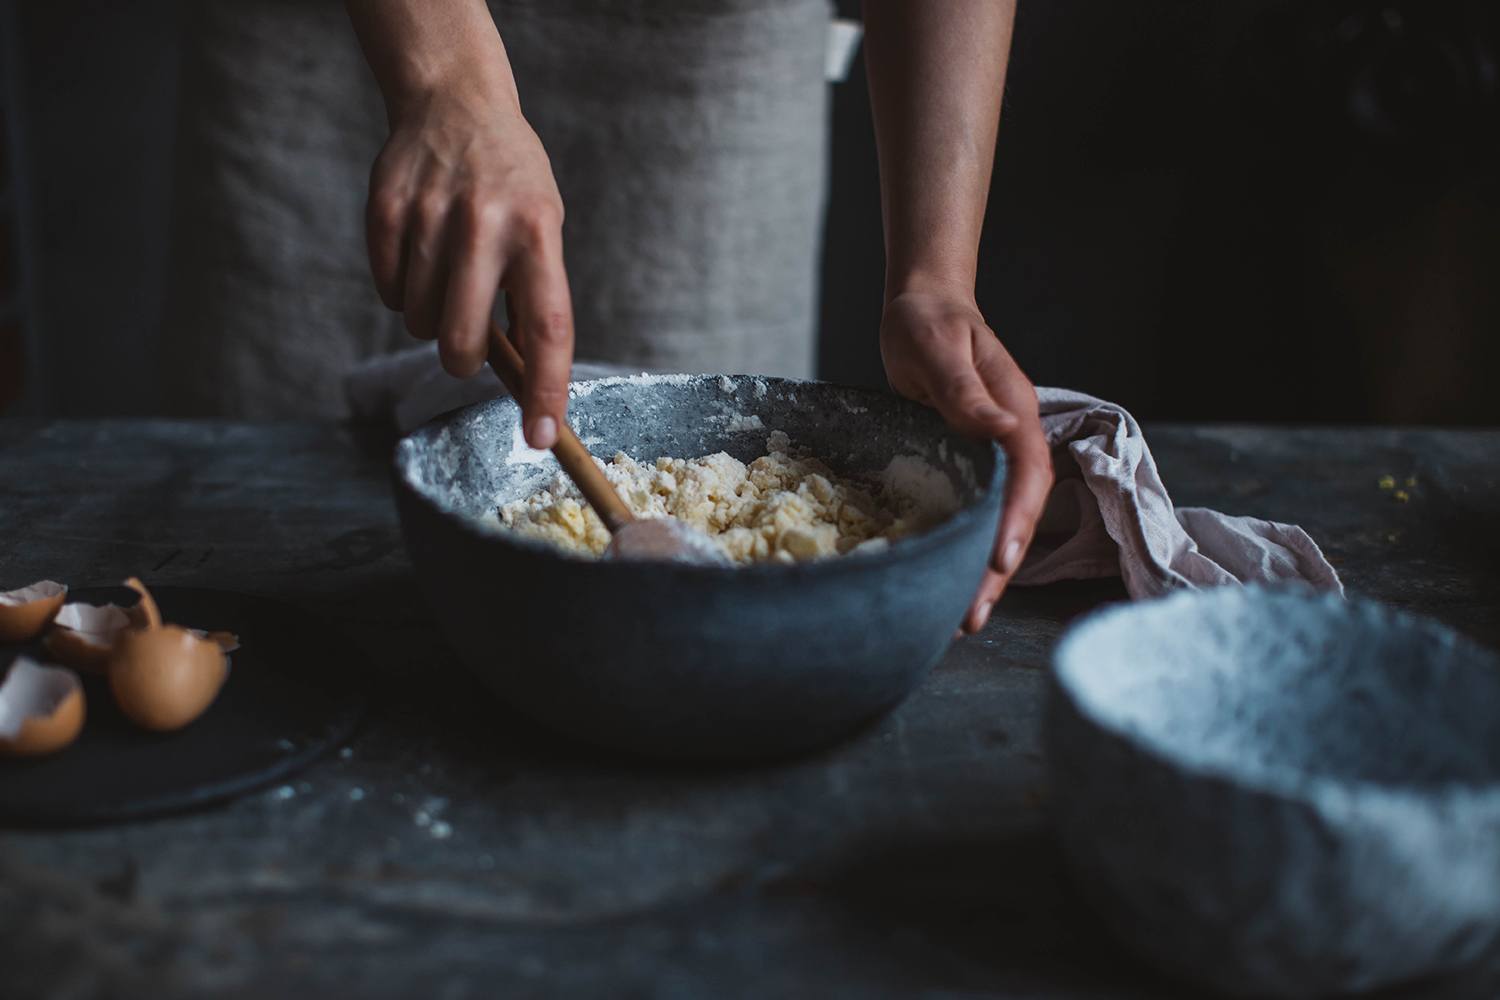
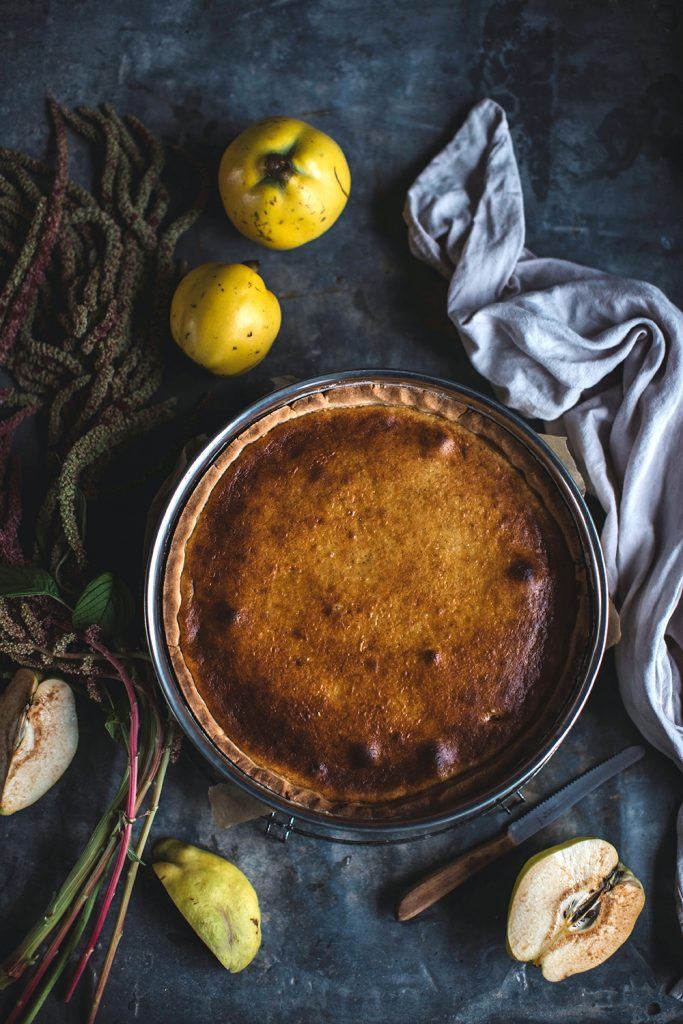
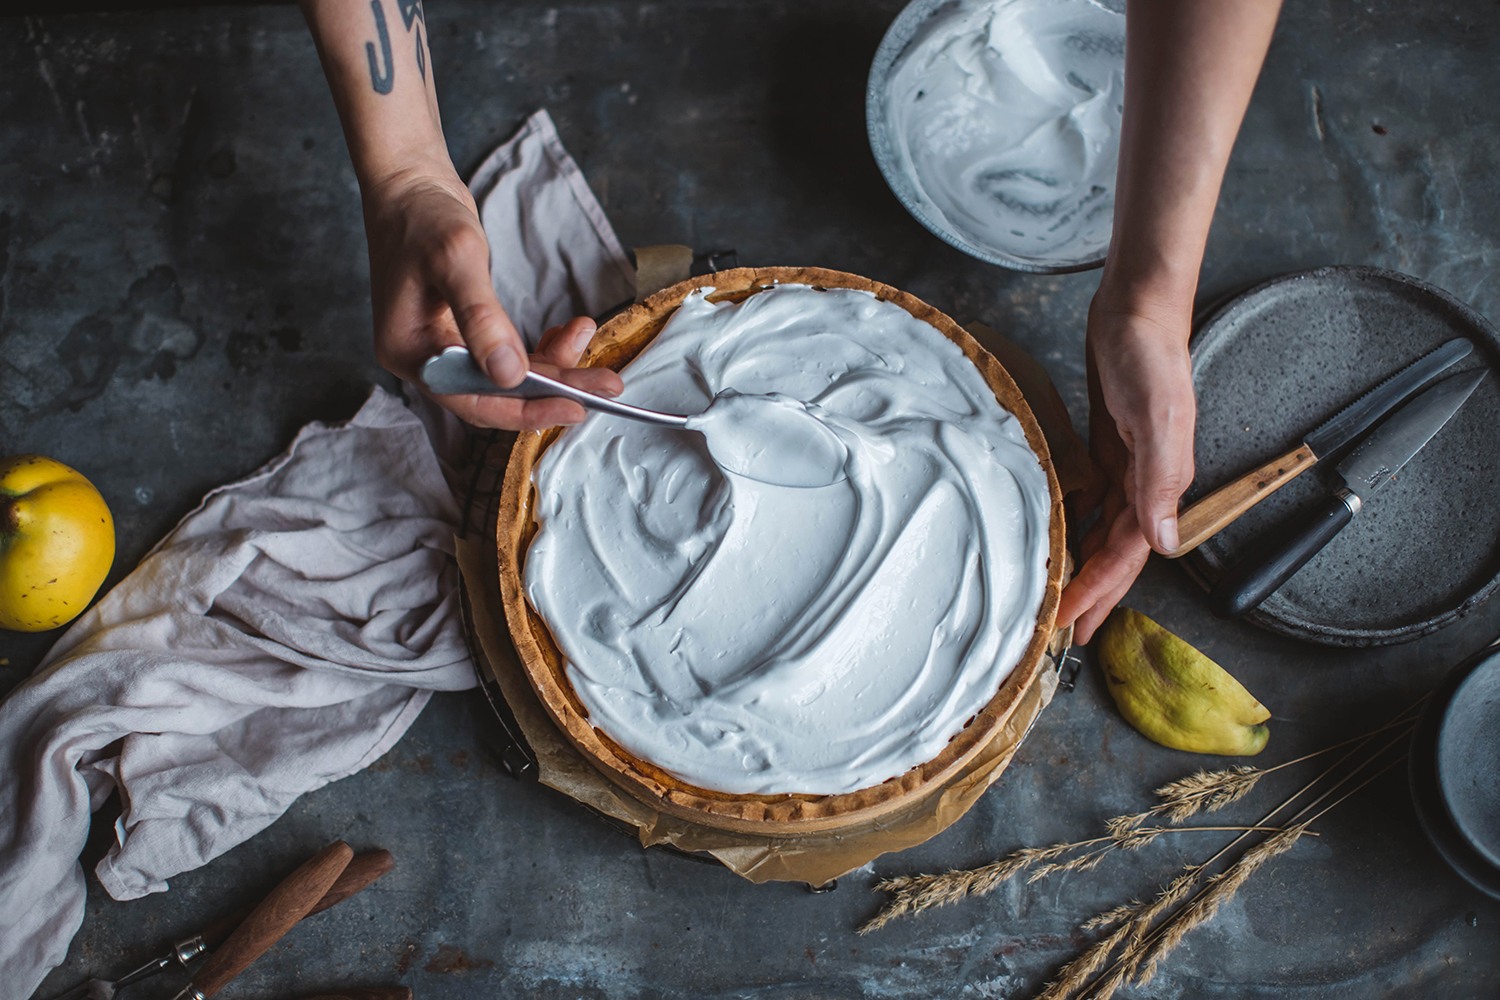
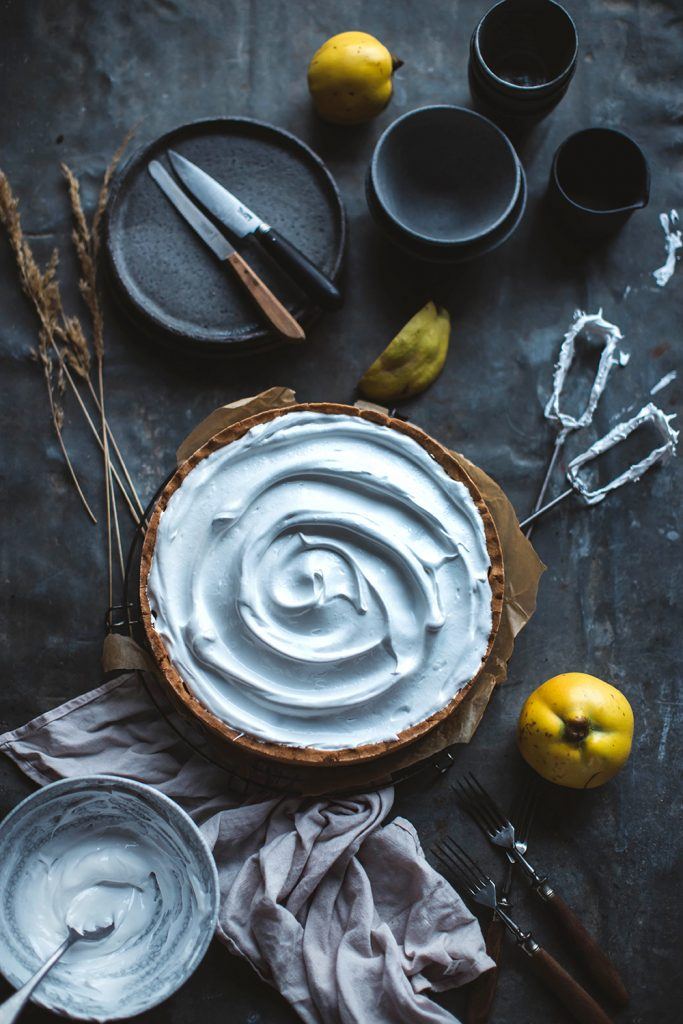
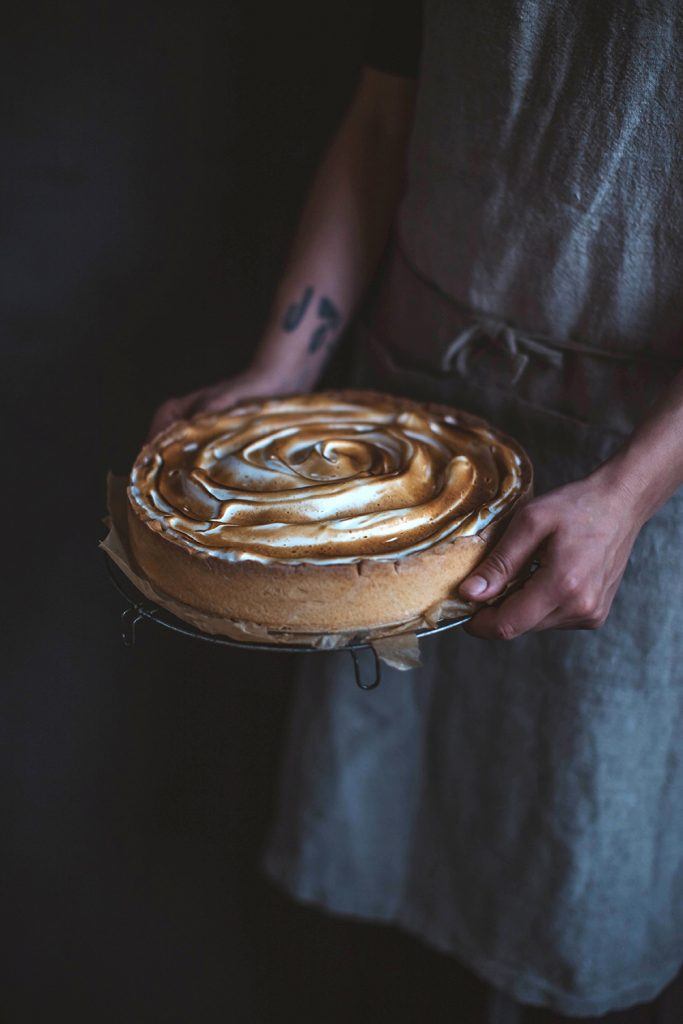
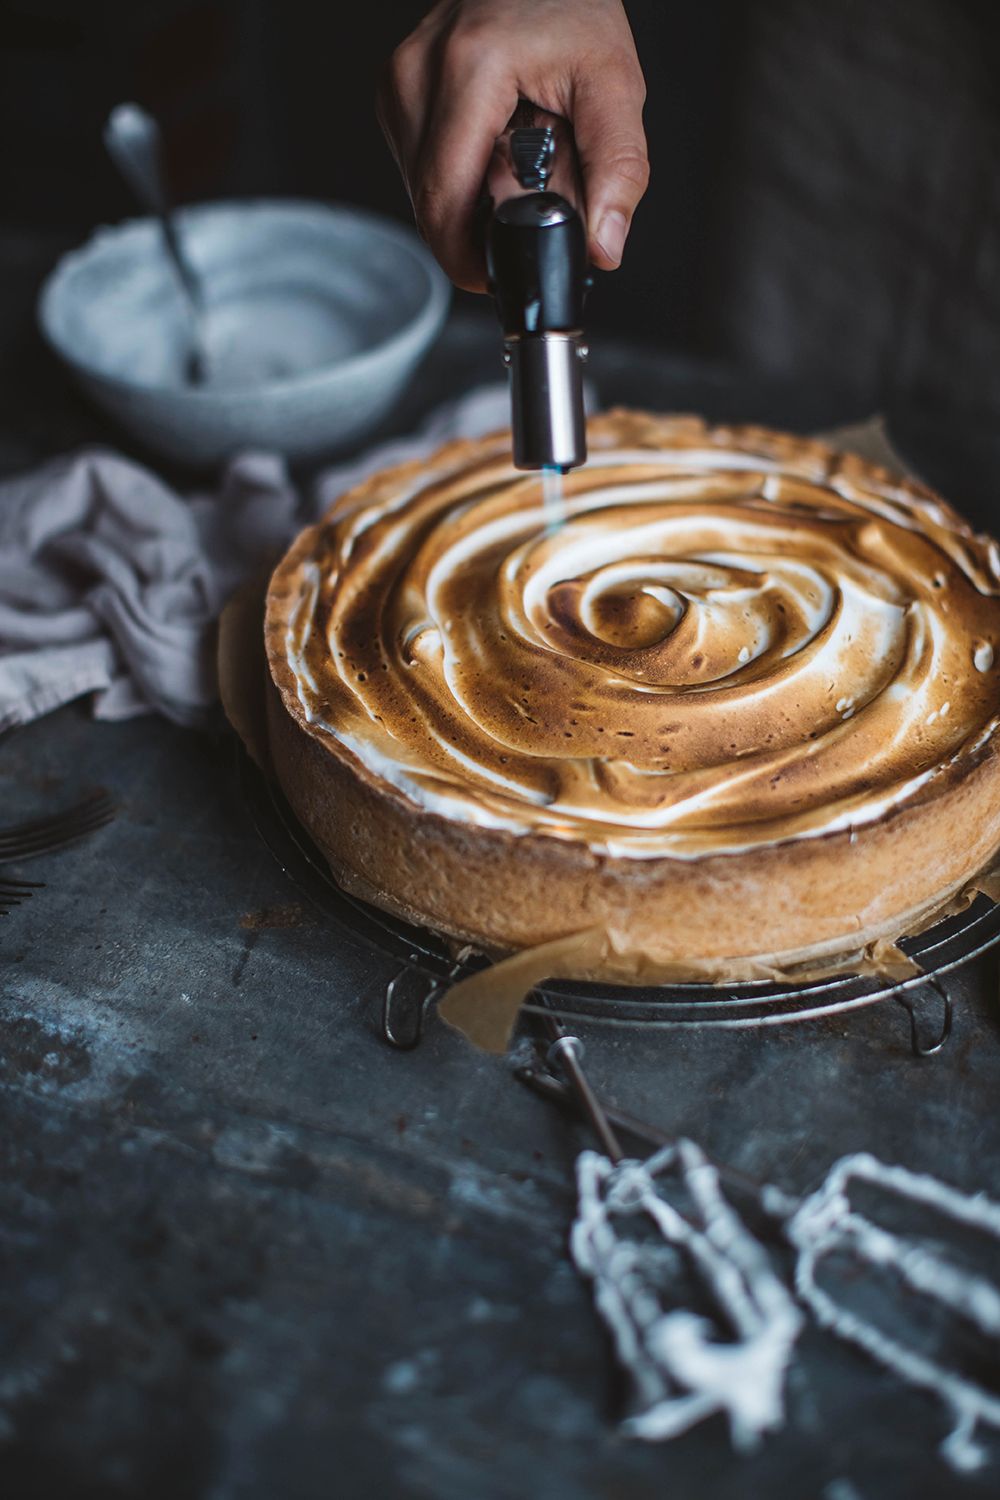
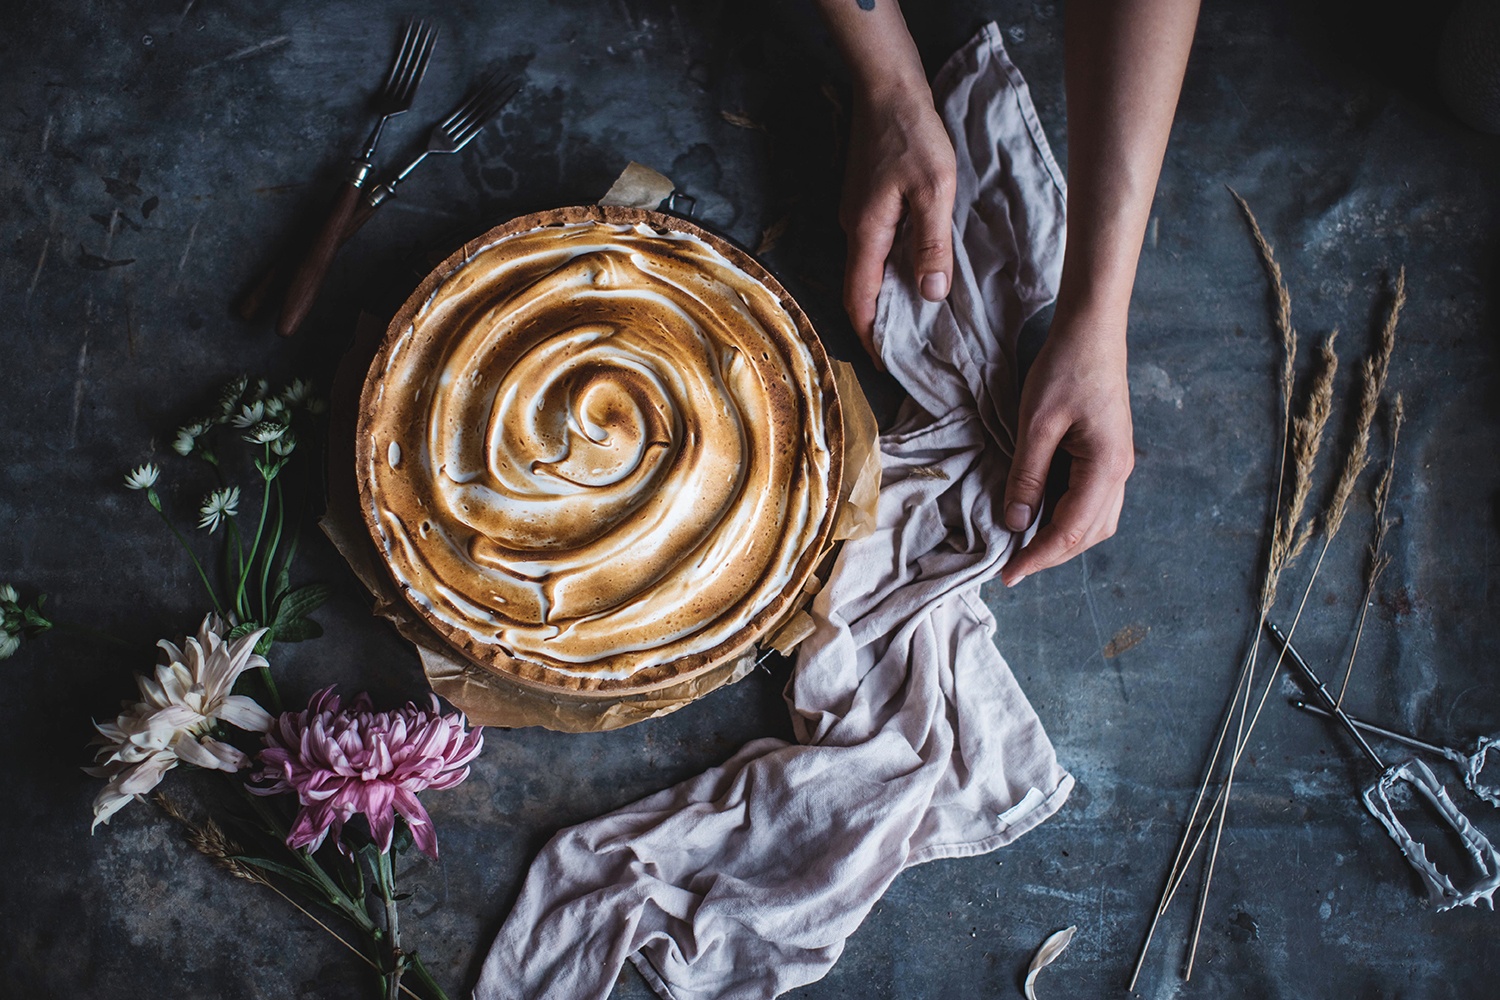
Peel and decore the quinces, quarter them and cut into thin slices. Then cook the quince slices together with all the other ingredients for the compote in a wide pan or pot with lid on top for 10-15 minutes – stir frequently. In the end there should be almost no liquid left (if there´s liquid left, sieve the quince compote and stir the juice later into the cheesecake filling). Now preheat your oven to 180°C (360°F) top/bottom-heat. Line a springform pan with baking paper, grease and flour the sides (if you want, you can leave it in the fridge until the pastry is prepared). For the pastry knead butter, sugar and salt with the dough hook of your hand mixer. Then knead in the eggs. Blend rice flour and baking powder and knead in as well. In the end knead the pastry by hand for 1 minute, then start covering the bottom of your springform with about half the pastry (press with your fingers), press the other half on the sides of the springform (the crust doesn´t need to be as high as the sides of the springform, so leave a 1cm edge). Afterwards blend all the ingredients for the filling (without the custard powder!) with your hand mixer. In the end add the custard powder thoroughly. Then arrange the quince compote on the pastry bottom and pour the filling on top. Bake the gluten-free quince cheesecake for 50-55 minutes (if necessary cover the cake with tinfoil the last minutes), then leave the cake to cool down for at least 2 hours or even overnight, so the filling can get firm. To prepare the meringue you only need to beat the eggwhites half stiff, then add the superfine sugar and salt gradually and beat 2-3 more minutes until you have a nice glossy meringue. Now spread the meringue with a tablespoon on top of your quince-cheesecake and at last brown the meringue with a cooking torch.

German Translation
Vor ein paar Wochen hatten wir das Vergnügen die neue Canon EOS 6D Mark II für zwei wunderbare Tage zu testen. Diese zwei Tage haben wir mit einem Filmteam und dem talentierten Fotografen Antonios Mitsopoulos verbracht. Antonios ist auch Food-Fotograf und es war wirklich schön sich gegenseitig auszutauschen und zu inspirieren und gemeinsam die neue Canon EOS Mark II auszuprobieren. Am ersten Tag sind wir zum Gut Boltenhof, einem Bio-Bauernhof in Brandenburg, gefahren. Gemeinsam sind wir durch die Wälder gestreift und haben Dekoration für unser Shooting im Studio gesammelt und auf dem Bauernhof Quitten für unseren Kuchen gepflückt. Die Kamera war der perfekte Begleiter für unseren langen Spaziergang, da sie, obwohl sie eine Vollformatkamera ist, relativ leicht ist. Wir haben die frische Waldluft, den Duft von Herbst in der Luft und all die vielen Pilze, die wir auf unserem Weg gesehen haben, so genossen. Nach dem Spaziergang haben wir den Bauernhof erkundet, konnten Gänse und Ziegen kennenlernen, uns im Hühnerstall (dort war so schönes Licht!) Eier für unseren Kuchen suchen und haben zum Schluss Kaffee und Kuchen im charmanten Wintergarten genossen. Am nächsten Morgen ging es bei uns im Studio weiter – Nora hat einen glutenfreien Quitten-Käsekuchen gebacken und wir und Antonios haben jeder an einem eigenen Setting gearbeitet. Es war interessant für uns, ihm bei seinem Arbeitsprozess zuzusehen, da wir so unterschiedlich arbeiten. Antonios arbeitet mit künstlichem Licht und wie die meisten von Euch vielleicht wissen, arbeiten wir mit Tageslicht. Zwei verschiedene Herangehensweisen – um so spannender ist es sich hier auszutauschen und Erfahrungen miteinander zu teilen. Was wir unter anderem an der Kamera besonders mochten war die Funktion sie mit dem Wlan zu verbinden. So kann man sich die Bilder schnell und einfach auf’s Handy übertragen und auf Instagram posten und außerdem braucht man während der Arbeit im Studio kein lästiges Verbindungskabel mehr, wenn man die Bilder während des Shootings am Computer sehen möchte. Auch der große Sucher der Kamera hat uns sehr gefallen und war so komfortabel während des ganzen Shoots. Als der Kuchen fertig war und wir alle den ganzen Backprozess fotografiert und gefilmt hatten, haben Nora und Ich einen Tisch gestylt und zum Abschluss den fertigen Kuchen fotografiert. Dabei haben wir auch das bewegliche Display der Kamera getestet, was gerade bei Fotos von oben sehr hilfreich war. Während des gesamten Shootings haben wir folgende Objektive verwendet: ein 50 mm/ 1:1.2L und das 35mm f/1.4L. Wenn Ihr noch mehr Infos zu Kamera haben wollt schaut auf der Canon Seite vorbei und auf der Canon Facebook Seite gibt es bald noch ein Facebook-Live-Event, aber dazu bald mehr.
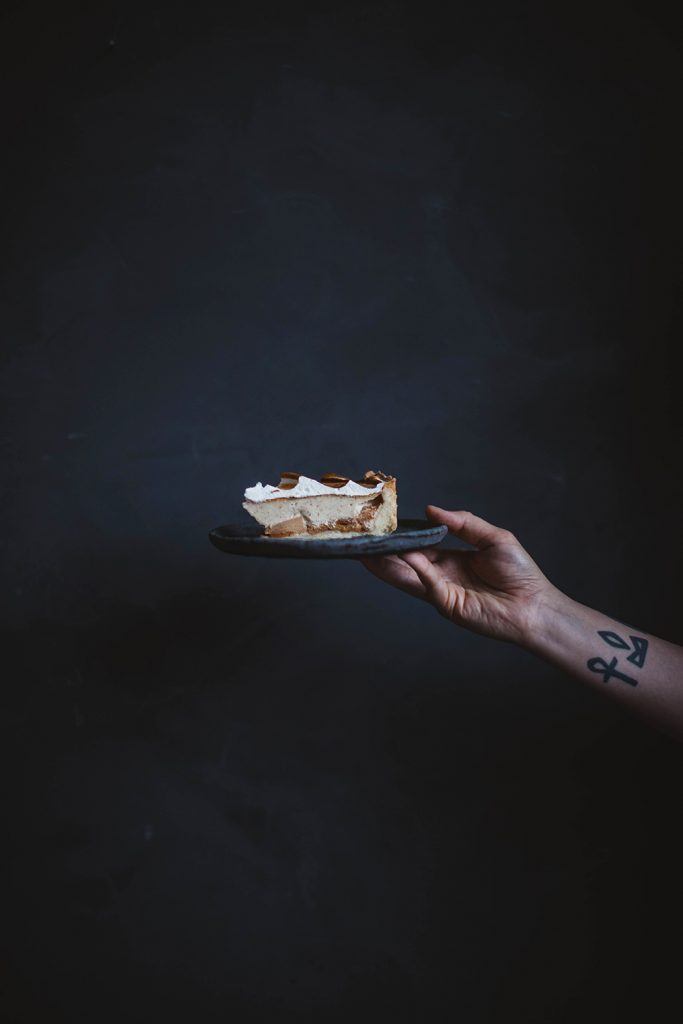
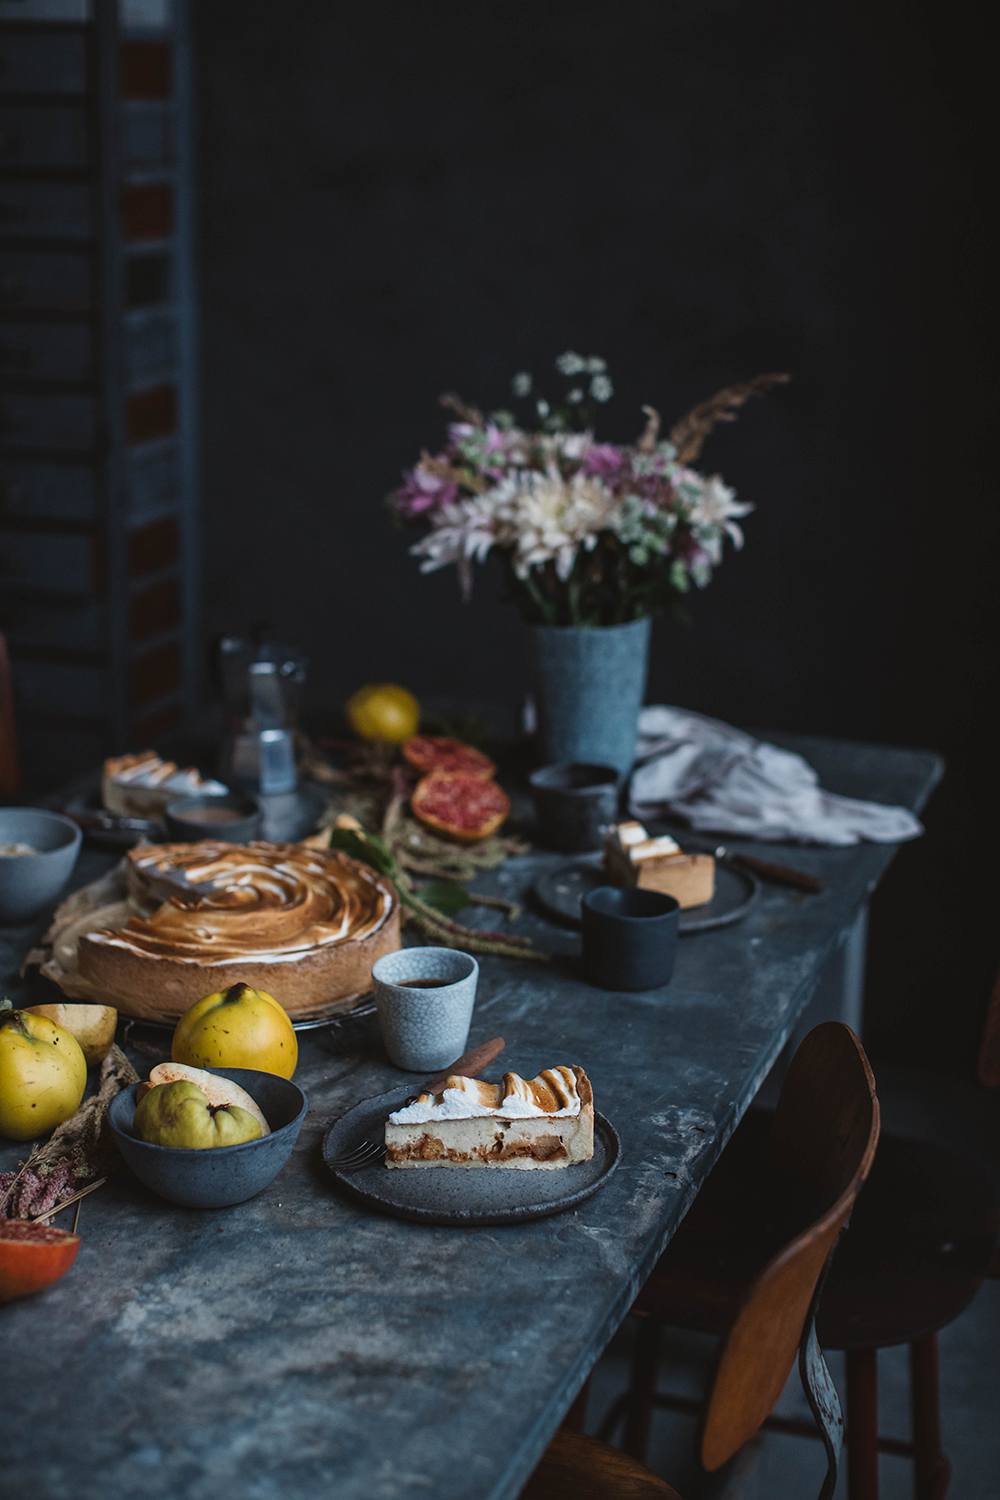
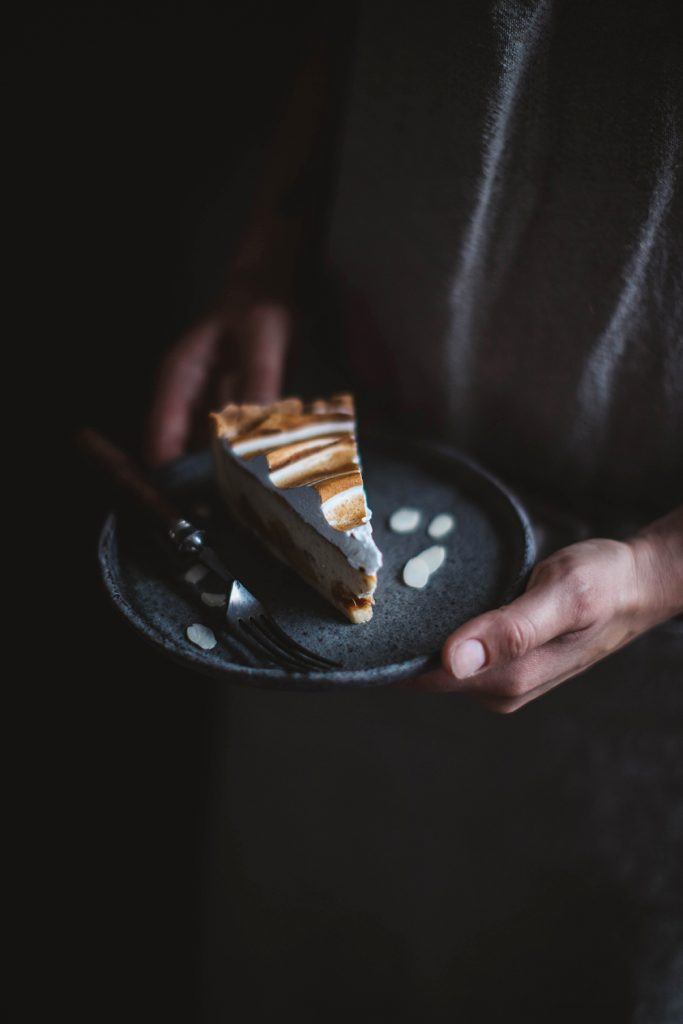
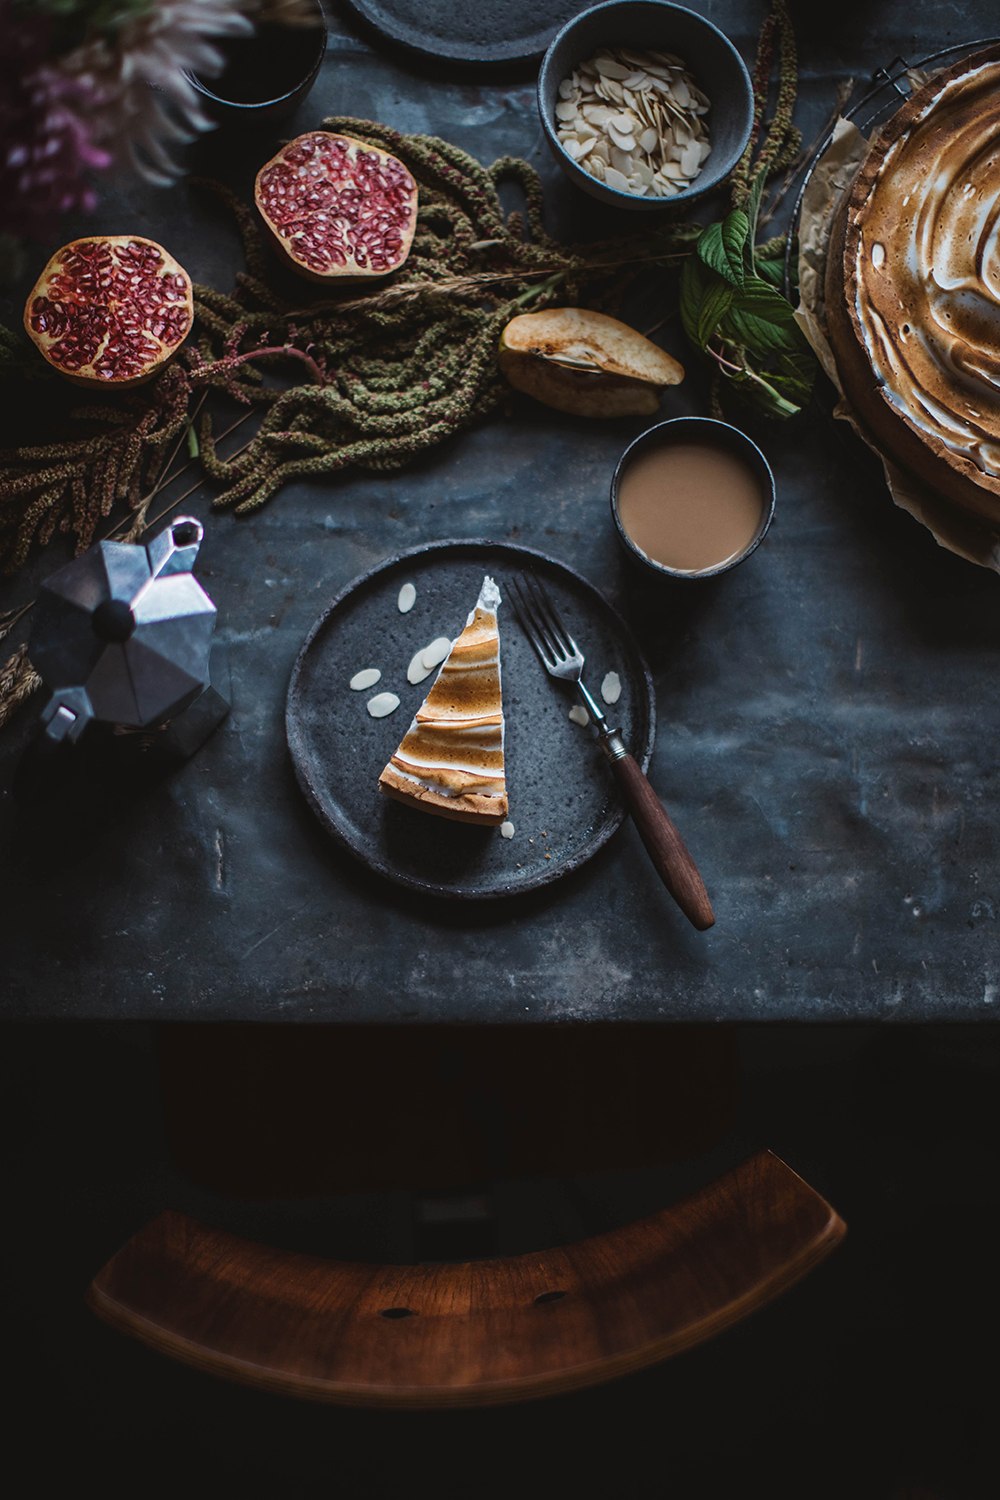
Glutenfreier Quitten-Käse-Kuchen mit Baiser
Glutenfreier Kuchenteig
- 350g Reismehl
- 125g Butter
- 125g Zucker
- 1 TL Backpulver
- 2 Eier
- 1 Prise Salz
Quitten-Kompott
- 400-500g Quitten geschält und entkernt (etwa 4 Quitten )
- 2 EL Rohrzucker
- 1 Zitrone (man benötigt die Zesten plus den Saft einer halben Zitrone)
- 1 TL Zimt
- 1 EL Butter
- 1 Stück Ingwer, fein geraspelt
Vanille-Käse-Füllung
- 300g Quark
- 200g Schmand (oder Frischkäse)
- 200g Schlagsahne
- 120g Rohrzucker
- 1 Ei
- 2 Eigelb (Gr. L – das Eiweiß einfach später für das Baiser verwenden)
- 1 Pck Vanillepuddingpulver
- 1 gute Prise gemahlene Vanille
Baiser
- 2 Eiweiße (die Eigelbe wurden für die Vanille-Quark-Füllung verwendet)
- 100g feiner Zucker
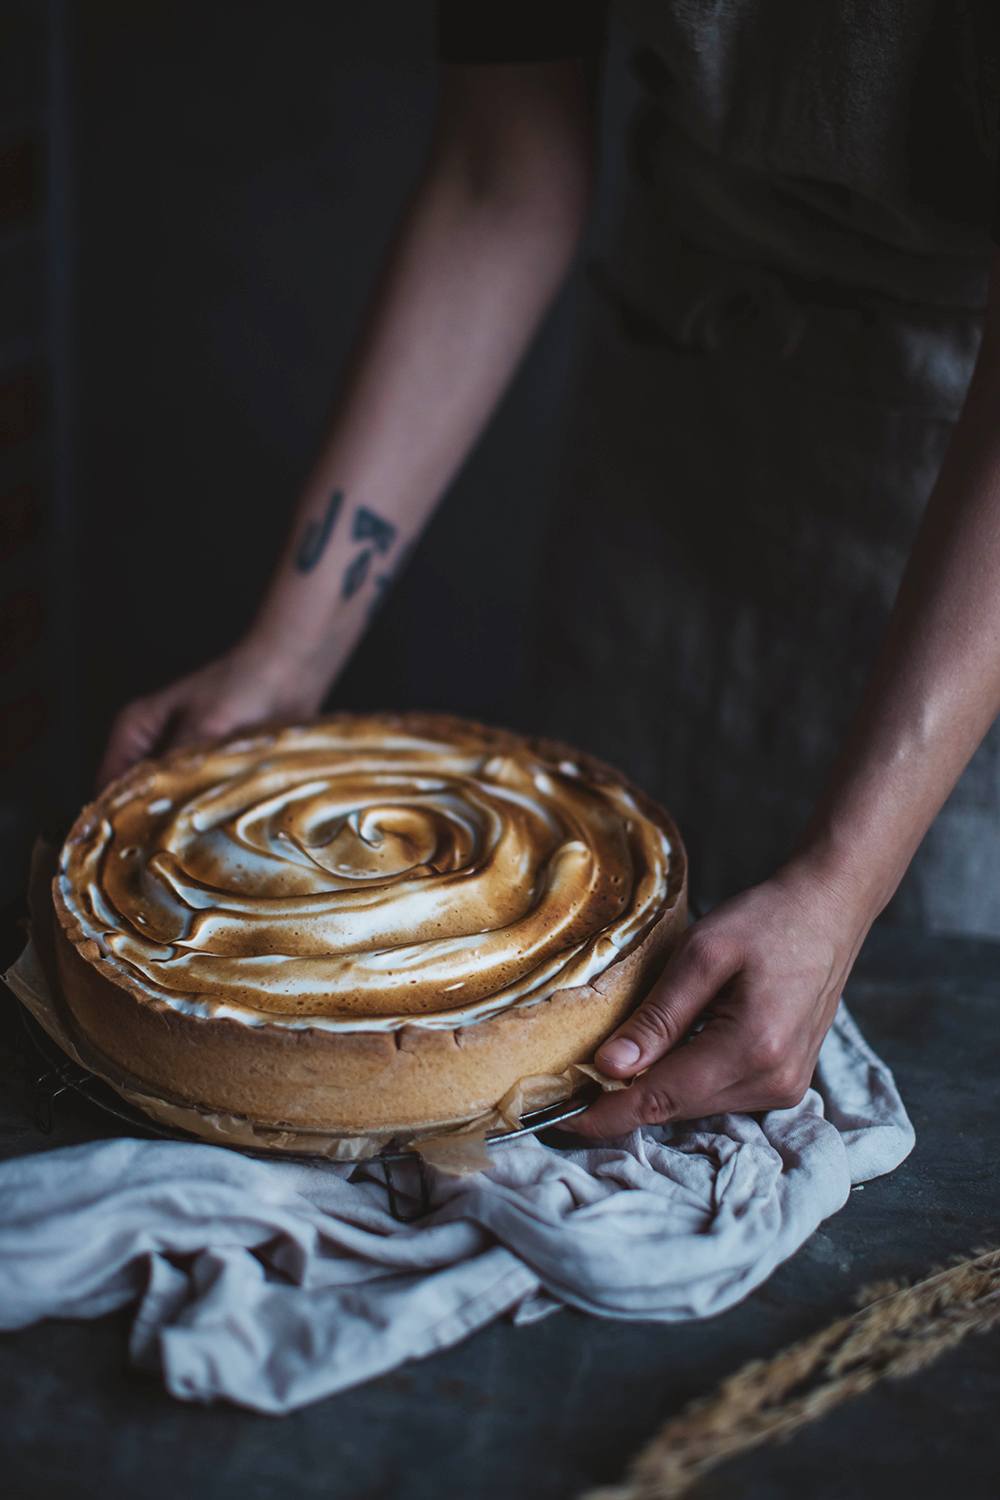
Die Quitten schälen, entkernen, vierteln und in schmale Scheiben schneiden. Dann die Quittenstücke in einem Topf oder einer Pfanne mit allen Zutaten 10-15 Minuten köcheln lassen bei leicht geschlossenem Deckel – öfters umrühren. Zum Schluss sollte so gut wie keine Flüssigkeit übrig sein (falls doch, dann das Quitten-Kompott absieben und den Saft einfach später in die Quark-Füllung miteinrühren). Nun den Ofen auf 180°C Ober-/Unterhitze vorheizen. Den Boden einer Springform mit Backpapier auslegen, die Seiten buttern und mehlen (wer mag, kann die Springform solange in den Kühlschrank stellen, bis der Teig vorbereitet ist). Butter, Salz und Zucker mit dem Knethaken verkneten. Dann die Eier unterrühren. Das Reismehl und Weinsteinbackpulver mischen und ebenfalls unterrühren. Teig mit dem Händen noch einmal 1 Minute lang durchkneten, dann etwa die Hälfte des Teigs auf dem Springformboden verteilen bzw. andrücken und den Rest am Springform-Rand andrücken bzw. verteilen. Quark, Schmand, Schlagsahne, Rohrzucker, gemahlene Vanille, Ei und Eigelbe mit dem Handmixer gut verrühren. Zum Schluss während des Rührens das Puddingpulver dazugeben. Auf dem Boden der Springform zuerst die Quittenstücke verteilen, dann die Quark-Füllung darüber geben. Den Quitten-Käsekuchen für 50-55 Minuten backen (evt. in den letzten Minuten etwas Alufolie über den Kuchen legen, falls die Oberseite zu braun wird), danach in der Springform mindestens 2 Stunden abkühlen lassen bzw. auch über Nacht, damit die Füllung fest werden kann und gut durchzieht. Zum Schluss die 2 Eiweiße halbsteif schlagen, dann nach und nach den Zucker hinzufügen und ein paar Minuten weiterschlagen bis der Eischnee schön fest ist. Eischnee mit einem Esslöffel auf dem Kuchen verteilen und dann mit einem Gasbrenner bräunen.
Comments
Lea Nov 05, 2017
Der Kuchen sieht unglaublich lecker aus!! Aber auch die Fotos sind klasse, die Kamera macht also auf jeden Fall einen guten Eindruck. 👏🏻💙🙂
Our food stories - Nov 07, 2017
Vielen lieben Dank Dir Lea, das freut uns sehr zu lesen <3
silvi Nov 06, 2017
Gosh girls, your styling always makes me dream, your skills are amazing. I love everything about this shooting and I cannot take my eyes off the photos!
Love S x
Our food stories - Nov 07, 2017
Thanks so much Silvi, so happy to read that - what a wonderful compliment <3
Pete Nov 07, 2017
coolness :D may I ask what camera mount do you use for overhead shots? Its on an image in the middle :)
Our food stories - Nov 07, 2017
It's a tripod from Foba :) We don't use for all over overhead shots though, a lot we just take by hand :)
Juliette Steen Nov 07, 2017
Such a beautiful images and creations - the cheesecake is droolworthy!
Juliette x
http://thelifelist.co/
Our food stories - Nov 08, 2017
Thank you so much Juliette <3
Ela - themomentsbyela.pl Nov 08, 2017
I'm fascinated by your beautiful pictures. I will do the next weekend. I am convinced that my guests will be delighted.
Kisses
Ela
www.themomentsbyela.pl
Our food stories - Nov 08, 2017
Thank you Ela, so happy to read that! We hope you enjoy <3
Franzi Nov 17, 2017
Ich finde es toll, dass ihr Quitte in euren Cheesecake integriert hat. Ein Frühstück ohne mein geliebtes Quittengélée geht bei mir ja gar nicht. Und mein absolutes Lieblingsbild, die neugierige Ziege. Schöne Bilder und ein sehr spannendes Rezept!
Liebe Grüsse aus der Schweiz, Franzi
Annette B Jørgensen Dec 01, 2017
Holy moses 🤣 completely fantastic ... Love watching the whole lot, stiling, skills 😍 your stories ...
XOXO ABj