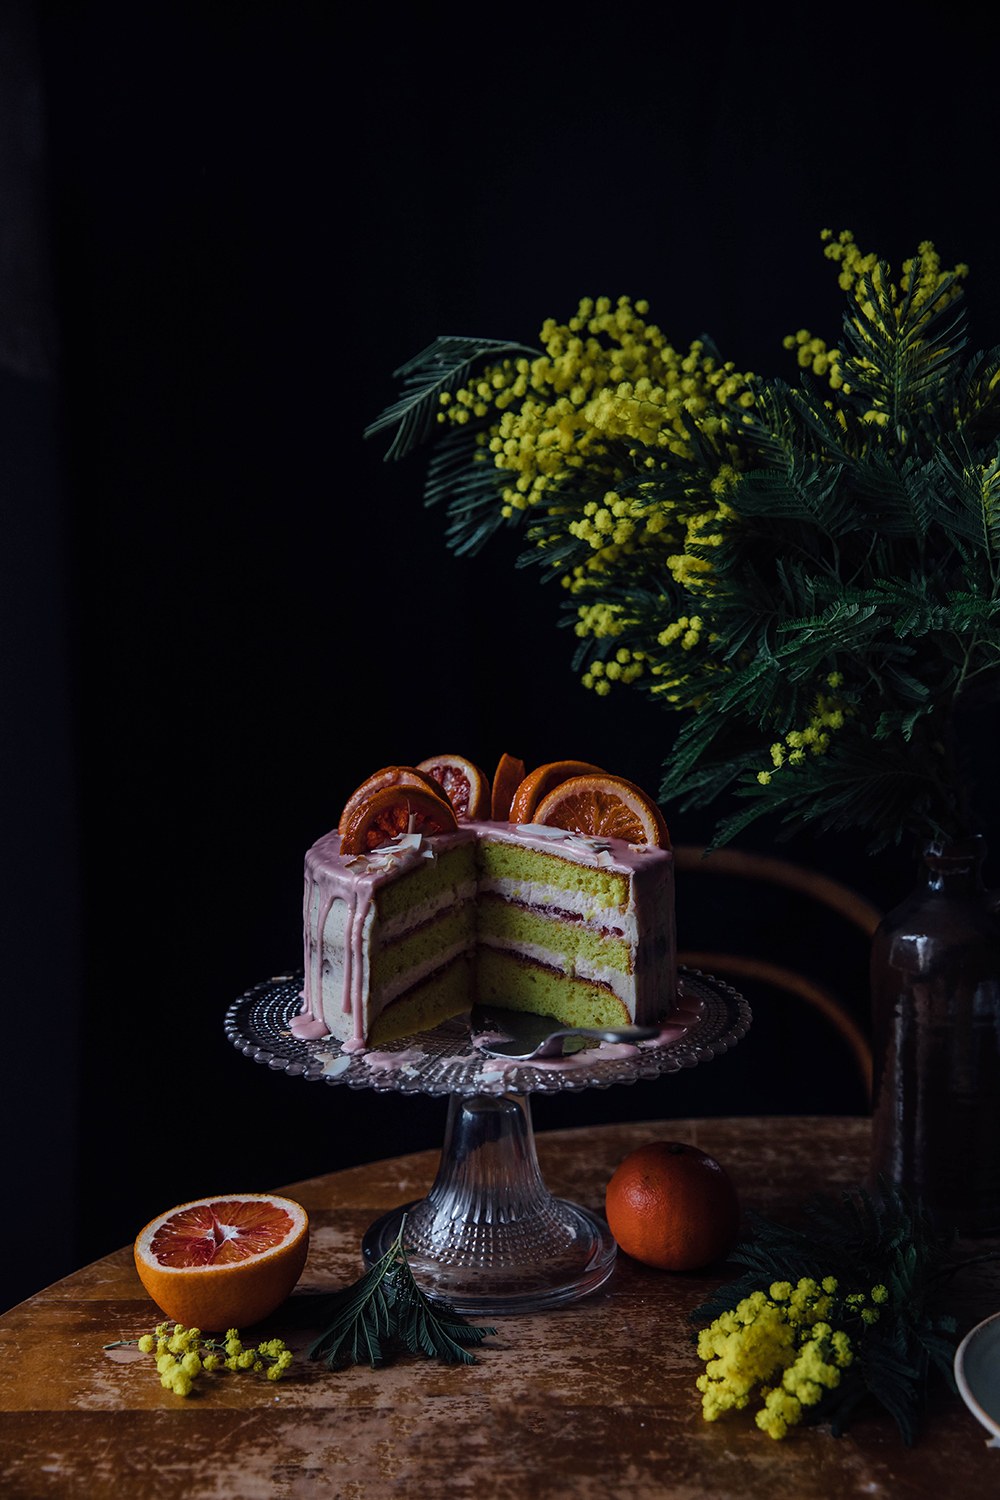
Gluten-free Blood Orange Lemon Cake
The blood oranges are finally in season again - what a wonderful pop of color during winter time!
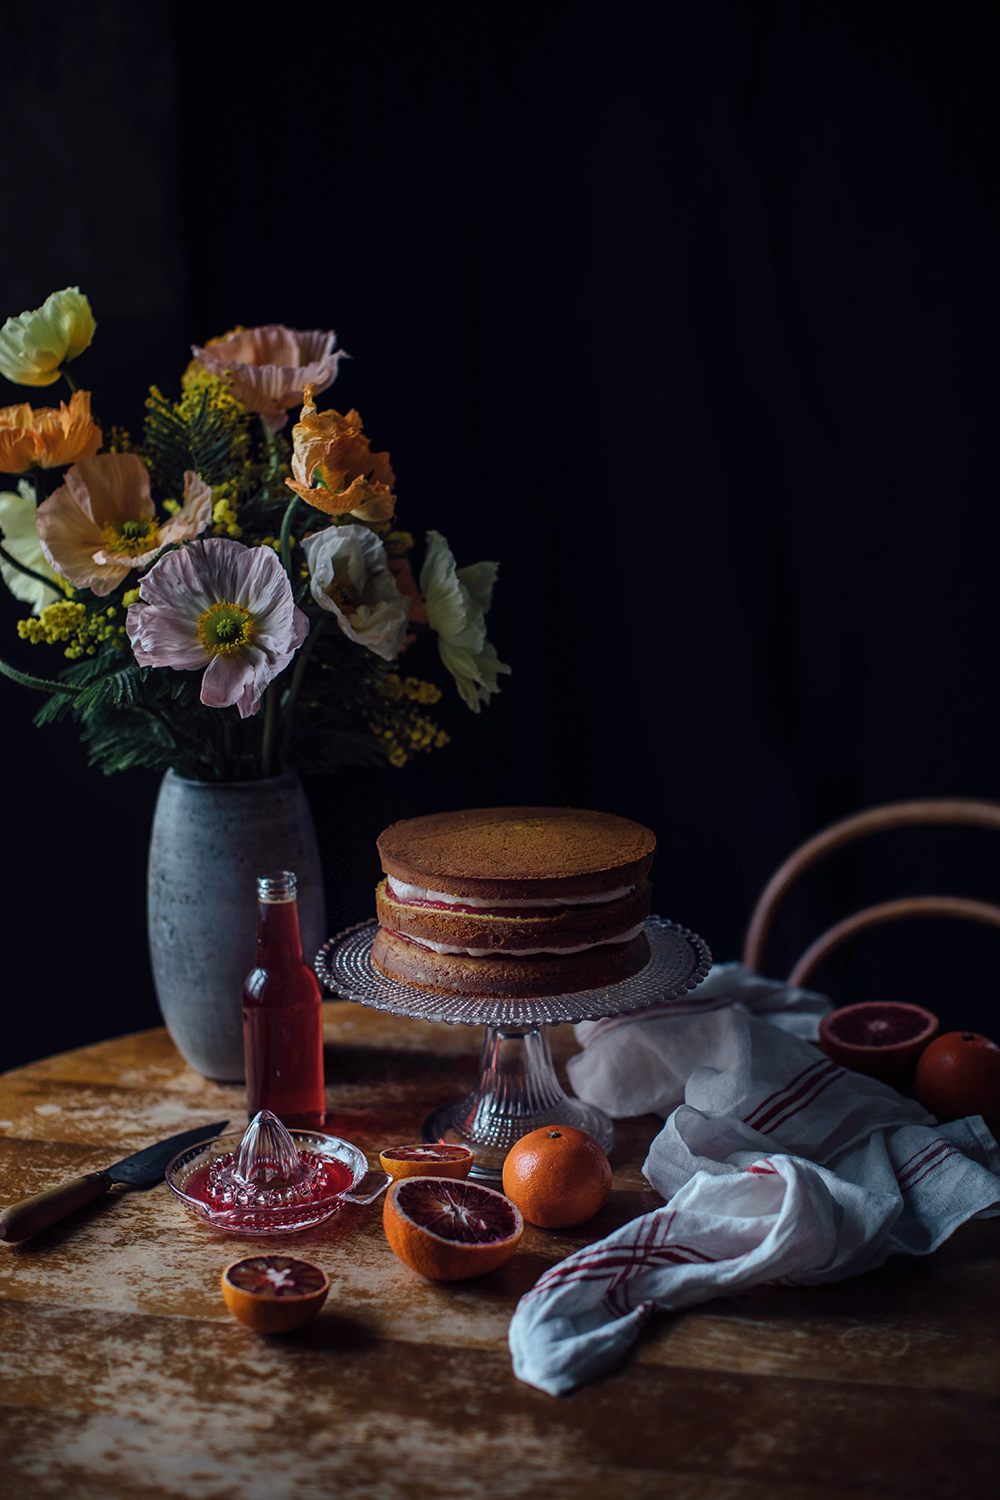
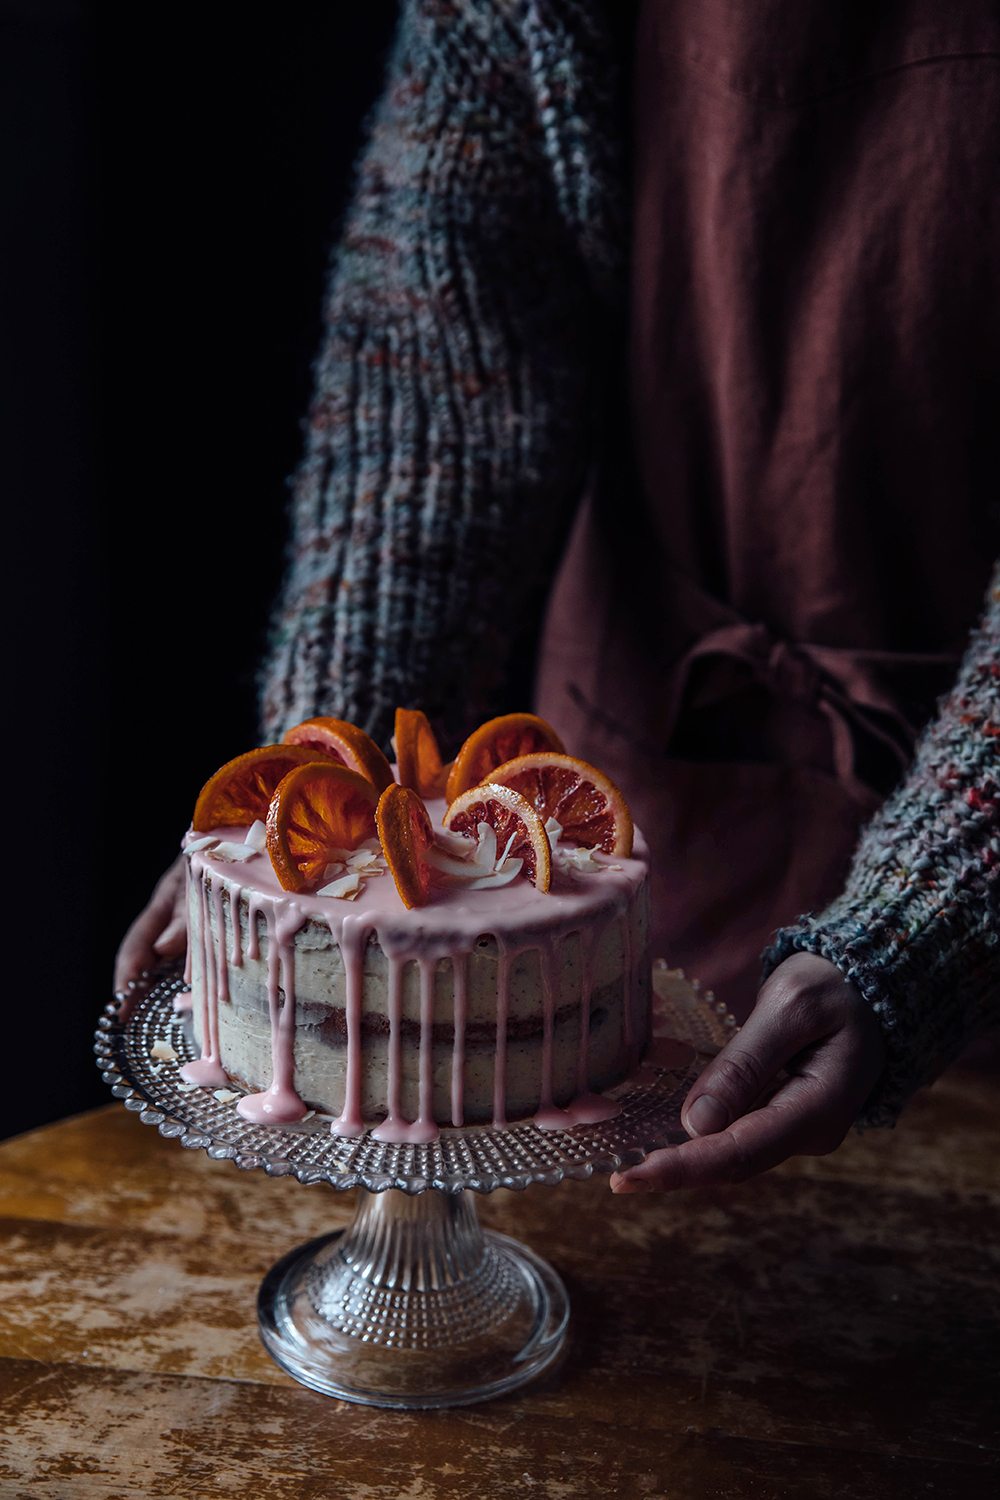
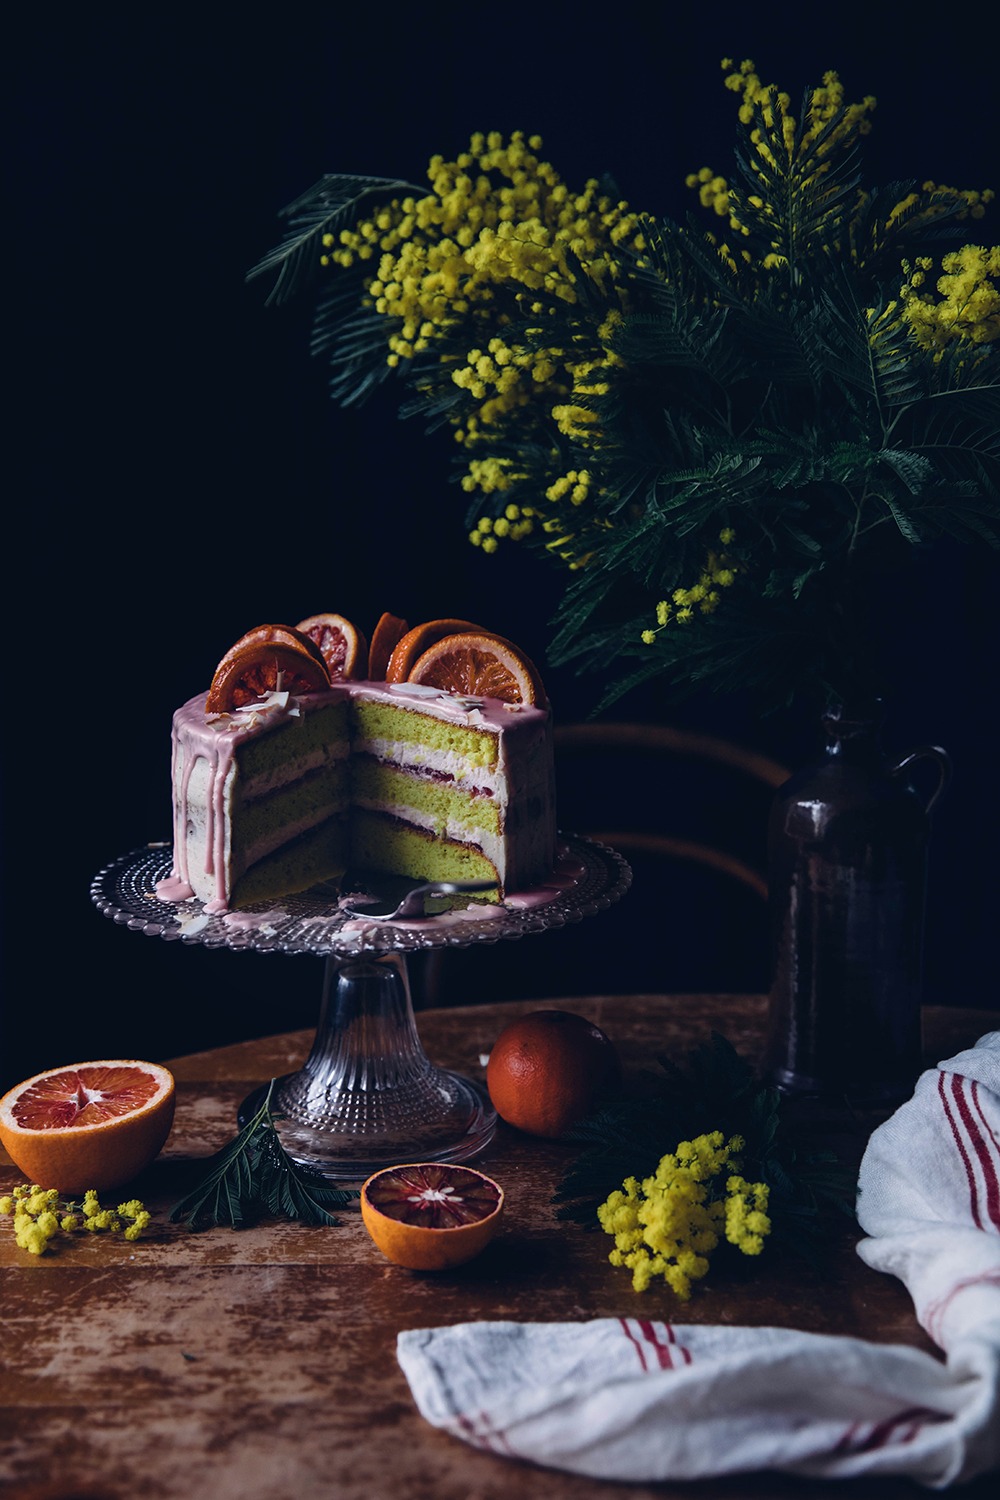
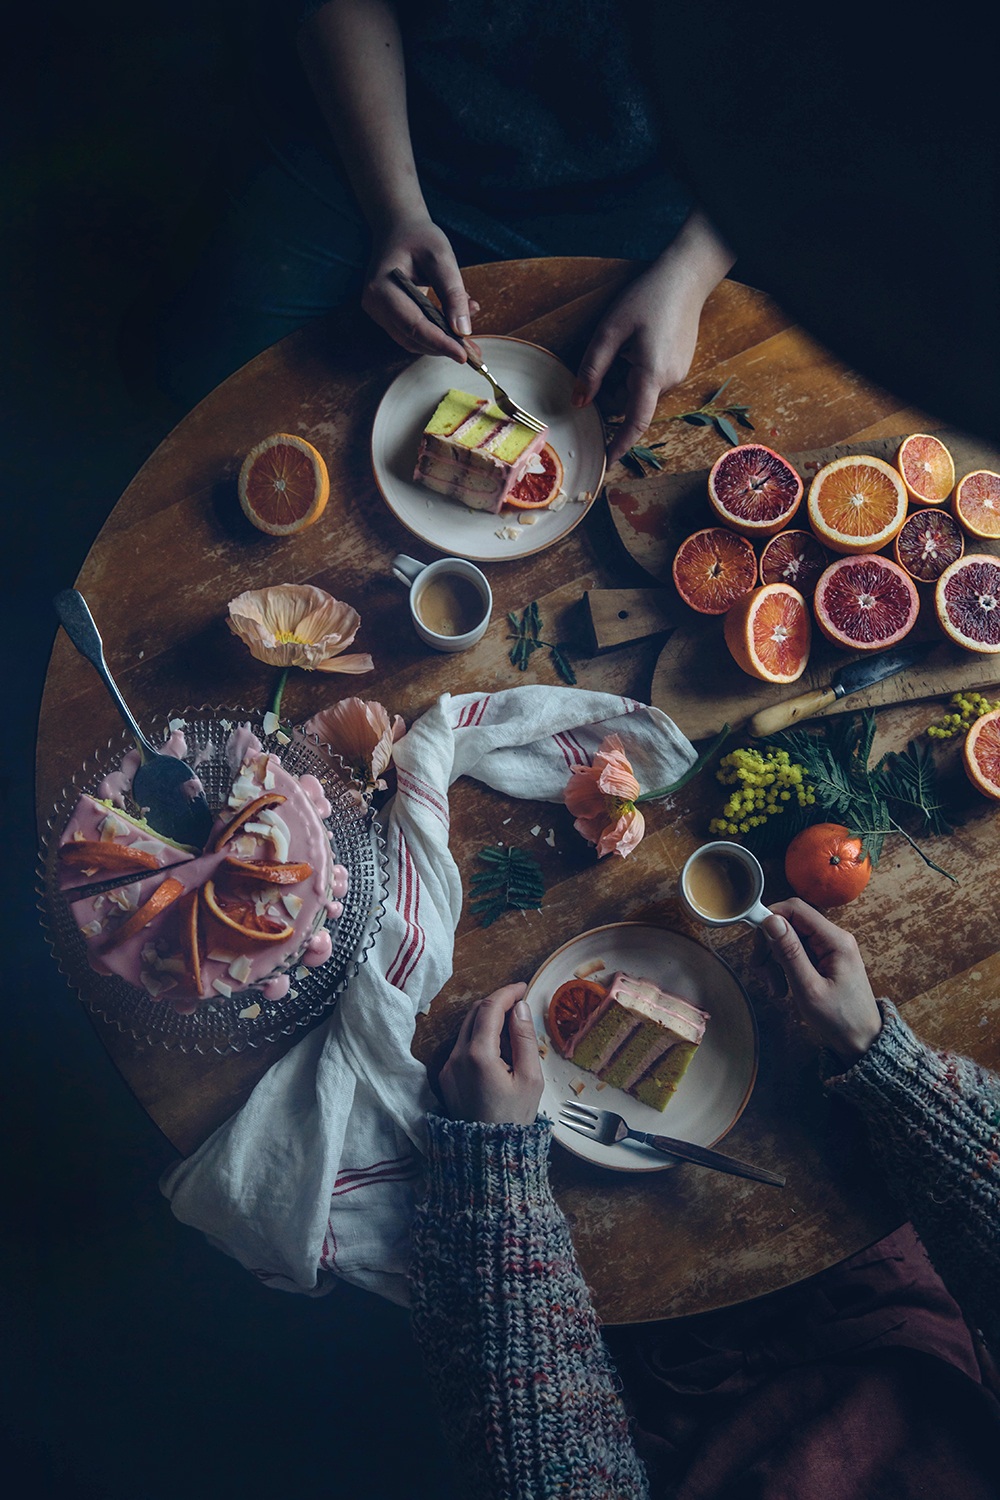
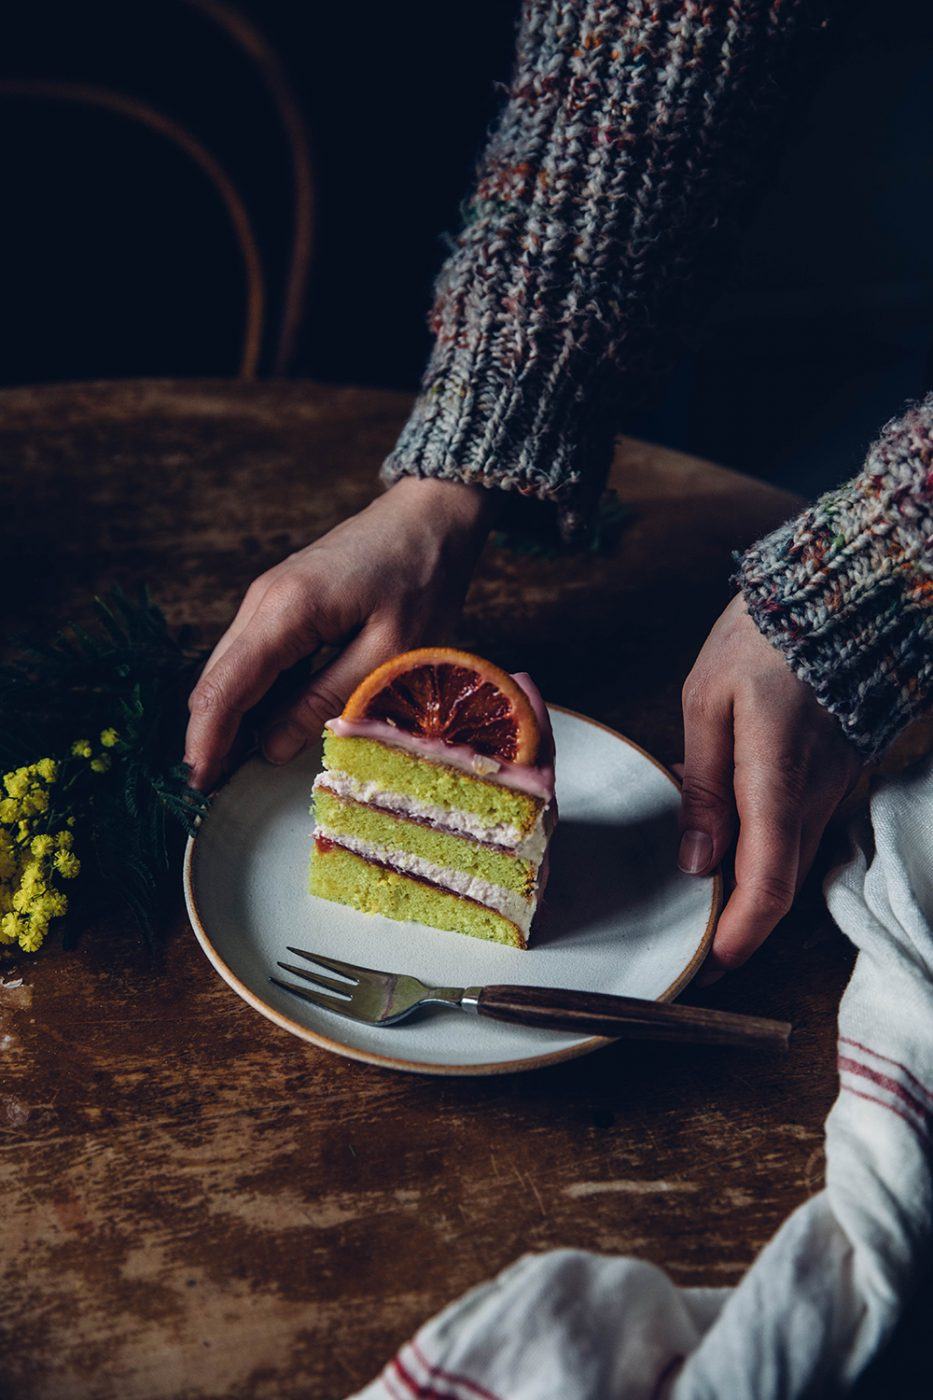
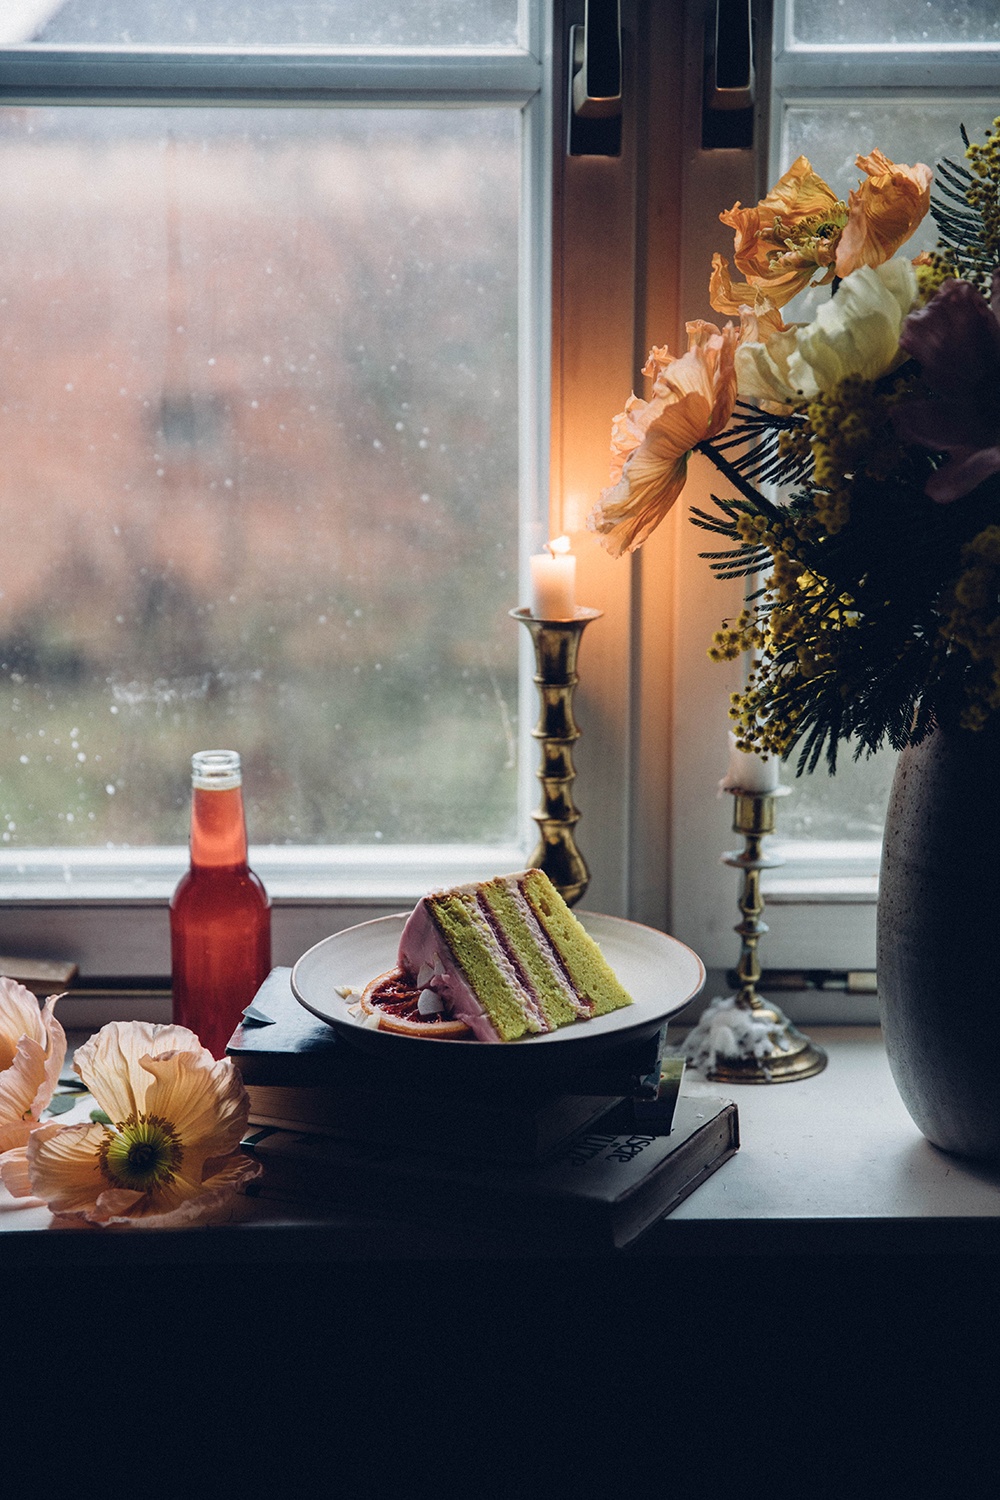
We always look forward to the blood orange season and absolutely love to bake with them. This delicious pavlova is one of our favorite recipes and also this gluten-free poppy seed cake, that we served with blood oranges last year is very good. But today we want to introduce you our newest creation: a gluten-free blood orange lemon cake. Not only the color is super pretty and perfect to cheer you up on a grey winter day, also the taste is just heavenly! It’s a wonderful combination of sweet and sour and we already can’t wait to bake it again soon. We also bought the first poppies this year and were totally blown away when they opened up – they almost looked unreal and so nice in combination with the cake. Also our sweet Carry sneaked into the pictures, she is definitely the perfect model 🙂 We wish you guys a happy weekend and hope you enjoy the recipe for this gluten-free blood orange lemon cake as well.
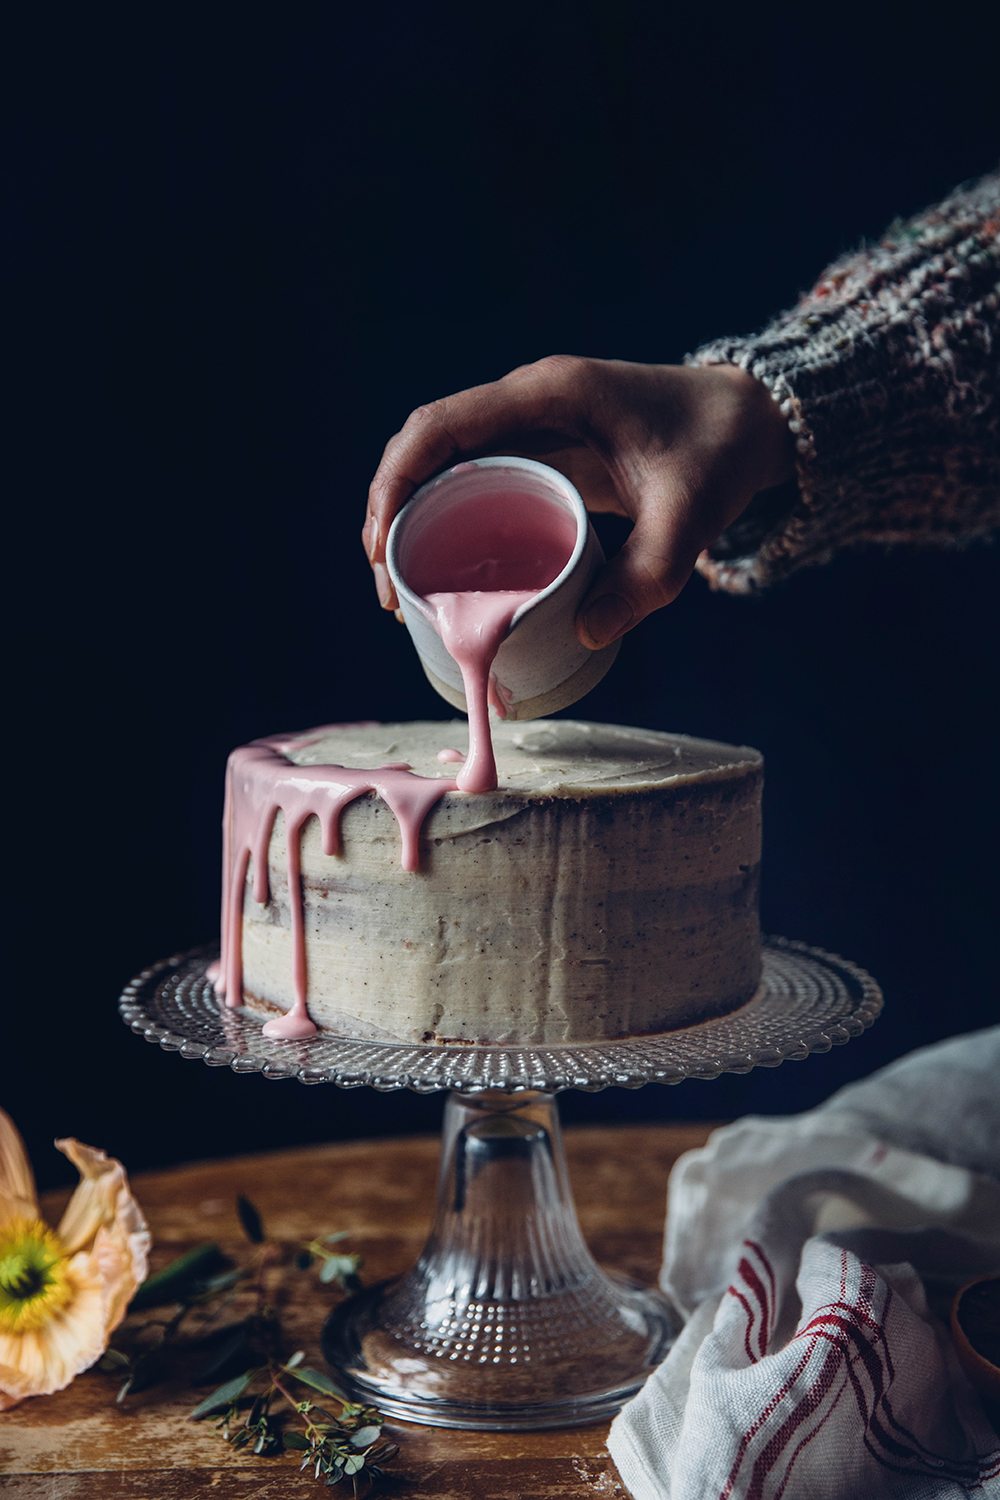
Gluten-free Blood Orange-Lemon-Cake
Ingredients for a 18cm springform pan
Gluten-free Lemon Batter
- 200g rice flour
- 150g sugar
- 125g butter
- 4 eggs (size M or L)
- 2 tsp baking powder
- 100ml plant milk
- 1 organic lemon (you will need 3 tbsp lemon juice and the zest of 1 lemon)
- 1/2 tsp ground turmeric (optional, for the color)
- 1 pinch vanilla
- 1 pinch salt
Blood Orange Jelly
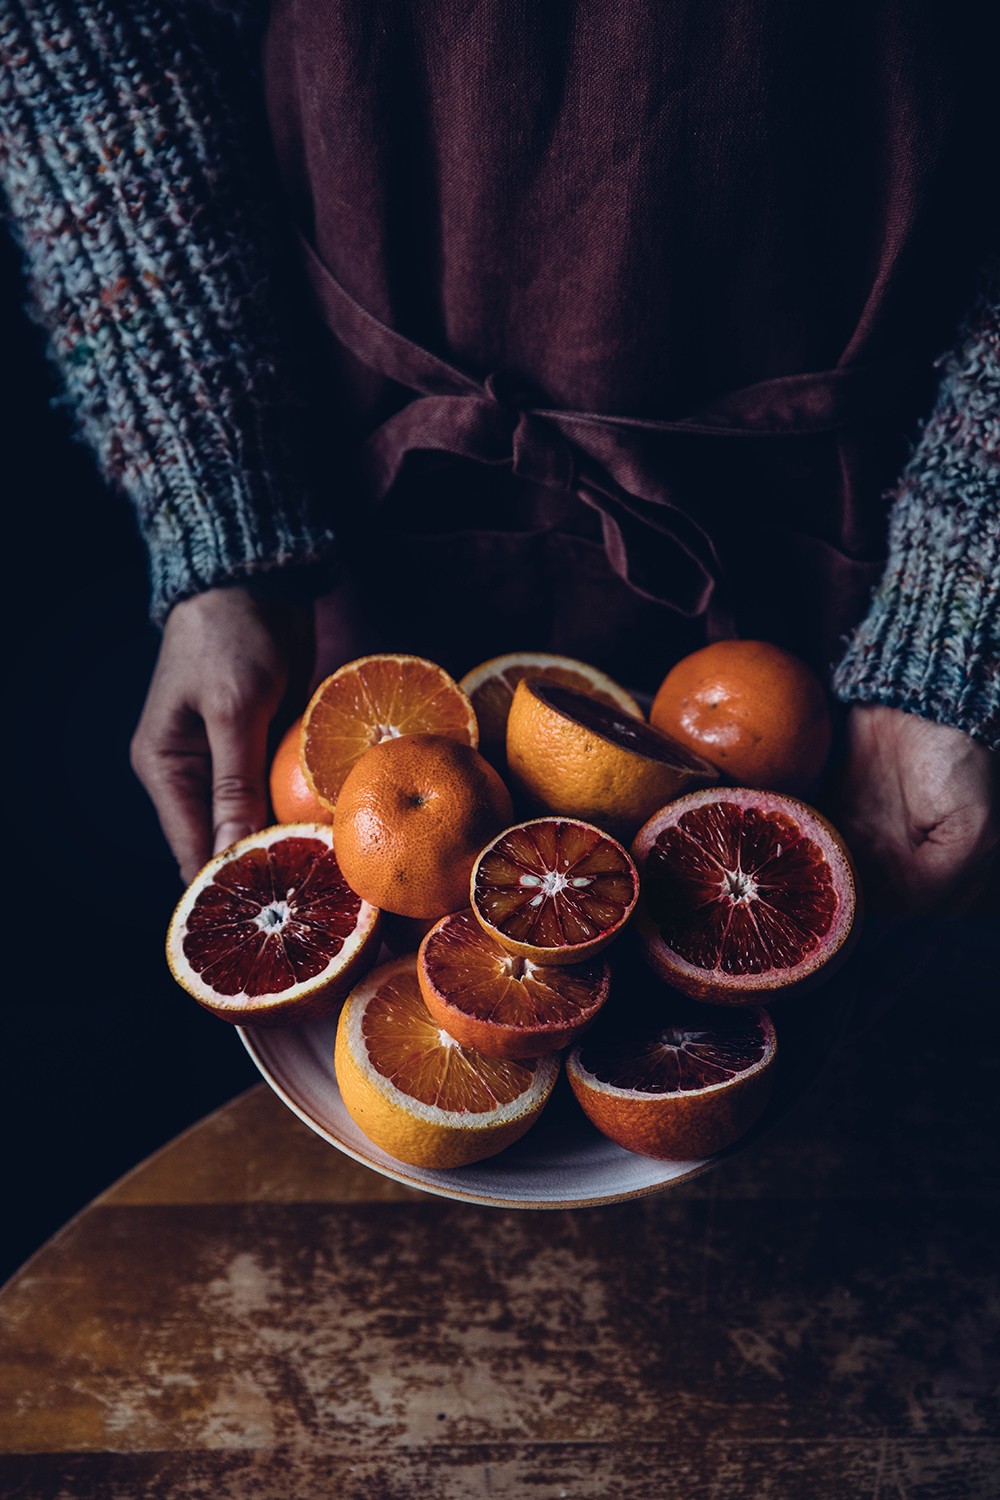
- 300ml blood orange juice (3-5 blood oranges, depends on the size)
- 5g Agar Agar (or use another gelling agent)
Blood Orange Cream
- 200g cream cheese
- 150g heavy cream
- 100g sugar
- 100ml blood orange juice (1 large blood orange)
- 3g Agar Agar (or use another gelling agent)
- red food coloring (optional)
Buttercream
- 140g soft butter
- 250g powdered sugar
- 1 pinch ground vanilla
- (maybe 1-2 tbsp lemon or blood orange juice)
Icing
- 100g powdered sugar
- 2-4 tbsp blood orange juice
Topping
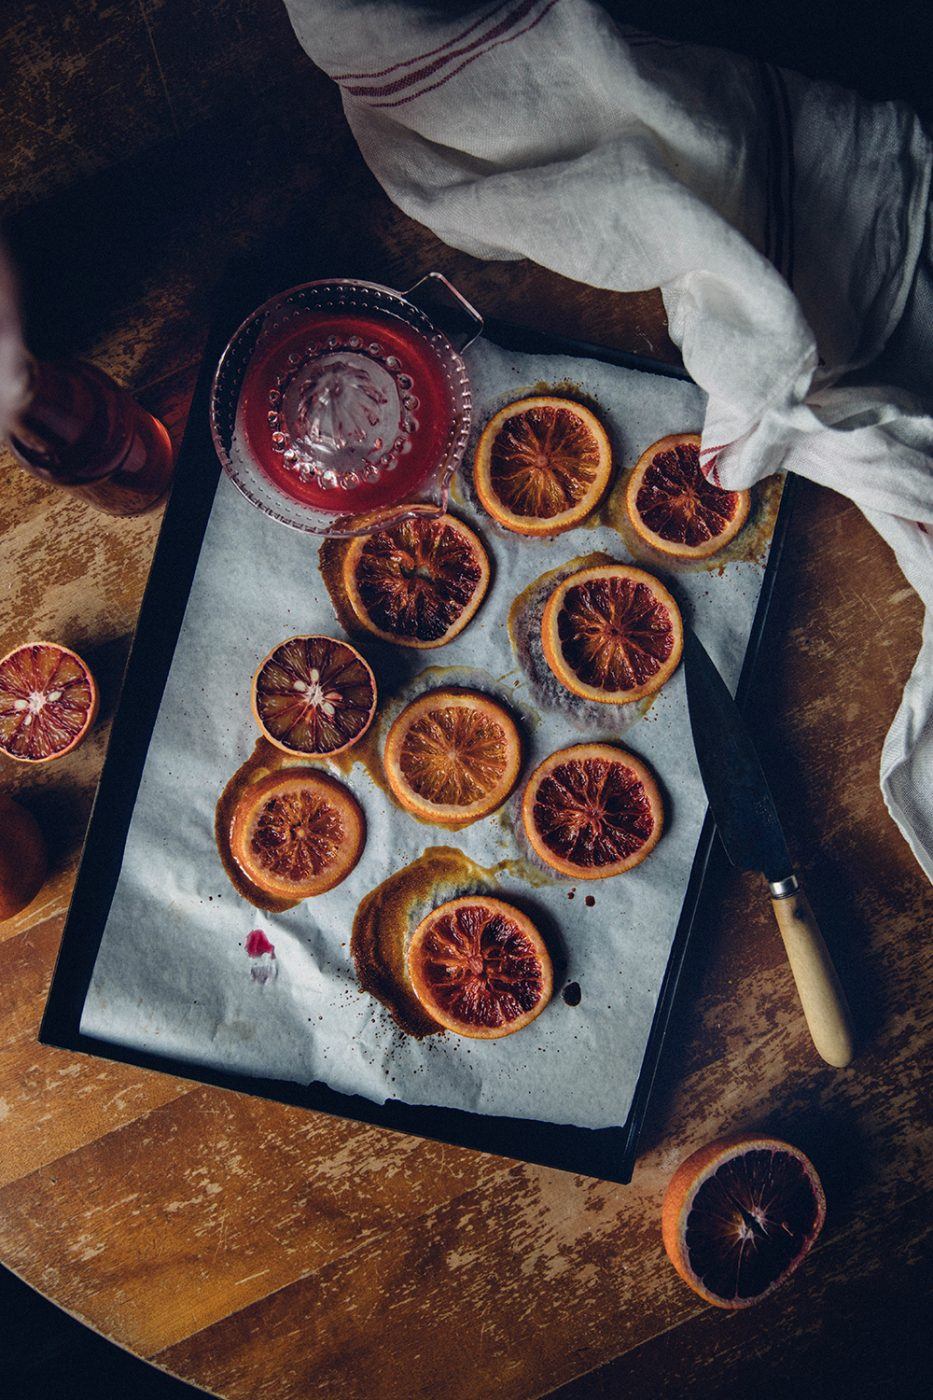
- caramelized blood oranges (see recipe below – or take fresh slizes for decoration)
- 1 tbsp coconut flakes
Caramelized Blood Oranges
- 2 organic blood oranges
- 250ml water
- 250ml sugar
Tip: if you don´t have the time for all steps, then you could decorate the cake with fresh blood orange slices instead of caramelized ones and you could replace the blood orange jelly with a delicious jam from your local food shop.
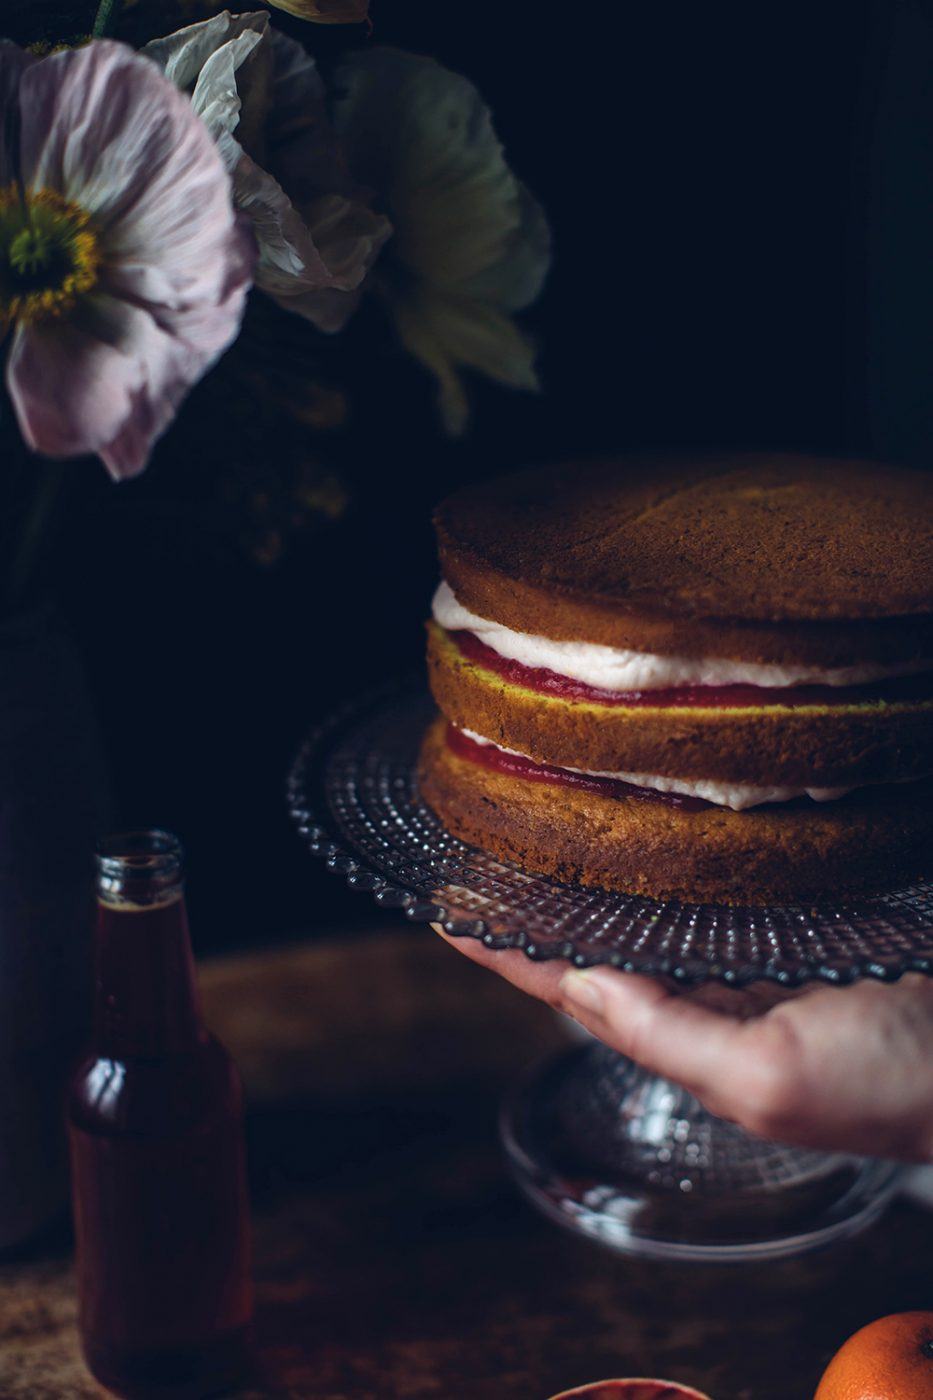
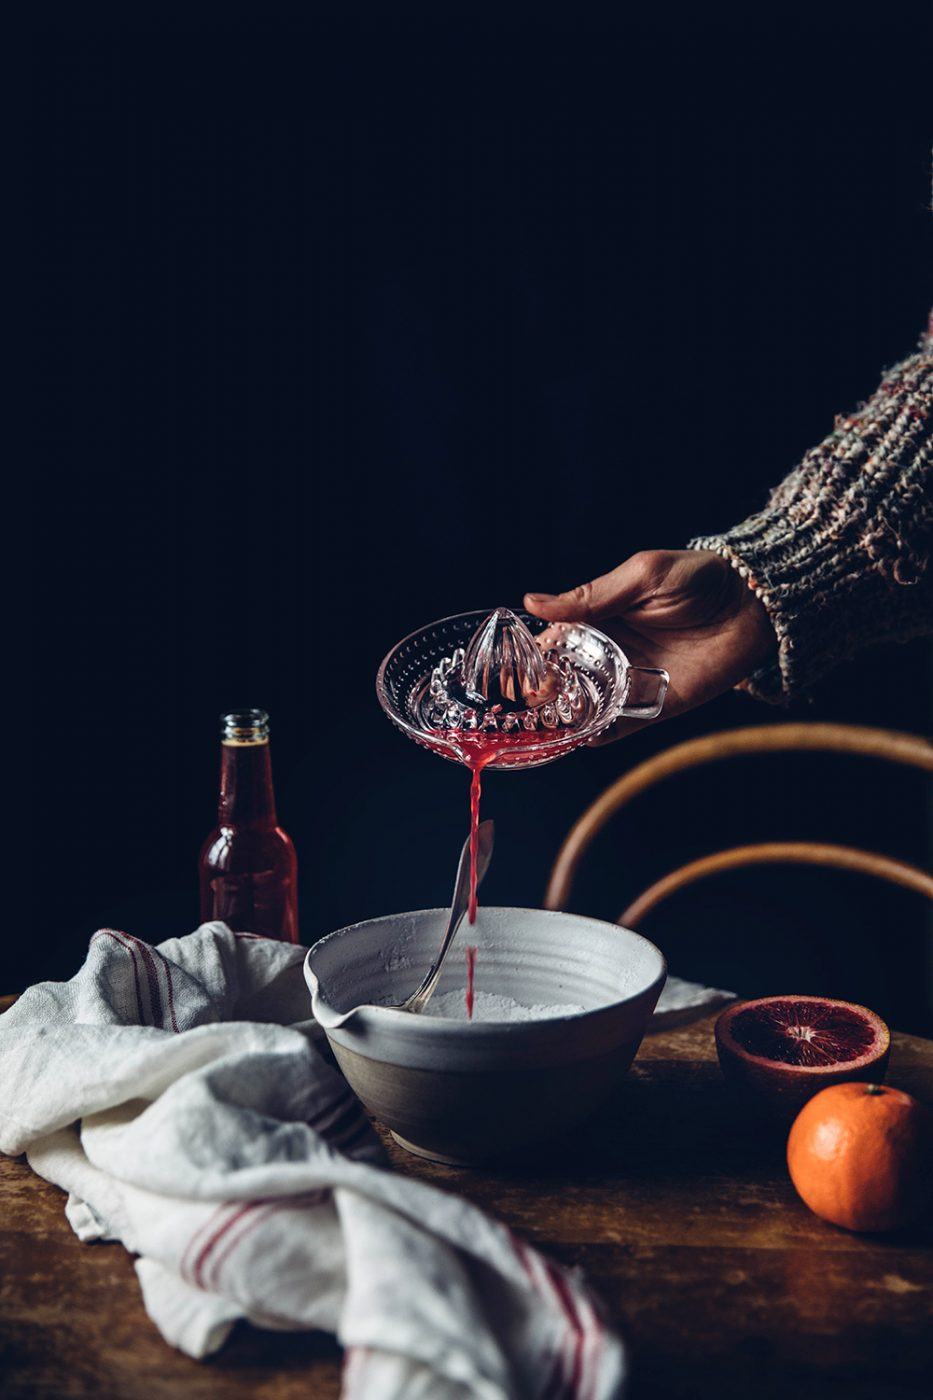
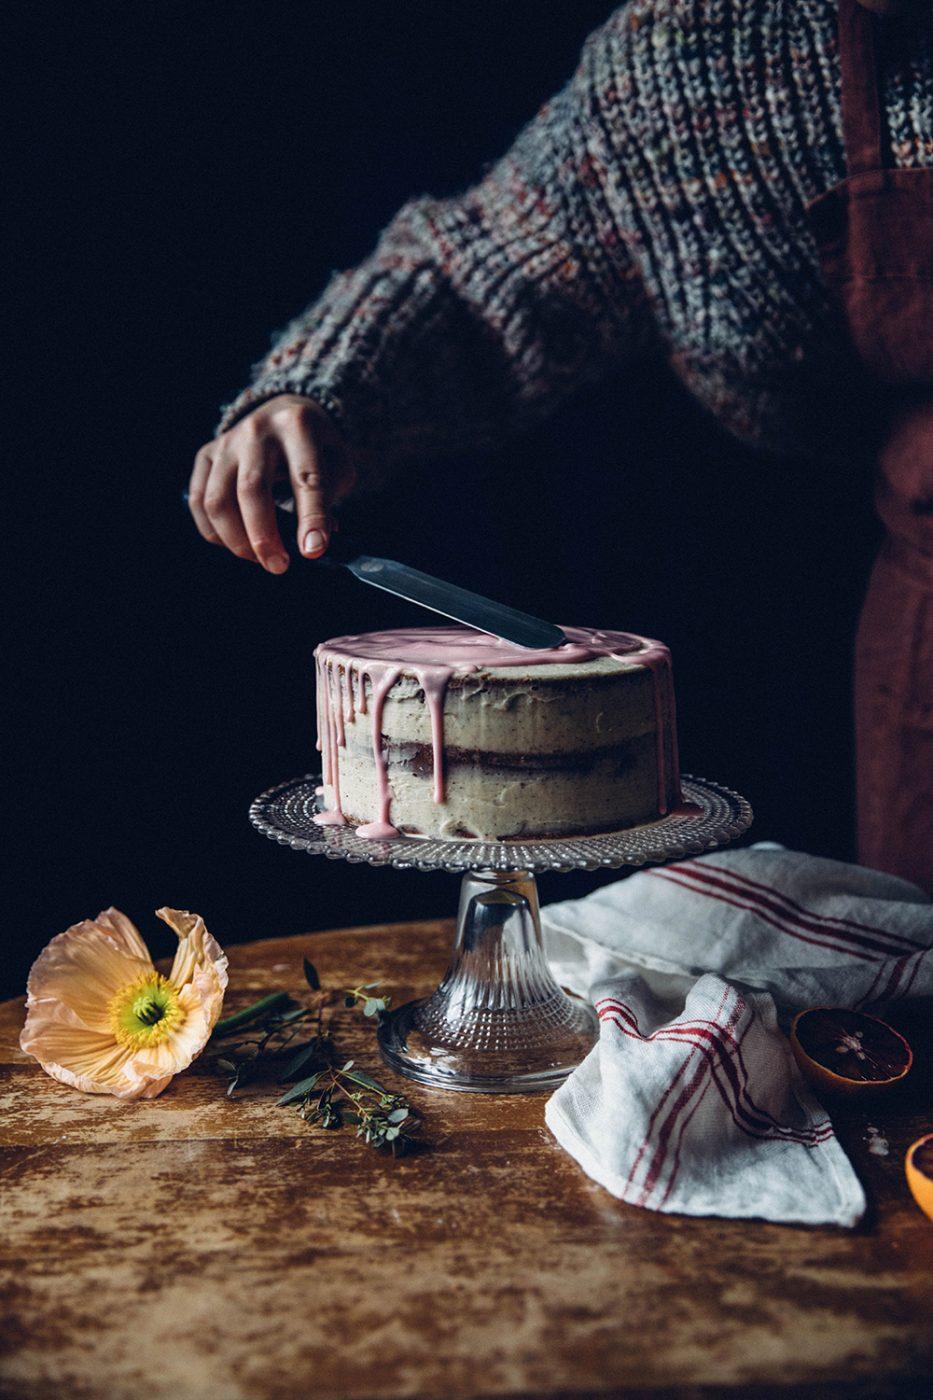
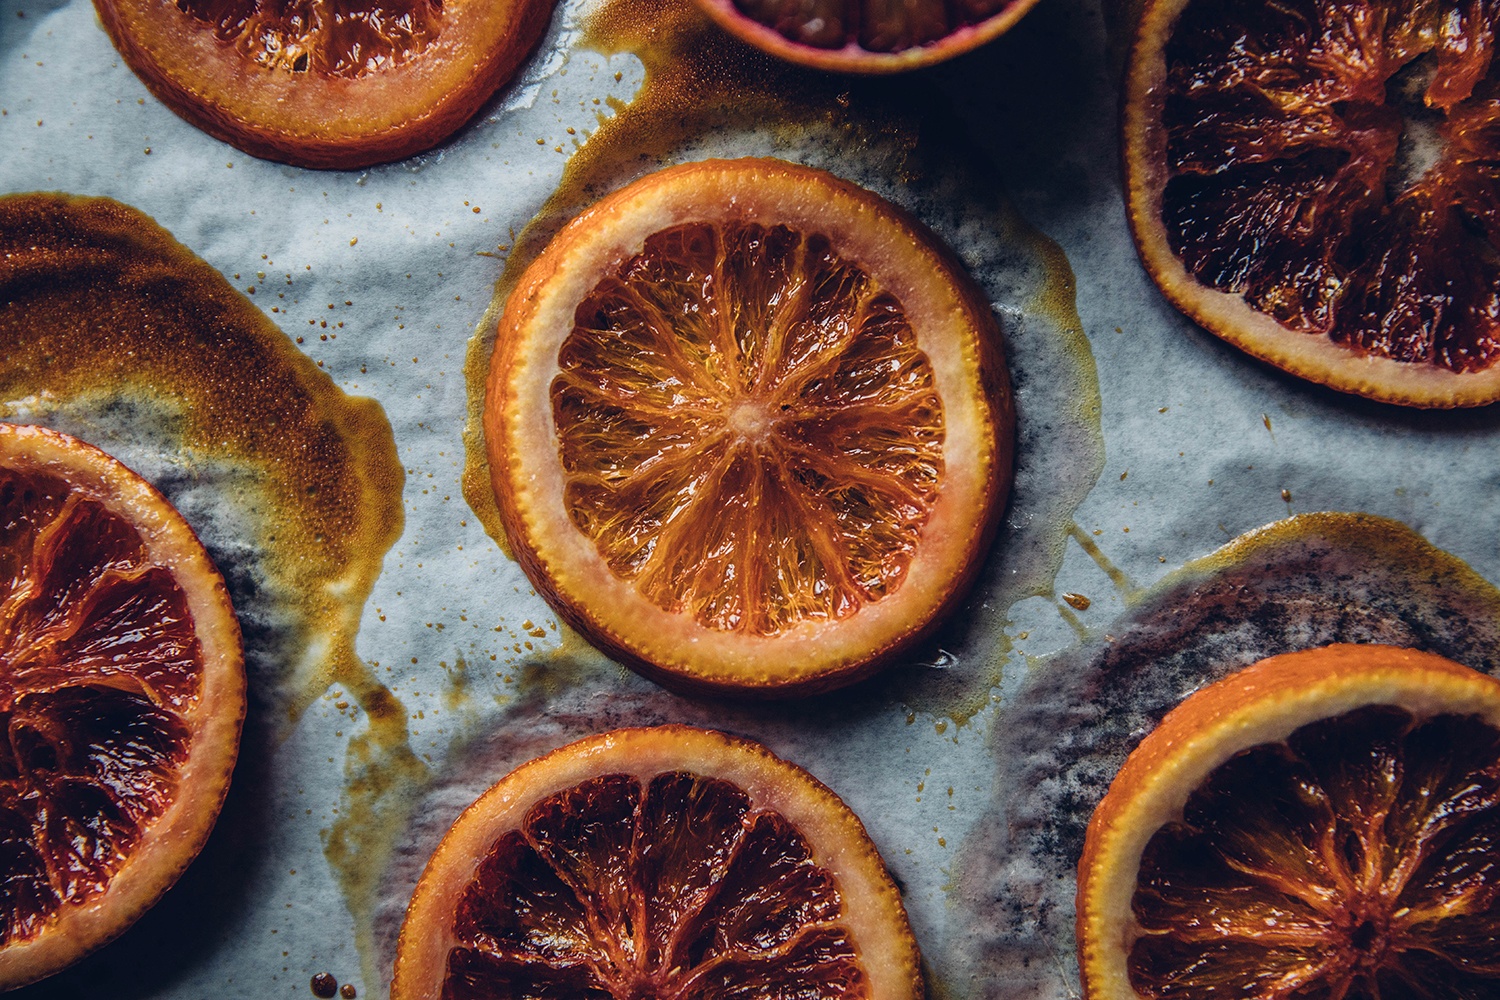
Preheat the oven to 180°C/360°F top-and bottom heat. Line the bottom of your springform pan with baking paper, grease and flour the sides. Melt the butter and let it cool down for a few minutes. Meanwhile rinse the organic lemon, zest it and juice it. Now separate the eggs, beat the egg whites for one minute, then add about half of the sugar and beat for 1-2 more minutes until stiff. Afterwards beat the egg yolkes 30 seconds together with the remaining sugar, ground vanilla and salt. Continue by beating in the melted butter and plant milk. Then stir in the lemon juice and zest. Blend the dry ingredients (rice flour, baking powder, turmeric) and sieve and then stir the mix into the wet ingredients in 2-3 portions. In the end fold in the beaten egg whites in 3-4 portions with a spatula. Fill the gluten-free lemon batter into your springform pan and bake it for 40-45 minutes. Let the batter cool down on a cooling rack for 10 minutes before you remove the springform pan. During the baking process you can prepare the caramelized blood oranges: add water and sugar to a small sauce pan, bring to boil until the sugar is completely dissolved and you have a clear syrup. Rinse the blood oranges thoroughly, cut into 5mm thick slices and let simmer in the syrup for 15 minutes on low heat. Heat the oven up to 200°C/400°F after you removed the lemon cake. Afterwards arrange the sugared blood orange slices on a baking sheet covered with baking paper and bake the slices for 10 minutes until they start to turn brown. Remove the baking sheet from the oven and let the caramelized blood oranges cool down completely before you cut them in halves. Now prepare the blood orange jelly: juice the bloodoranges, sieve the juice and weigh 300ml. Use 100ml of the 300ml juice to mix with the Agar Agar in a small sauce pan. Bring the mixture to boil for 1 minute (stir constantly), let cool down for a moment, then stir in the remaining 200ml blood orange juice. Place the mix in the fridge for about 10 minutes, stir every 3 minutes until the consistency is thick enough to spread on the cake layer (when the jelly is in the fridge cut the cake into 3 layers – use a long bread knife). Spread the jelly on 2 cake layers (on the middle one and on the top one: the top one will be the lowest/first layer of your cake, the middle one will be the middle one and the former bottom is going to be the top layer, but upside down, because it has the most even surface). Leave the 2 cake layers for another 15 minutes in the fridge until the jelly is firm enough. Meanwhile prepare the blood orange cream: mix cream cheese and sugar. Whip the heavy cream, fold it into the sweetened cream cheese and stir in a bit of the red food coloring. Then mix the 100ml blood orange juice with the Agar Agar and bring to boil for 1 minute (stir constantly), then fill the mix into a mixing bowl, let cool down for 1 minute, but keep stirring. Then fold in in several portions the cream. Spread the blood orange cream on the 2 layers of blood orange jelly (you have the best result, if you use an icing bag to spread the cream evenly, start in the centre of the layer and move spirally up to 1cm before the edge). Let the 2 cake layers in the fridge for 20 minutes and prepare the buttercream. Beat the soft butter together with the vanilla, then add in gradually the powdered sugar (sieve the powdered sugar before). If the buttercream is still quite firm, just stir in a bit lemon or blood orange juice. Fill the buttercream into an icing bag with round 1cm-wide icing tip. Assemble the cake layers and press them gently together (you can steady the cake with 3 wooden skewers until you´ve finished the cake). Now fill the gaps between the layers generously with buttercream, the buttercream should ooze out, so you can smooth the sides of the cake easier, when you go around afterwards with a dough scraper or cake spatula (add more buttercream to small gaps or the bottom if needed). last but not least spread buttercream on the cake top and smooth as well. Afterwards blend the icing and spread on the cake – a small carafe or milk jug is quite helpful. Place the caramelized blood oranges on the icing (you can use tooth picks on the backside of each slice provisional until the icing is firm) and finish the gluten-free blood orange-lemon-cake by decorating with some coconut flakes.



German Translation
Endlich gibt es wieder Blutorangen – wir freuen uns jedes Jahr aufs Neue über die farbintensiven Früchte und lieben es neue Rezepte mit Blutorangen zu entwickeln. Zu unseren Favoriten gehört diese köstliche Pavlova mit Blutorangen und außerdem dieser glutenfreie Mohnkuchen, den wir letztes Jahr mit Blutorangen serviert haben. Aber heute freuen wir uns unsere neuste Kreation mit Euch zu teilen: einen glutenfreien Blutorangen-Zitronen Kuchen. Nicht nur die Farbe ist wunderbar intensiv und gibt einem gute Laune an grauen Wintertagen, auch der Geschmack ist einfach himmlisch! Die perfekte Kombination aus süß und sauer. Wir freuen uns auf jeden Fall schon sehr, den glutenfreien Blutenorangen-Zitronen Kuchen so bald wie möglich wieder zu backen. Auf den Bildern könnt Ihr auch die ersten Mohnblumen, die wir dieses Jahr gekauft haben, sehen – wir waren hin und weg als sich die Blüten geöffnet haben, sie sahen fast schon unecht aus – einfach wunderschön. Auch Carry hat sich auf eins der Bilder geschlichen, sie ist wirklich ein kleines Model 🙂 Wir wünschen Euch allen ein schönes Wochenende und hoffen Ihr lasst Euch den Kuchen auch gut schmecken.
Glutenfreie Blutorangen-Zitronen-Torte
Zutaten für eine 18cm-Springform
Glutenfreier Zitronen-Teig
- 200g Reismehl
- 2 TL Weinstein-Backpulver
- 150g Zucker
- 125g Butter
- 100ml Pflanzenmilch
- 1 Bio-Zitrone (man benötigt 3 EL Saft und die Zesten der ganzen Zitrone)
- 4 Eier (Gr. M/L)
- 1/2 TL Kurkuma gemahlen (optional, für die Farbe)
- 1 Prise Vanille
- 1 Prise Salz
Blutorangen-Gelee
- 300ml Blutorangensaft (3-5 Blutorangen, je nach Größe)
- 5g Agar Agar (oder ein anderes Geliermittel verwenden)
Blutorangen-Creme
- 200g Frischkäse
- 150g Schlagsahne
- 100g Zucker
- 100ml Blutorangensaft (1 große Blutorange)
- 3g Agar (oder ein anderes Geliermittel verwenden)
- rote Lebensmittelfarbe (optional)
Buttercreme
- 140g weiche Butter
- 250g Puderzucker
- 1 Prise gemahlene Vanille
- (evt. 1-2 EL Zitronen-oder Blutorangensaft)
Zuckerguß
- 100g Puderzucker
- 2-4 EL Blutorangensaft
Topping
- Kandierte Blutorangen (Rezept s. unten – oder frische für die Deko verwenden)
- 1 EL Kokosflakes
Kandierte Blutorangen
- 2 Bio-Blutorangen
- 250ml Wasser
- 250ml Zucker
Tipp: wer nicht so viel Zeit investieren will oder hat, kann z.B. auch anstelle der kandierten Blutorangen frische zur Deko verwenden und das Gelee durch eine leckere Marmelade ersetzen.
Den Ofen auf 180°C Ober-und Unterhitze vorheizen. Den Boden einer Springform mit Backpapier auslegen, die Seiten buttern und mehlen. Die Butter schmelzen, dann kurz abkühlen lassen. Die Zitrone gut waschen, Zesten reißen und den Saft pressen. Nun die Eier trennen und das Eiweiß 1 Minute aufschlagen, dann etwa die Hälfte des Zuckers hinzufügen und den Eischnee schlagen bis er fest ist (1-2 Minuten). Danach die Eigelbe zusammen mit dem restlichen Zucker, der Vanille und dem Salz 30 Sekunden verschlagen und anschließend die abgekühlte Butter und Pflanzenmilch unterschlagen. Jetzt den Zitronensaft und die Zesten unterrühren. Das Reismehl, Backpulver und Kurkuma mischen und in 2-3 Portionen dazusieben und unterrühren. Zum Schluß den Eischnee in 3-4 Portionen unterheben, den glutenfreien Zitronen-Teig in die Springform füllen und den Teig für 40-45 Minuten backen, danach auf einem Kuchengitter komplett abkühlen lassen und die Springform nach 10 Minuten entfernen. Zum Ende der Backzeit die kandierten Blutorangen vorbereiten: in einem kleinen Topf das Wasser und den Zucker zusammen aufkochen lassen, bis sich der Zucker komplett aufgelöst hat und ein Sirup entstanden ist. Die Blutorangen gut waschen, in 5mm dicke Scheiben schneiden und hinzufügen und für 15 Minuten bei kleiner Flamme mitköcheln lassen. Den Backofen nach dem Herausnehmen des Teigs auf 200°C hochstellen. Anschließend die Scheiben auf eine Backblech mit Backpapier legen und im Ofen 10-20 Minuten karamellisiern lassen, bis sie anfangen braun zu werden. Dann aus dem Ofen nehmen, abkühlen lassen und halbieren. Für das Blutorangen-Gelee die Blutorangen pressen. Den Saft absieben und 300ml abwiegen. 100ml Saft mit dem Agar Agar in einem kleinen Topf 1 Minute unter ständigem Rühren aufkochen, kurz abkühlen lassen, dann den restlichen Saft unterrühren und den Topf etwa 10 Minuten in den Kühlschrank stellen, alle 3 Minuten umrühren, bis die Konsistenz dick genug ist um sie auf die Kuchenböden zu streichen (während das Gelee im kühlt, den Teig mit einem langen Brotmesser in 3 Böden zerteilen). Das Gelee auf 2 Tortenböden streichen (auf den mittleren Boden und auf den Obersten: der oberste Boden wird beim Zusammensetzen als unterster Boden verwendet und der unterste Boden des Teigs wird zum Schluß umgedreht als „Torten-Deckel“ verwendet, da er am ebensten ist). Die 2 Tortenböden anschließend für 15 Minuten in den Kühlschrank stellen, bis das Gelee fest ist. Währenddessen die Creme-Schicht vorbereiten. Den Frischkäse mit dem Zucker verrühren. Die Schlagsahne aufschlagen, unter den Frischkäse heben und etwas rote Lebensmittelfarbe unterrühren. Dann den Blutorangensaft mit dem Agar in einem kleinen Topf verrühren und 1 Minute aufkochen – ständig rühren, dann in eine Rührschüssel umfüllen, 1 Minute abkühlen lassen, ständig rühren, dann in mehreren Portionen die Sahne-Creme unterheben. Anschließend auf die 2 Gelee-Schichten verteilen (am gleichmäßigsten gelingt das, wenn man die Creme in eine Spritztülle mit 1cm Öffnung füllt und spiralförmig auf die Böden aufbringt, dabei 1cm Abstand zum Rand lassen). Die Böden für 20 Minuten in den Kühlschrank stellen und die Buttercreme zubereiten. Die weiche Butter mit der Vanille verrühren, dann nach und nach den Puderzucker hinzufügen (diesen am besten vorher sieben, damit er nicht klumpt). Wenn die Konsistenz noch sehr fest ist, einfach etwas Zitronen-oder Blutorangen-Saft unterrühren. Die Buttercreme in eine Spritztüte mit 1cm-Öffnung füllen. Die Tortenböden zusammensetzen und leicht andrücken (wer will kann vorerst 3 Holzspieße in die Torte stecken zur Stabilisierung). Die Buttercreme sehr großzügig in die Lücken zwischen den Böden füllen, sodass die Buttercreme herausquillt. Dann mit einer Teigkarte ringsherum die Seiten glätten, evt. etwas Buttercreme in kleinere Lücken oder den unteren Rand füllen. Buttercreme auf der Oberseite verteilen und glätten. Den Zuckerguß verrühren und auf der Torte verteilen – am besten gelingt das mit einer kleinen Karaffe oder einem Milchkännchen. Nun noch die kandierten Blutorangen in den Zuckerguß setzen (als vorläufige Stabilisierung kann man Zahnstocher hinter jede Scheibe stecken, bis der Zuckerguß fest) und zum Schluß mit ein paar Kokosflakes dekorieren.




Comments
Ela Feb 15, 2019
Hach, wie lecker! Eure Torte sieht ja echt herrlich aus :) Ihr bekommt die immer so perfekt hin! Bei mir sind die eher windschief...
Liebe Grüße,
Ela
Lea Feb 16, 2019
Wunderschön!! der Kuchen sieht toll aus und auch die Blumen passen perfekt zur Stimmung. :)
Ela - themomentsbyela.pl Feb 20, 2019
This cake is phenomenal. It is so beautiful that it would be a shame to eat it. Thank you for the recipe.
Mandy Feb 23, 2019
I am so in love with this amazing cake!! And this cute little dog in the picture is very sweet!! Awww such a cutie!!